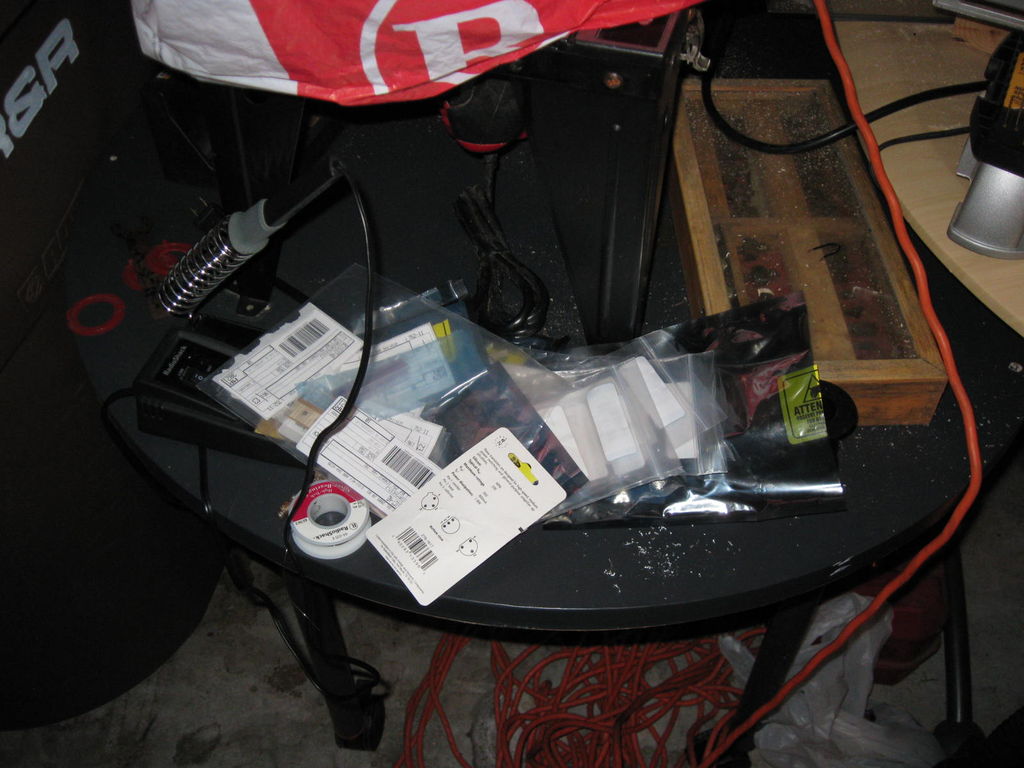
Halloween Robot controlled by an old wingman joystick.
I don’t reccommend this for beginners with electronics only because some things like joysticks and power adapters are not all the same and must be modified. Additionally I provide programming code which will only be useful for particular stepper motors without modification.
**This is still unfinished, but Halloween is coming up so I’m going to publish it and add to it as I go**
Step: 1 Materials
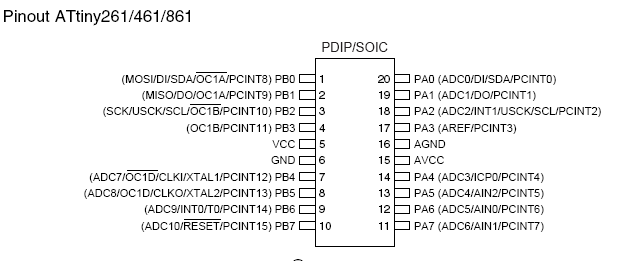
-Microcontroller (I’m using Attiny 261)
-Microcontroller programmer, AVRISP mkII or AVR Dragon recommended
-Joystick
-Power supply(s) (Old phone charger, over 5V will burn out uC, so I have one supply for the motors and one for the uC)
-Breadboard/ Protoboard
-Wire
-Digital multimeter
-Red LEDs
-(2) Motors (I’m using stepper motors)
The motors can be anything, but you’ll have to do your own microcontroller coding to make them work unless they’re 8 wired unipolar/ bipolar stepping motors. I would have used a regular DC motor, but don’t want to deal with the feedback design work.
-2/3 yards of black fabric (or a black sheet but it will have to be starched probably)
-Empty Milk Jug
-2×4 piece of wood
-Black garbage bag
-Fog machine
Step: 2 Joystick Modification
Step: 3 Microcontroller
Gotta program up the uC. 2 axis Joystick, so I can control 2 motors. I motor turns body, 1 turns the head.
The simplest way would be to just check whether the tilt signal is high (over 2.5V) or low. But I want to have some sense of speed, it makes the range of the joystick count for something. This i accomplish in the code so that there are 2 speeds and the faster speeds go with the joystick pushed all the way over.
I’m going to use ADC pins on the microcontroller to sense how far I push the joystick in either direction. See connections diagram for that sort of thing. If the ADC is anywhere besides near half, the motor will turn the appropriate way, and faster the farther from half.
Since I’m using steppers, I could count steps and not put a mechanical stopper, but I don’t trust that as much. add that to the code if you like.
So you need to load up the C program in AVR studio, build it, and then flash it to the microcontroller. FYI, your motor/ transistors will have to be disconnected from ground unless you program in a seperate circuit. I actually included the aps file so it should be super easy to load up.
For more detail: Halloween Robot using Attiny microcontrollers


