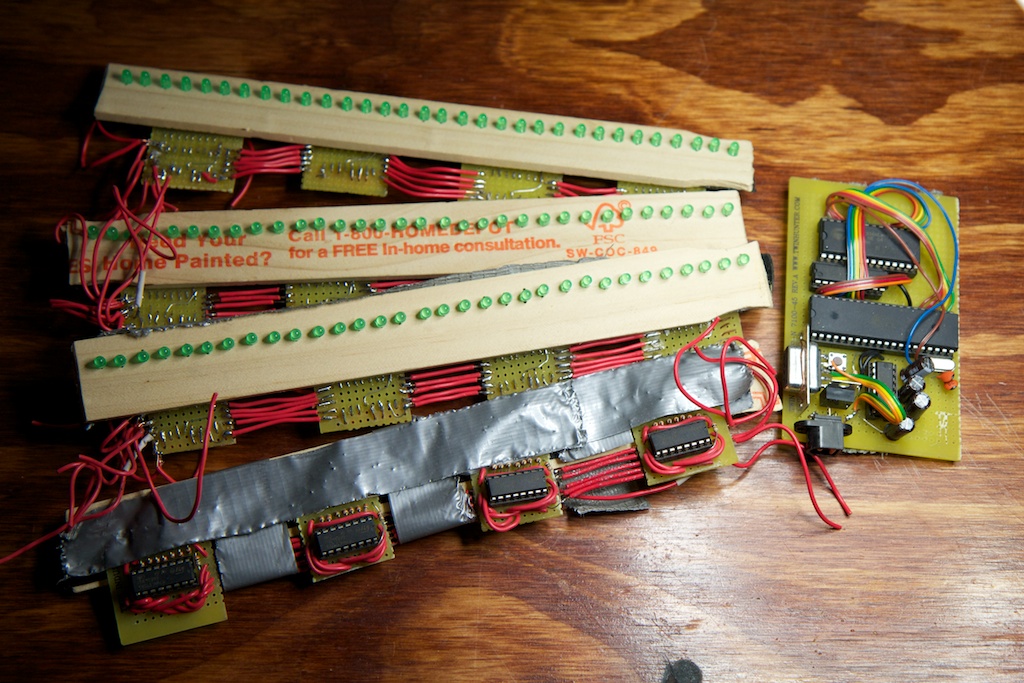
If you’re a resident of Seattle, I highly recommend you check out the Bubble events group. One of their regular events over the summer is something called “Nocturnal Push” where you can get decked out in your best glow gear and cruise the Alki Beach strip on your bike, longboard, or whatever.
That’s why I made this:
Background
So I’m no stranger to persistance of vision LED displays. One of the first projects posted to my blog was my POV toy about this time last year. I also made the “Ice Breaker” which operates on the same principle. Persistence of vision is a very simple concept. By moving an array of LEDs quickly and blinking them in a specific pattern, you can utilize the slow response of your retinae to produce what appears to be a stationary image.
In fact, one of the first micro controller projects I ever attempted was a persistence of vision display system for a bike wheel back in 2009. I had just finished my first class on embedded design and I saw a video of Monkey Electric’s wheel lights. Knowing nothing about AVRs, I decided to attempt to make what they made using a raw 8051 with an external ROM and RAM chip all in assembly because that’s what we used in the class and I didn’t know any better.
Working with my friend Collin, we produced this:
But I digress.
Objective
So I’ve done persistence of vision displays before; there’s really nothing new there. The challenge this time was to make it small enough to fit on a 72mm longboard wheel, and to make it cheap enough so that I could mass produce it and sell it to folks in the area.
So boiling it down: I needed a consumer-ready stick of LEDs that I could control with a micro controller with a sensor that can detect wheel speed all for as cheap as possible.
Unfortunately, I didn’t quite accomplish all of these goals, and since I haven’t touched this project for over a month, I decided to officially put it to rest for the time being. I didn’t want to deprive you guys of a blog post though, so read on to find out how it works and see if you can improve it!
LEDs
One of the benefits of doing a display on a longboard as opposed to a bike is that during regular use, a longboard wheel rotates many more times per second than a bike wheel. This means that it’s much easier to attain a high enough refresh rate to achieve persistence of vision. Instead of using the four arrays of LEDs like in the MonkeyElectric display which effectively refresh the image four times per rotation, I would only need one array of LEDs to refresh it once per rotation.
I wanted my display resolution to be much higher than the 8 pixel display of the Ice Breaker, but my micro controller of choice (the ATTiny24) didn’t have enough pins to spare, so I couldn’t do the one to one LED mapping that I had used before.
This means that I had to multiplex the LEDs. This presents a problem with a persistence of vision display though because when you think about it, the display itself is already “multiplexing”. It’s core function involves it only showing a single row of light at a time.
With the array multiplexed, each single row of the image involves flashing light from multiple banks of LEDs quickly in sequence. I was worried for a while that my micro controller wouldn’t be fast enough to flash all three banks of LEDs in sequence before moving on to the next row of the image. There’s also the problem of image distortion resulting from the array moving too far while a single bank is turned on.
This turned out to not be a problem as the micro controller was plenty fast. I shouldn’t have been surprised because this is exactly how the POV toy I took apart worked.
In the interest of keeping costs down, I picked the cheapest LED I could find. Pricier, more efficient LEDs would create a brighter display, but I figured that it was a sacrifice worth making as this thing was only meant to be used at night.
Sensor
The other main component of my circuit was a sensor to determine the wheel speed. In order to display a steady image on the wheel, the micro controller would need to know approximately how fast the wheel was turning so it could blink the LEDs at the right times.
There are a number of ways to gather this kind of data such as electrical contacts and optical sensors. I’ve even seen a rotating POV display that uses a electronic compass to determine the rate of rotation based on the changing direction of magnetic north. I thought at first that I could use an accelerometer to detect that change in the direction of gravity, but I reasoned that the regular vibrations associated with riding a longboard on pavement would far overpower the acceleration due to gravity making an accelerometer useless.
For more detail: Longboard Wheel Display using AVR microcontroller


