When deciding what type of connectivity your next project will use cellular tends to be considered an expensive alternative to WiFi or Bluetooth. This tutorial is meant to break that way of thinking and show how easy and inexpensive cellular could be with the right provider and tools.
Below is a list of components which could be picked up for between $12 to $19. All the components in this tutorial came from HackerBoxes #16. You can buy box 16 from Hacker Boxes’ store. They also wrote their own Instructables, found here. For cellular IoT connectivity, we’re using Hologram.io.
- Arduino UNO or equivalent
- SIM800L Cellular Breakout ( $7 via AliExpress)
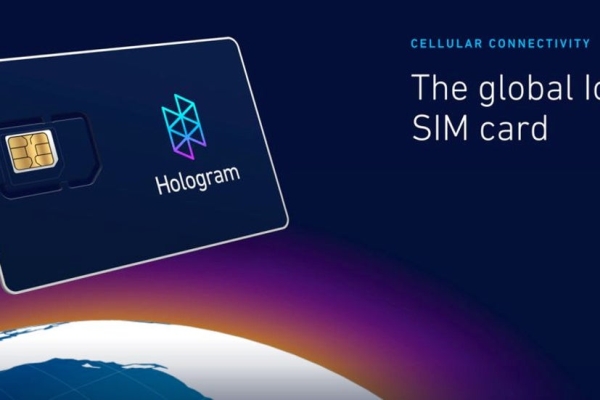
- Hologram SIM (2 Free SIMs + Data w/promo HIGH5)
- Red LED
- Button
- Resistor and jumper wires
Why Hologram?
First, I work for Hologram on the Developer Relations team. As a Hologramer, I think they’re naturally awesome. As a developer, I think they’re awesome for another reason, what they offer is unlike anyone else.
- Kilobyte billing at $0.0006
- Each SIM provides worldwide coverage on over 180 networks
- In the States, Hologram leverages the networks of T-Mobile, AT&T, and Verizon.
- 2G, 3G, and 4G
- Lowest monthly network fee at $0.40 per month per SIM
- Self-serve device management dashboard where I can activate or pause my SIMs instantly
- Pretty handy data router that allows me to send my data to multiple SaaS and cloud providers
- and a bunch more
Step 1: Activate Your SIM
First thing’s first. Let’s activate our SIM and grab the device key which we’ll need for our sketch.
- Head over to Hologram’s dashboard (https://dashboard.hologram.io), log-in, then click the blue Activate SIM button in the top right corner.
- Fill out the activation form; it typically takes 1 minute for a SIM to be activated and register on the network.
- After activation, you’ll see the device list. Click on the newly created device.
- On the device page, go to Configuration then generate new Router Credentials.
- Generate and copy the eight digitdevice key. We’ll be using this key in our Arduino sketch.
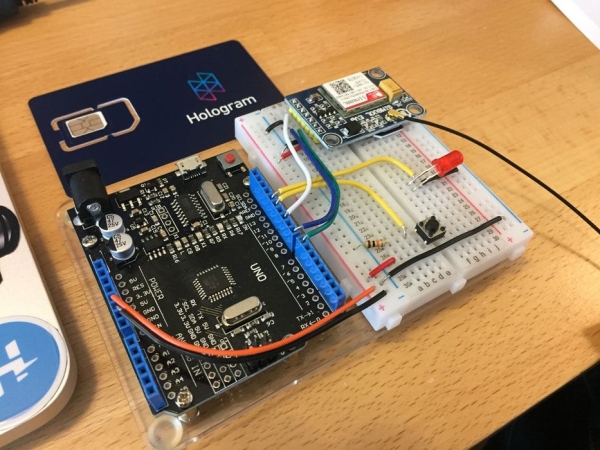
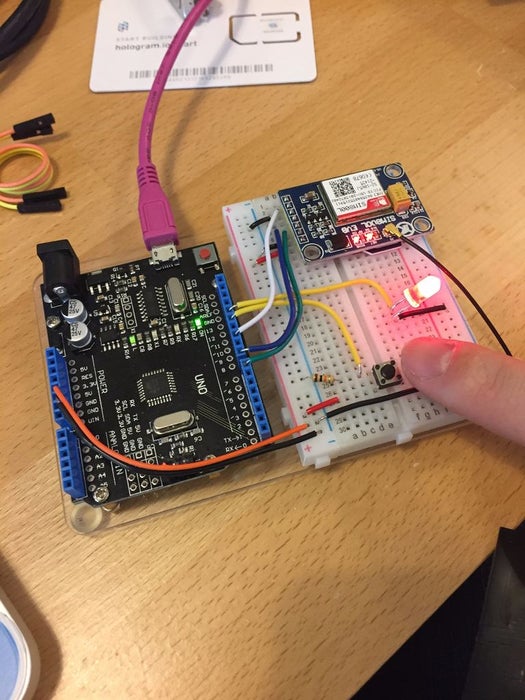
Step 2: Wire-up Components
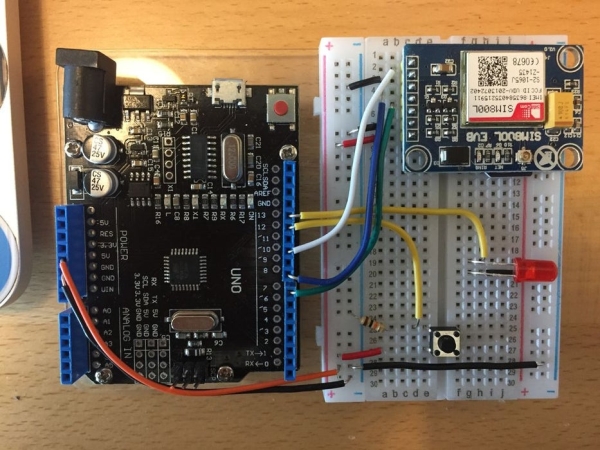
Attached are graphics showing how to wire up the SIM800 module along with a button and LED.
- IMPORTANT: Verify you insert the SIM correctly, see my images above.
- IMPORTANT: Make sure to attach the external antenna.
- D12 > Button
- D13 > LED
- D10 > SIM RST
- D8 > SIM_RXD
- D7 > SIM_TXD
- Connect all GND and 5V
Step 3: Arduino IDE Sketch
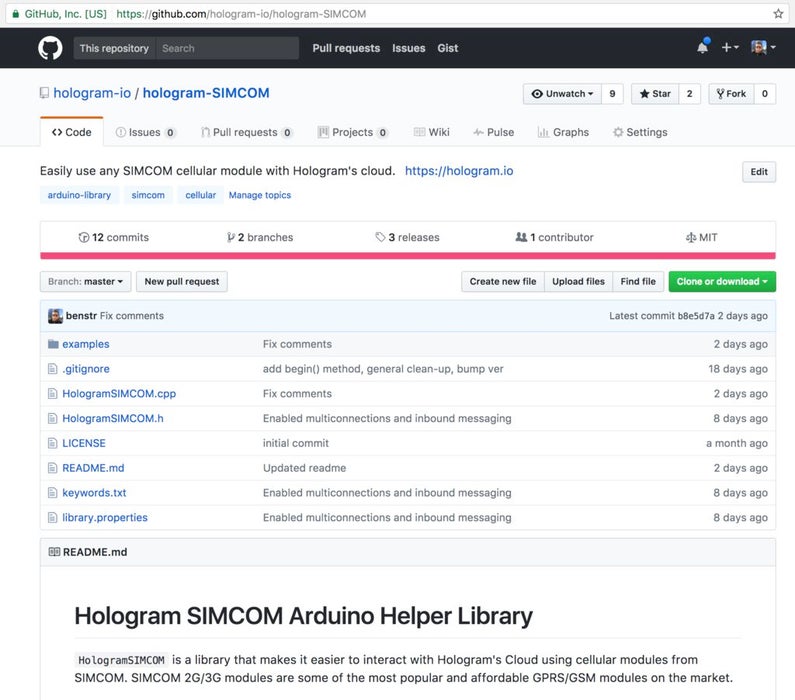
Next, we need to program our Arduino to control the cellular module, button and LED. Luckily Hologram has helper library specially made for the SIMCOM SIM800 and SIM900 family of modules. The helper library also has an example sketch of this tutorial. Let’s set it up.
- Download and install the Hologram SIMCOM helper library: github.com/hologram-io/hologram-SIMCOM
- Open the library’s ‘Blink’ example (see the second image above)
- In the sketch, all PINs should already be defined. All that’s left for you is to enter your 8-digit Cloud Device Key (you got this in step 1).
- Connect the Arduino to your computer and upload the sketch.
- Optional: Open the Serial Monitor to watch the cellular module initialize.
Hologram’s SIMCOM Helper Library makes it super easy to send and receive Data and SMS. I’d encourage you to check out its readme for a full list of functionality: github.com/hologram-io/hologram-SIMCOM#reference
Step 4: See Data, Send Data
OK, we have our Arduino wired up and working! But what is it doing?
If you read the sketch, you saw it was collecting stats each time the LED toggles. Every 2 minutes it sends those stats up to the Hologram cloud.
Back on the device page in Hologram’s Dashboard, click the tab labeled Data Logs (image 2). If you’ve toggled the LED a few times and its been 2 minutes, you should see a JSON object containing toggle stats.
Another cool thing the Hologram SIMCOM library allows is inbound messaging. Our sketch will toggle the LED if we send it a message with the string “LED”. Let’s do that. On the device page in the Hologram Dashboard, click the tab labeled Messaging (image 3). Send a TCP message containing the string “LED” to port 8888. In a few seconds, your LED should toggle!
Step 5: Keep on Hacking…
Now that you know the basics I’d encourage you to explore Hologram’s documentation.
Folks usually post data into the cloud because they want to send it somewhere for storage or analysis. Check out Hologram’s Data Router documentation on how you can pass data to IFTTT, Losant, and others cloud platforms.
Everything we did through Hologram’s Dashboard is possible through their public API too, including sending inbound messages to your devices from your servers and other IoT devices. Checkout Hologram’s REST API documentation or Node NPM package.
Source: Affordable Cellular IoT