
Summary of Blinking Shark Puppet
This article guides readers through creating a shark puppet featuring blinking LED eyes activated by a mouth-closing switch. The project combines sewing with wearable electronics, using conductive fabrics and threads to build a circuit that triggers the lights when the shark's jaws meet.
Parts used in the Shark Puppet:
- Lilypad
- Fabric
- Scissors
- Multi meter
- Conductive fabric
- Conductive thread
- Needles
- Snaps
- Alligator clips
- Heat bond
- Iron
- LEDs
- Battery pocket material (felt)
- Hot glue
How to make a shark puppet with blinking LED lights for its eyes!
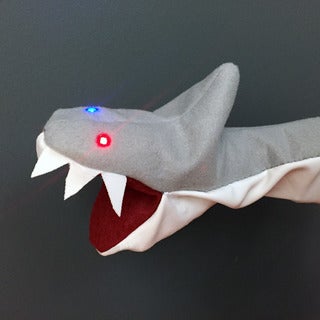
The two LED lights are going to turn on when the shark’s mouth is closed the first time,
after the first time the lights come on, the LEDs are going to blink when the mouth is closed.
Step 1: Preparation
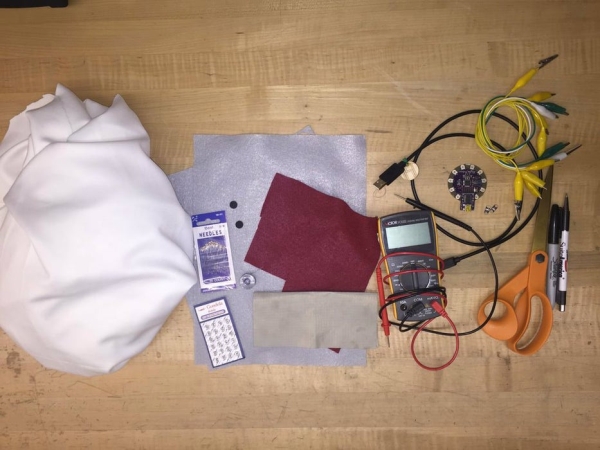
Things you need
– Lilypad
– Fabric
– Scissors
– Multi meter
– conductive fabric
– Conductive thread
– Needles
– Snaps
– Alligator clips
– Heat bond (not in the photo)
– Iron (not in the photo)
Step 2: Cut the Shark Pattern
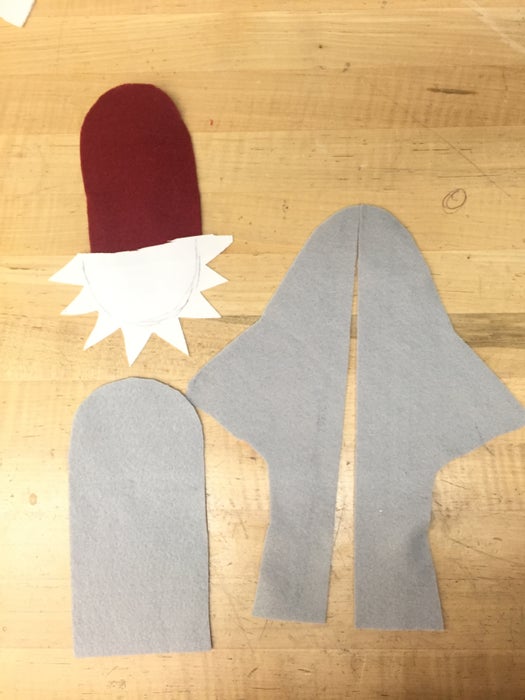
Cut the pattern of the shark out of materials you desire.
I used felt this time.
pattern credits to : AMIE SCOTT
https://amie-scott.com/2015/10/18/shark-puppet-sew…
Step 3: Make a Soft Switch Using Conductive Fabric
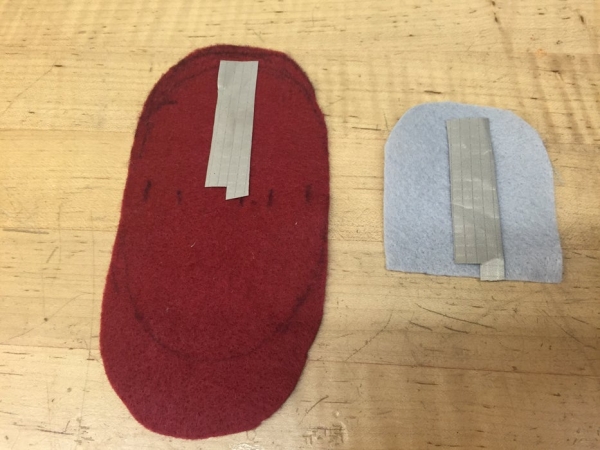
Make a switch out of two conductive fabrics.
There are 3 parts to this switch, 2 conductive fabric contacts and a spacer in the middle.
Cut the conductive fabric into appropriate sizes with little tabs on the bottom for easier connection with the Lilypad later on.
Spacer has two holes in between so the circuit is completed (switch is on) only when the two conductive fabric meets.
I’m placing the switch where the shark’s mouth is.
Step 4: Construct the Shark
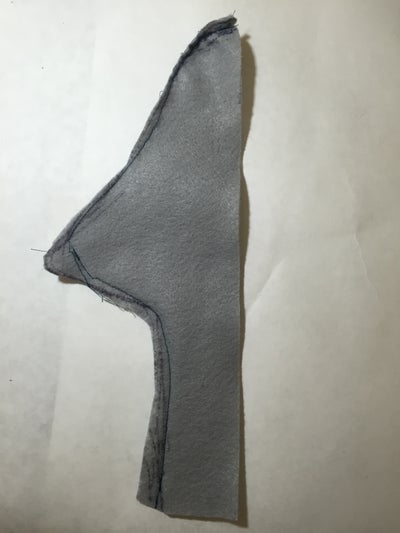
Keep on sewing and construct the shark.
Step 5: Work on Circuit and Your Sketch
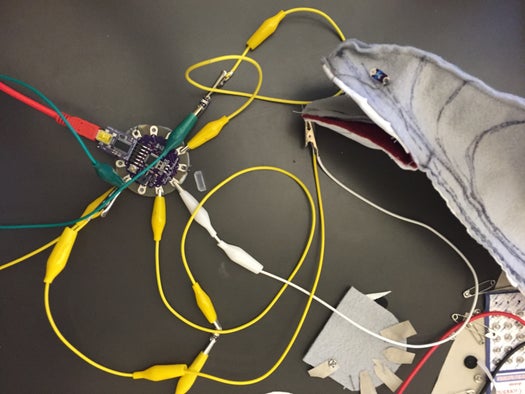
Work on the circuit first with the alligator clips before transferring it to the fabric
I put on delays between the LEDs on and off to create a blinking effect
Step 6: Lilypad Connection Using Snaps
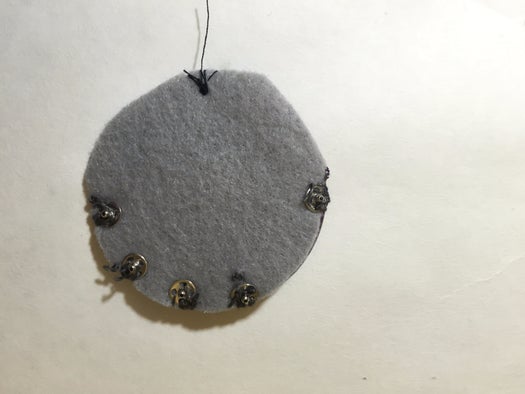
There are many ways to transfer circuit to fabric.
I used snaps and conductive thread for this puppet.
Snaps are a good way to attach the Lilypad onto the fabric and as a way of closing the circuit.
Each snaps are sewn in pins where there is a connection.
You can mark where the snaps are placed and sew the counter part of the snap on the shark.
Step 7: Sew LEDs and Snaps Using Conductive Threads
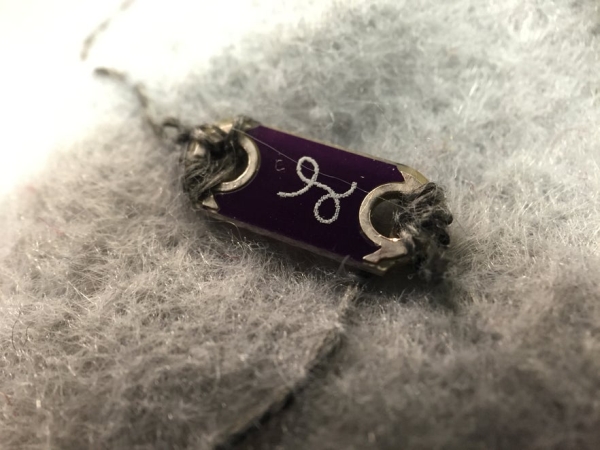
Using conductive thread, connect LEDs. They are connected to pin 5, 10.
Make sure the connection is tight and secure.
Step 8: Make Space to Store the Battery
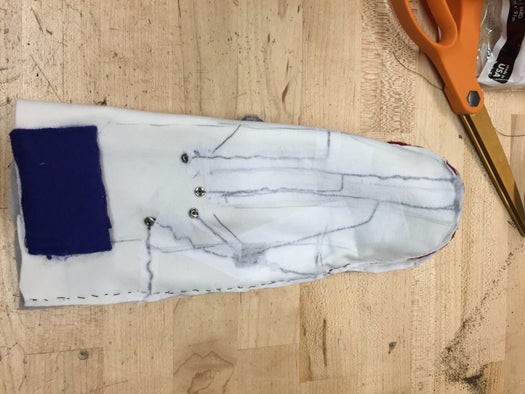
Make a mini battery pocket that can be sewn next to the Lilypad.
I used felt and hotglued it into a pocket.
Step 9: Iron on Heat N Bond to Insulate the Conductive Threads
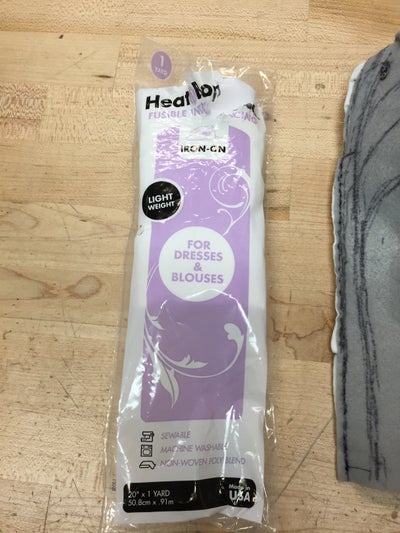
The threads needed to be insulated so the short circuit doesn’t happen when you put on the puppet.
Heat n bond is a good material to insulate as it is fast and easy to apply to the fabric with iron.
Heat n bond is ironed on over the thread paths to prevent them from touching each other and short circuiting the circuit.
Step 10: Flip the Shark Inside Out and Run the Code
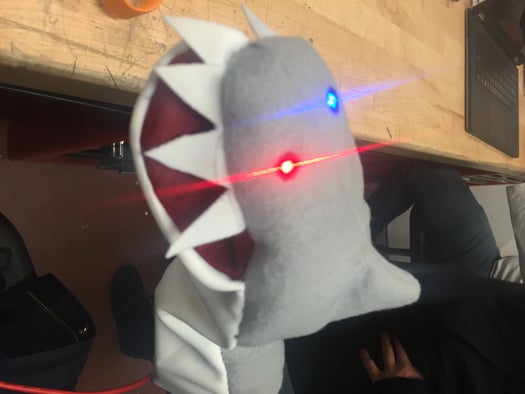
Once you have everything connected, you can now turn the puppet inside out and play with it!
Step 11: Finished Shark!
yay! You can play around with how fast the LEDs blink.
Source: Blinking Shark Puppet
-
How do the LED lights behave initially?
The two LED lights turn on when the shark's mouth is closed for the first time. -
What happens after the lights have turned on once?
After the initial activation, the LEDs blink whenever the mouth is closed. -
How is the soft switch constructed?
The switch consists of two conductive fabric contacts separated by a spacer with two holes to complete the circuit only when they meet. -
Where should the switch be placed on the shark?
The switch is placed where the shark's mouth is located. -
How are the LEDs connected to the Lilypad?
The LEDs are connected to pins 5 and 10 using conductive thread. -
Why is Heat N Bond used in this project?
Heat N Bond is ironed over the thread paths to insulate them and prevent short circuits when the puppet is assembled. -
How can you store the battery in the puppet?
A mini battery pocket made from felt and hot glued next to the Lilypad is used to store the battery. -
Can you adjust the speed of the blinking lights?
Yes, you can play around with how fast the LEDs blink by adjusting the delays in the code.
