Summary of Radio Signals on Micro:bit
This article guides users on setting up radio communication between multiple micro:bit devices using the JavaScript Blocks Editor. It details creating distinct programs for "Blue," "Yellow," and "Pink" units to send numbers or strings via radio groups, handle incoming signals, and manage screen displays without errors.
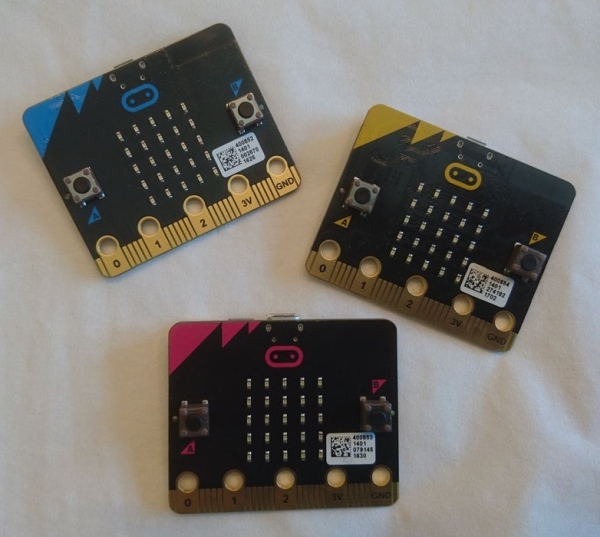
Parts used in the Radio Signals on Micro:bit:
- Two or more micro:bit
- Battery packs (optional)
- JavaScript Blocks Editor
Once you’re getting familiar with your micro:bit, there’s a whole world of possibilities opening up, but there are some errors you might run into.
Here’s how to make two (or more) micro:bit communicate, even if the code is written on different computers.
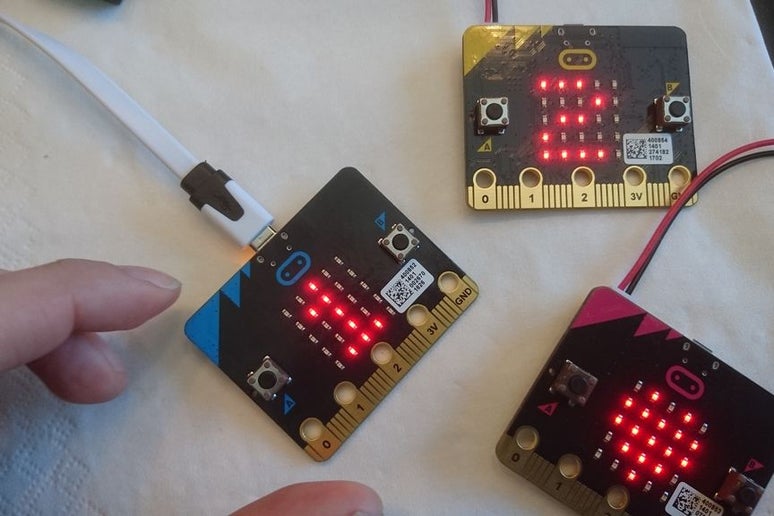
Step 1: You’ll Need…
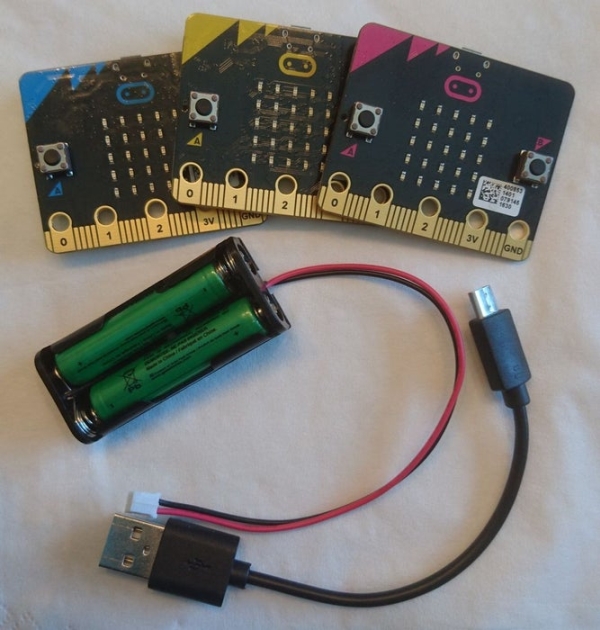
For this project, you’ll need two or more micro:bit. Meet up with a friend to share the fun!
It’s also practical to have a couple of battery packs, but not necessary if you’re able to power them in an other fashion.
Step 2: Making the Code in JavaScript Blocks Editor
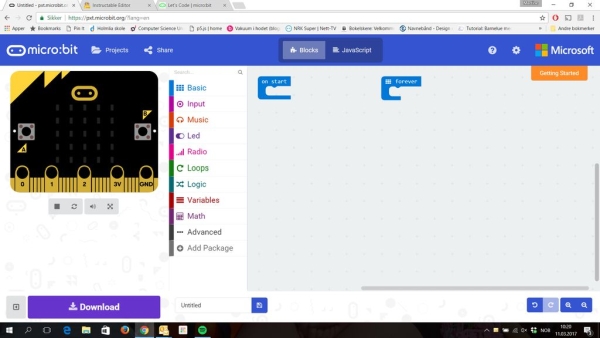
Enter the webpage http://microbit.org/ choose “Let’s code” and JavaScript Blocks Editor.
Step 3: Decide Your Radio Group
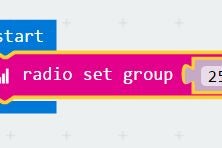
If you’re uploading the same code from the same machine, the two micro:bit will probably manage to communicate. However, if you’re working with a friend or want to make sure they check the same channel, set your radio group at the same number.
Under Radio, you’ll find a block called radio set group. You can choose any number between 0 and 255, just make sure you use the same one.
Step 4: The Blue Code
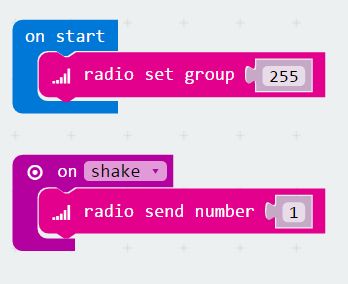
To make the micro:bit talk, they can send and receive messages, which they then will translate into what you want them to do.
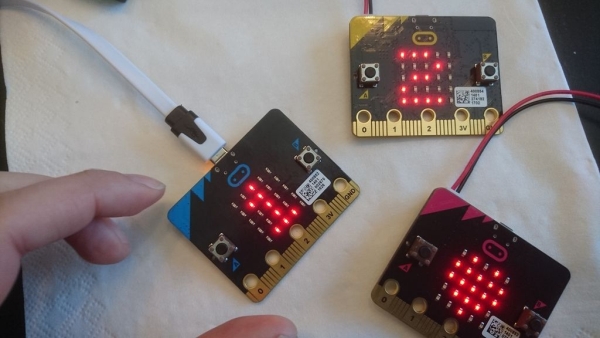
I have three micro:bit, so firstly I have Blue send a message to Yellow. This means that the three micro:bit will need to have different programming.
When I shake Blue, it will send the number 1.
You will find on shake under Input.
radio send number is under Radio.
In addition, I want to toggle showing the number 1, so that I know that the message is sent.This is to help if there are any errors at a later point.
I save the code as Blue and upload this code to the blue micro:bit.
Test the code by shaking the micro:bit. The number 1 should appear and vanish again.
Step 5: The Yellow Code

Start a new project.
Remember to set the radio group to the same number as the blue code.
Use the option on radio receivedNumber.
Set the number the yellow should receive to 1, since that is what blue is sending.
Yellow can then show 2 when it receive this message and send the number 2.
Notice that I place the pause and clear screen after sending the next message, to avoid breaks in the wrong places.
Save as yellow, upload to the next micro:bit. Make sure both micro:bit have power and test the code.
When you shake Blue, Yellow should show the number 2.
Step 6: The Pink Code
Start a new project, I’ll call mine Pink.
I mainly use the same blocks, though this time I’ll send a string instead of a number.
Upload to the pink micro:bit and test the code by shaking the blue one.
Step 7: Back to Blue
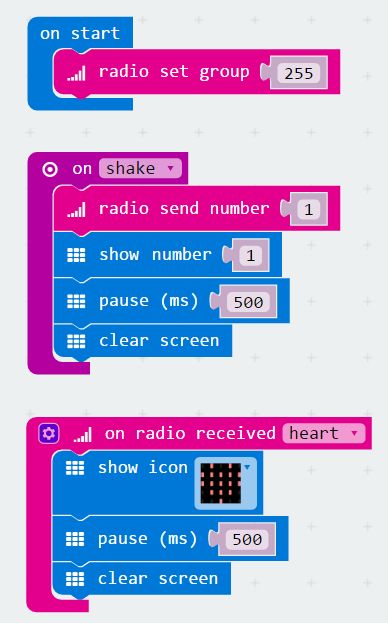
You probably noticed that Pink is sending “heart”, but no one is listening for that.
Let’s go back to Blue and add a line of code, so it will answer.
Remember to use the exact same word, spelling and upper/lower case letters, otherwise the micro:bit will not understand what the it is supposed to do.
Upload the new blue code and test.
Step 8: Running Too Many Times?
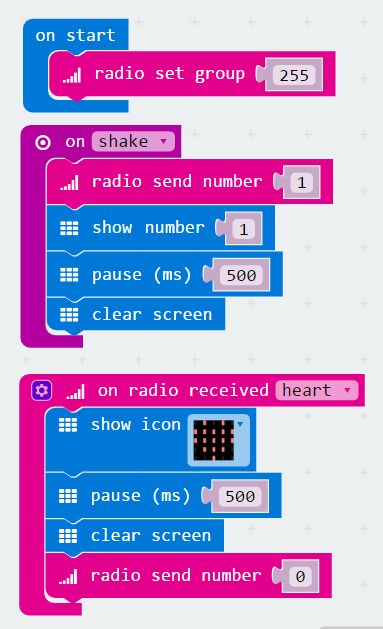
What I noticed at this stage, is that the micro:bit takes a long time before they reset. Instead, they keep sending the signals.
To prevent this, I added and changed some code.
Blue code:
After Blue has received the heart, it will send a 0 and clear the screen.
Yellow code:
I changed the on radio received back to receivedNumber and added a test.
You can find the new blocks under
Logic:
- If/else
- Equal to
Variables:
- receivedNumber
The code will now check which number is received. If the number is 1, it will run the code we made earlier.
If the number is anything other than 1, it will simply clear the screen.
Pink code:
Same as with the Yellow, expect it checks if the number is 2.
Please note that when Yellow receives 2 or Pink receives, this will also trigger the clear screen, as well as if they receive 0.
Step 9: No Limits!
This is how the radio works on the micro:bit. Hopefully this will give you plenty of ideas on how to use them together, maybe as a remote control, or a multiplayer game?
Source: Radio Signals on Micro:bit
- How do I ensure multiple micro:bits communicate correctly?
You must set the radio group to the same number between 0 and 255 on all devices. - What block is used to send a message from one micro:bit?
The radio send number block under the Radio category is used to transmit data. - Can different micro:bits use different programming languages?
The article demonstrates using the JavaScript Blocks Editor for all units to facilitate communication. - How can I prevent signals from being sent too many times?
Add code to clear the screen and send a reset signal like 0 after receiving a specific message. - Why might the micro:bits fail to understand each other?
Mismatched spelling or incorrect upper/lower case letters in string messages will cause failures. - What happens if the received number does not match the expected value?
The device will execute an else condition, such as clearing the screen immediately. - Is it necessary to have battery packs for this project?
No, battery packs are practical but not necessary if you can power the micro:bits another way. - What is the purpose of toggling the number display when sending?
It helps verify that the message was sent successfully and aids in identifying errors later.