The iconic scene from Jurassic Park came in the car where the glass of water resonated with the approaching footsteps of the T-Rex (spoiler). The original scene was done according to web blogs by someone carefully boinging a musical string attached to the support for the glass–they had tried other methods but this was the only one they could get to really work. There you are perched with your glass on the beach with your solar charging bluetooth coaster about to dramatize the approach of humanoid behemoths on your piece of sand (gargantuan mortals seem to abound these days and with cheaply constructed floors maybe this device is unnecessary but getting water to shake with sound is difficult in small packages… ) so you flip on some base heavy sound cloud channel and watch in horror as the water surface stirs to the beat! Well, underwhelming to be sure so you just relax and enjoy the sound from one of many bluetooth speakers that now fill up the world.
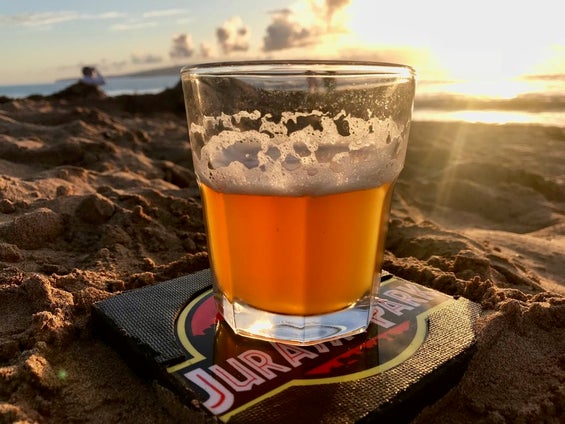
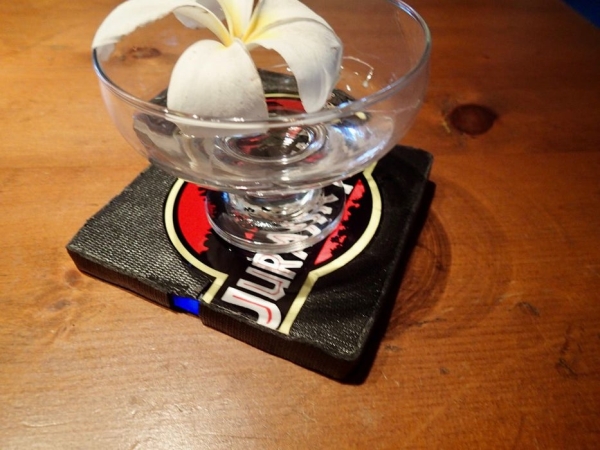
This is a simple project involving a transducer–essentially the guts of a speaker, a lipo-battery, a bluetooth module and some solar cells. It works by transmitting sound waves to anything that touches the active plate on the surface of the coaster. Glasses (beer, martini, highball) work well–the volume declining (liquid and auditory) while you sip. Solar charging is on the bottom side and when you flip it a tilt switch turns off the device.
Step 1: Gather Your Materials
All the parts are pretty cheap–about $25. The main Bluetooth board is off the web and they all have issues…but generally its performed well. The charger board for the solar panels is a TP4056—cheap and efficient. I did not include a blocking diode in the circuit and I’m not sure if there is one in the charger but you can easily do it. Go for big on the Lipo battery so you can play it for a couple hours and it should take a good bite out of the sun when charging. The transducer is available from a couple sources some have wires attached and some don’t–as soon as you wire it up protect the connections with hot glue because they are quite fragile. The Jurassic Park front cover is a printed aluminum plate about 5 x 5 off a web picture done by mail order–really easy.
1. KNACRO 3W+3W Wireless Bluetooth 4.0 Audio Receiver Steady Digital Amplifier Board $12.00 on AMAZON
2. DAOKI 10PCS PFM Control DC-DC Converter Step Up Boost Module 600MA USB Charger 0.9V-5V to 5V
3. XCSOURCE 5 pcs 1A 5V Micro USB TP4056 Lithium Battery Power Charger Board Module TE420
4. Lithium Ion Polymer Battery – 3.7v 1200mAh Adafruit or Amazon
5. Bone Conductor Transducer with Wires – 8 Ohm 1 Watt Adafruit or SparkFun
6. uxcell 5Pcs 5.5V 60mA Poly Mini Solar Cell Panel Module Charger 90mm x 30mm Amazon
7. Tilt sensor–Amazon
8. Epoxy–big box store the stuff to make bar tops with.
9. Aluminum print–Collage.com
Step 2: Wire It
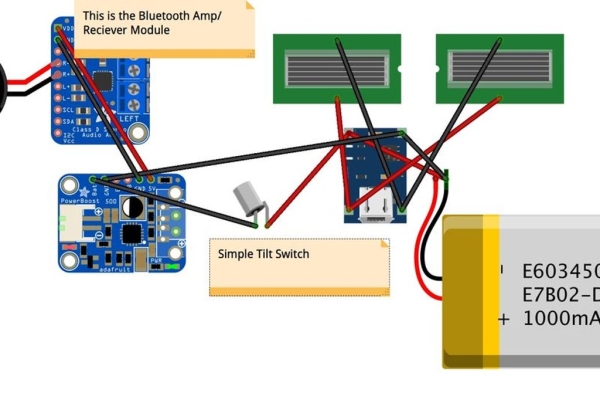
The fritzing diagram has all the connections for the components. There is no on/off switch. When the Solar Coaster is face up the tilt switch turns on and sends power to 5 volt boost circuit which powers the Bluetooth and Amp. When the Solar Coaster is flipped over the tilt switch cuts off power and the solar cells just power the charge controller and battery. The elements are just wired up on the back of the Aluminum plate and then hot glued down for stability when the epoxy goes on. The transducer is not connected up until after the epoxy pour so leaves the wires for this hanging out in the center.
Step 3: Build It
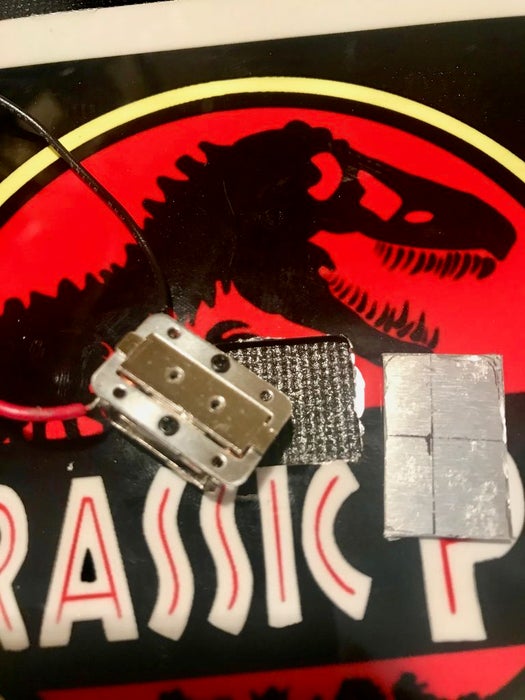
Cut out a window in your aluminum plate that fits the transducer. Build a dam around the plate with cardboard or whatever you want to seal in your project for the epoxy pour. Hot glue works well for sealing these temporary partitions. The center hole where your transducer will go also has to has its own dam–this can be done with even packing tape. Make a hole through the dam where you can feed the connecting wires from the rest of the circuit. The tilt switch is placed through a small drilled hole in the plate to stick out on the side of the logo. The big box store epoxy is pretty easy to pour–you just need enough to cover your components–you don’t have to cover the solar cells as they have their own epoxy cover thats probably more UV resistant anyway–just enough to attach them. I contact cemented some cabinet rubber runner material over the epoxy but you can leave it open if you like the circuit look. Finishing the transducer installation takes some finesse. There is a plate on the top side that must be above the surrounding stratum to provide contact with the glass bottom. Too high and the glass will want to tilt constantly–too low and no sound. Also you want a spongy glue contact to mount it to the Solar Coaster to minimize transferring vibrations to the coaster alone without the glass–I used silicon which absorbs most of the vibrations.
Step 4: Using It
The Bluetooth dongle starts to connect as soon as you flip it over. You know the drill for connecting it to your phone or Alexa. To use–get on an airplane and fly to a warm beach with really good sand and leave it charging for a time while you swim in the ocean. Then as the sun sets place a cold beer in a glass and set it on the Solar Coaster and totally ignore the whiny Taylor Swift voice coming from it and enjoy the view.
Source: Solar Coaster