We have a room at our office that is just perfect for a quick nap. Closable doors, dark blinds and even a red light over the door to set the room to “do not disturb”.
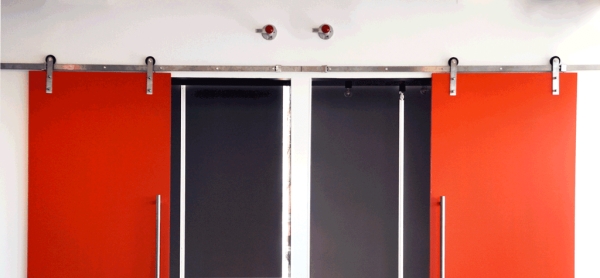
Catch is, walking up to the 4th floor with your teddy in tow only to find out that the red light is on is just soul destroying.
Fortunately we have a few bits and pieces lying around to make this problem go away.
The “Light Bulb Spy” could have you tweeting the status of a light bulb in 2 hours.
Step 1: What You Need.

Parts
- Particle Photon (or Spark)
- Iphone charger
- Female to female jumper wire
- 3D printed cover (Thingiverse or Shapeways)
- A little heat shrink tubing
Tools
- Soldering iron
- Heat gun
- Wire Cutter
- Wire Stripper
Step 2: Wire It Up.
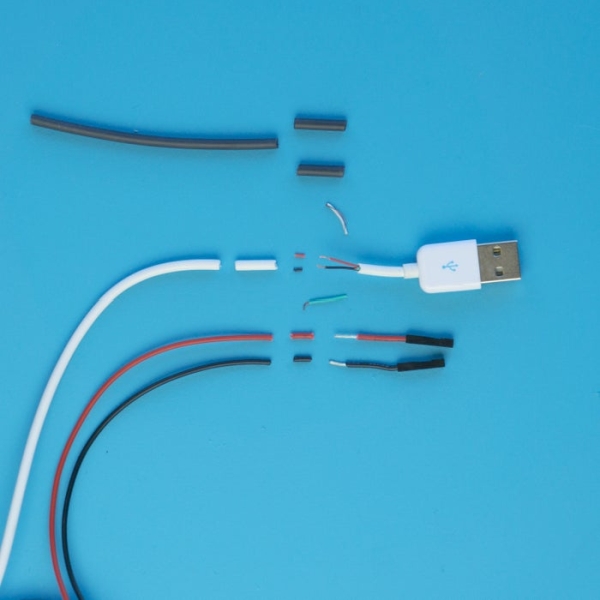
What we’re making is a little USB wire setup that will supply 5V to your board.
Take the USB cable that came with your board and cut it to about 25mm (1″) and then strip off the outer casing.
You only need the red and black wire so cut off the white and green/yellow wires nice and short.
Strip the red and black wires back just a bit.
Cut and strip the female to female jumper wire to about 12mm (0.5″).
Solder the female jumpers onto the severed USB cable.
Cover the joins with heat shrink tube and shrink using a heat gun (or hair dryer).
Step 3: Put It All Together.
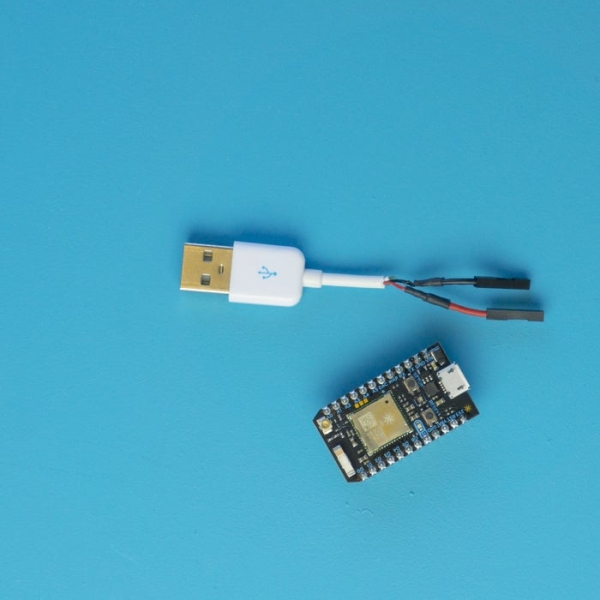
- Connect the red wire to the VIN pin and the black wire to the GND pin on your board.
- Plug it into your adapter and tuck the Photon pins neatly around the USB.
- Slide the 3D printed cover over and click it down.
- It is now ready to be plugged into whatever power outlet you want to monitor. We plugged it into one of these and installed it behind the light bulb.
Step 4: Connect It to Twitter.
- Plug your project into an outlet.
- Now connect your photon/spark to your wifi. Here is a walkthrough in their documentation.
- Next set up an IFTTT (If This Then That) account here.
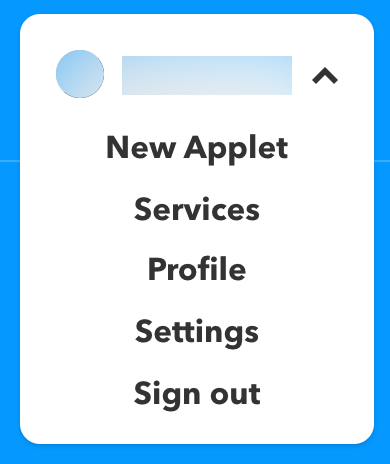
- Now click on your name and choose “New Applet”.
- Click on “This”.
- Search for Particle in the list and choose it.
- Connect Particle to IFTTT.
- Choose “Monitor your device status”
- Choose your Photon board and select “online”. Create Trigger.
- Click on “That”.
- Search for Twitter in the services.
- Connect Twitter to IFTTT. (I suggest creating a new twitter account).
- Choose what you want your tweet to say if the Photon is powered up.
- Create Action.
- Build a new applet with the same steps but this time select “offline” and change the message in the last step.
Now, when your project gets power it will turn on the Photon in about 3 seconds and connect to the internet. When that happens IFTTT will send a tweet.
Step 5: Take It Further.
IFTTT has about a million other things that can be triggered with this setup. Play around with those. We need to let 400 people have access to the information to we used twitter. If I was just doing it for myself I would create a notification to my watch or to the Quirky Nimbus.
You can also connect a whole host of sensors to your Particle board. Have a peek at some of these projects.
You can save a ton by using a cheap ESP8266 board rather than the Photon (but remember to use a 3V3 buck step down).
Source: Spy on Your Lightbulbs.