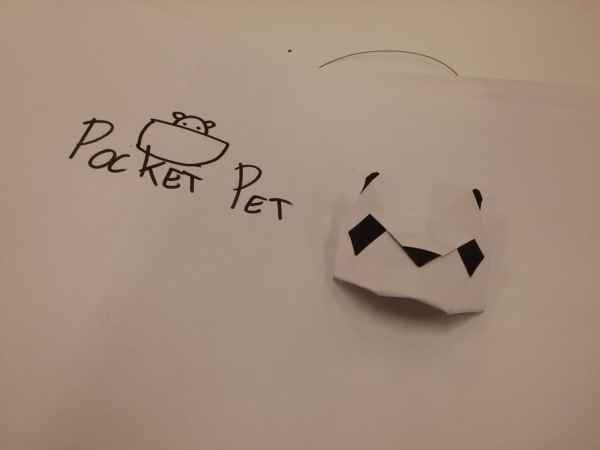
Paper Pocket Pets (PPP) is a kit designed to create interactive modular and wearable toys. It encourages children’s movement and sociality thanks to the reactions of the pet and allows children to build their own representative pet and also to change it over time if they want.
Interaction dynamics
The pets are designed to be worn on the body and be interactive. The pet
- Moves! When the child is quite the pet is free to move on the child’s body
- Interacts with the owner! If the child moves quickly the animal stays still (not to fall off) but gets happy and lights up.
- Interacts with other pets! If two or more children with a pocket pet meet, the pets sense each other and “speak”, i.e. show rainbow color and move fast.
Step 1: What Do You Need to Create Your Paper Pocket Pet
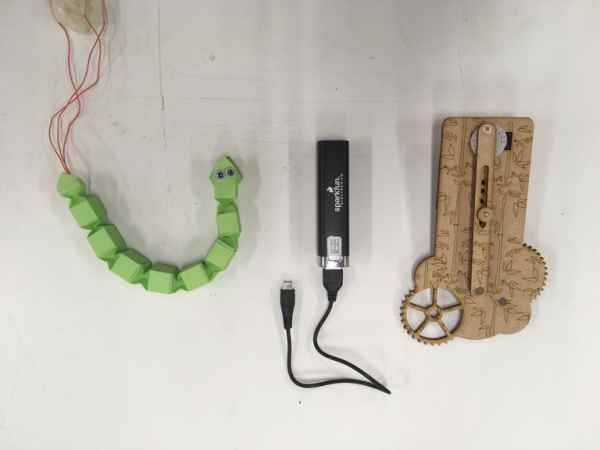
- Squared sheets of paper and origami diagrams to create the pets
- A rigid material such as balsa or plywood to create the support for the Paper Pocket Pets
- Magnets to connect the paper animals to the support plate
- Electronic components to animate the Pets, i.e.
- A battery
- A programmable board. We used Microbit and we will explain how to program this one, but using other boards is possible too. Additional we used an edge connector breakout board to easily attach components to the microbit.
- Single LEDs
- 1 servo motor
Step 2: Wood Support With Magnets Embedded
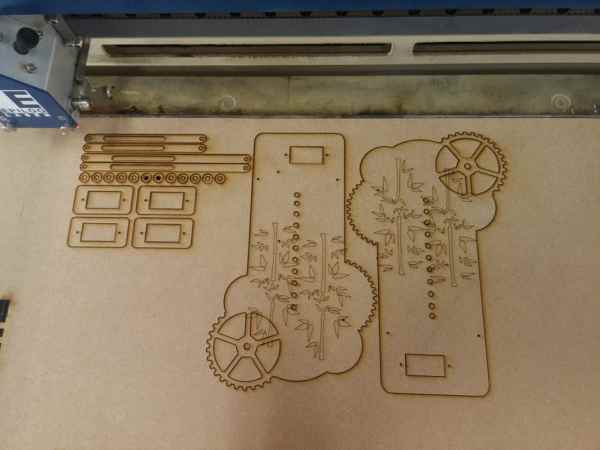
The wooden base provide a habitat for the paper pet. We were inspired by the Paper Mech Project (http://www.papermech.net). You can find our laser cut model in the attachment. It allows the paper pet to go up and down. And we used it for the frog and the snake. Look at http://www.papermech.net for different movements.
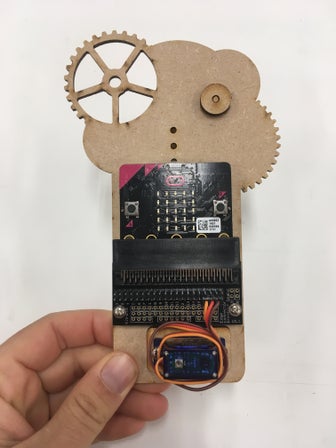
We used tiny screws and glue to attach the wooden parts as well as the servo motor and microbit breakout board to the wooden base. We glued two magnets to the wood, one at the base and one at the crank. The paper pet will be attached there later on.
Step 3: Build the Origami
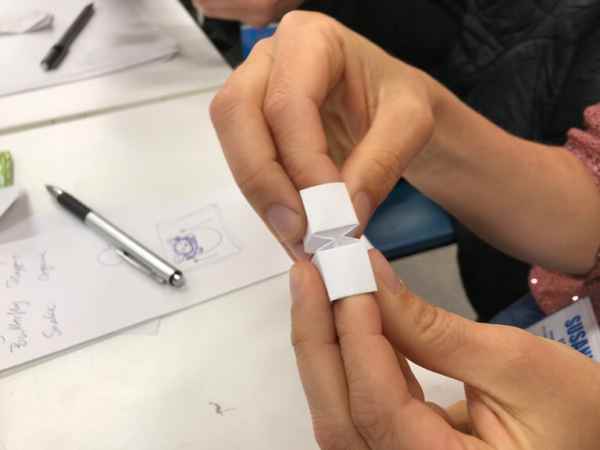
We tried out several origami figures and liked the frog and snake the best. Below you find some inspirational videos that we looked at:
Frog – http://web-japan.org/kidsweb/virtual/origami2/exp…
Butterfly – http://www.sweetlivingmagazine.co.nz/wp-content/u…
Snake – http://www.sweetlivingmagazine.co.nz/wp-content/u…
We added two magnets inside the origami pet. For the frog on in the front paw and one in the middle at its back. For the snack we added one magnet in the head and the other at the lower end. You can try to attach the paper pet to the base and see how it fits and how it moves manually. Feel free to decorate your paper pet with eyes, glitter, color, etc.
Step 4: Programming the Pet’s Behaviour
Start the microbit editor (https://makecode.microbit.org/#editor).
The programming can be done in steps.
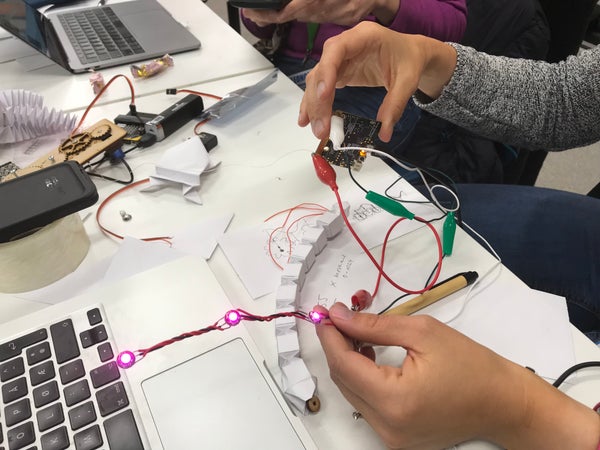
- We started exploring lighting up leds. For the LEDS we used a library called Neopixel. Adafruit has a good tutorial to get started with (https://learn.adafruit.com/micro-bit-lesson-3-neop…). We created a band of 4 neopixels and connected it to one of the input pins.
- When we tried to control the motor that will move the pet. We used the commands available under Pins to control our servo motor ( https://makecode.microbit.org/reference/pins). The normal behaviour is that the motor is on and the paper pet is moving slowly. We attached the motor to the wooden base and experimented with the mechanics until we liked the movement.
- Now we need to give it some interactivity. Then the kid is moving the pet should be still and light up. We used the onShake event to detect movement, light up the neopixels and stop the servo motor for a while. We added a variable to track the state of the pet (moving or not) and an internal countdown to prolong the effect.
- The last step is communicating with others. We used the radio functionality for that (https://makecode.microbit.org/reference/radio). If we detect a nearby friend the leds will light up in rainbow colors and the pet moves quicker. Again we used the internal countdown to reset the radio and state of the paper pet.
You can download our code as inspiration. But it will be more fun programming your own paper pocket pet. Let us know what your paper pet can do 🙂
Step 5: Embed the Technology in the Origami and Connects All the Parts
The last step and the easiest one is combining everything. You need to
- Download your code to the microbit
- Connect the microbit to the wooden platform.
- Attach the battery to the microbit
- Add the lights (and magnets) to the paper pet
- Attach the pet to the platform using the magnets
- Attach cables to the microbit, both from the motor and the leds.
- Power it up and have fun 🙂
Source: Paper Pocket Pets
