Step: 1 Materials
Not much is needed at all for this. The only materials you need are:
-5 Wires
-6 Pin Female Header
-6 Male Header Pins, broken into sections of 4 and 2
-Solder
-Electrical Tape
And the only tools you need are:
-Soldering Iron
-Wire cutters
-Hemostats help a lot with holding the wire in place
-Fine Tip Permanent Marker
Step: 2 Soldering: Part I
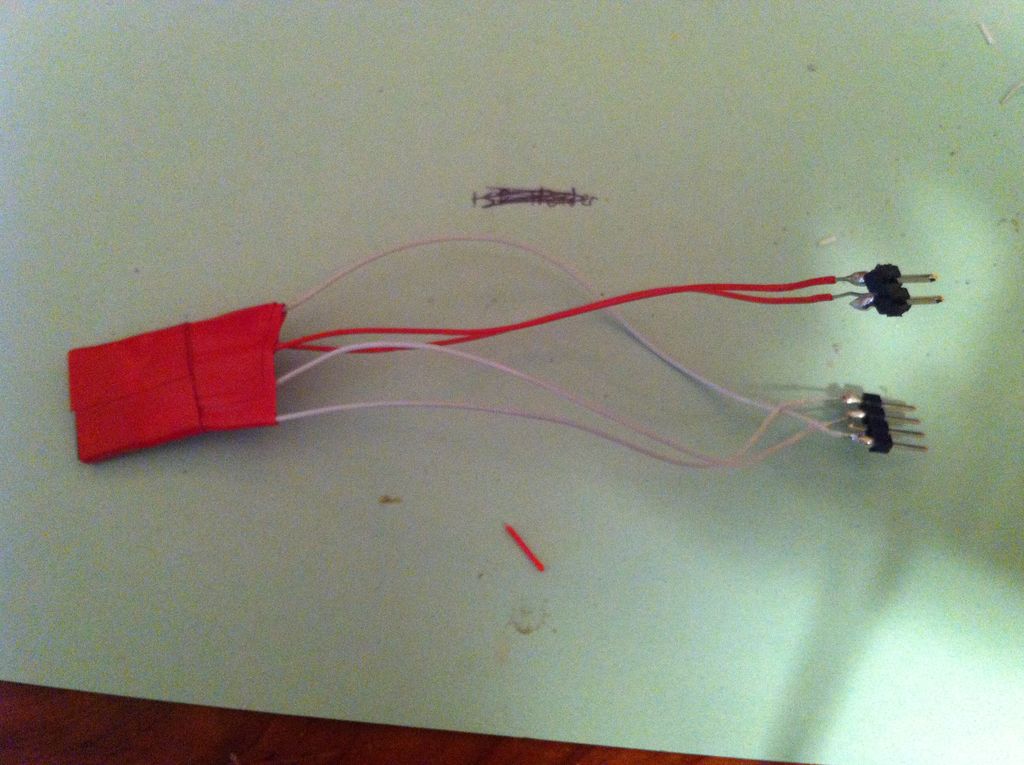
Solder your 5 cables to the header. I used red cables for the data and white for everything else. On the leftmost (or rightmost if you’re turned the other way) side, connect the ground wire to both of the terminals on the end. Once you’re done, wrap in electric tape and label it with the marker. Make sure to keep the cables aligned.
Step: 3 Soldering: Part II
Now it’s time to solder the other side. On the leftmost pin of the 4 pin male header (the one that was broken off of the 6 pin header) connect the RTS wire. This will be the reset pin on the Arduino. Skip the second-leftmost terminal and solder the third pin to VCC. Solder the rightmost pin to the wire for GND/CTS.
>
On the 2 pin header (the other part of the 4 pin), solder the left pin to TX and the right pin to RX.
Once complete, the pins will be laid out like so:
FTDI Header Pin = Arduino Pin
GND = GND
CTS = GND
VCC = 5V
TX = TX
RX = RX
RTS = Reset
On the 2 Pin header, you may want to label which is the TX and which is the RX (I learned the hard way)
For more detail: Arduino FTDI Header using ATmega8 microcontroller


