Christmas is coming closer, so here is my contribution to put you in the right mood. It is a blog hitcounter, that rings a bell. Literally. It puts a smile on your face, every time someone hits your blog.
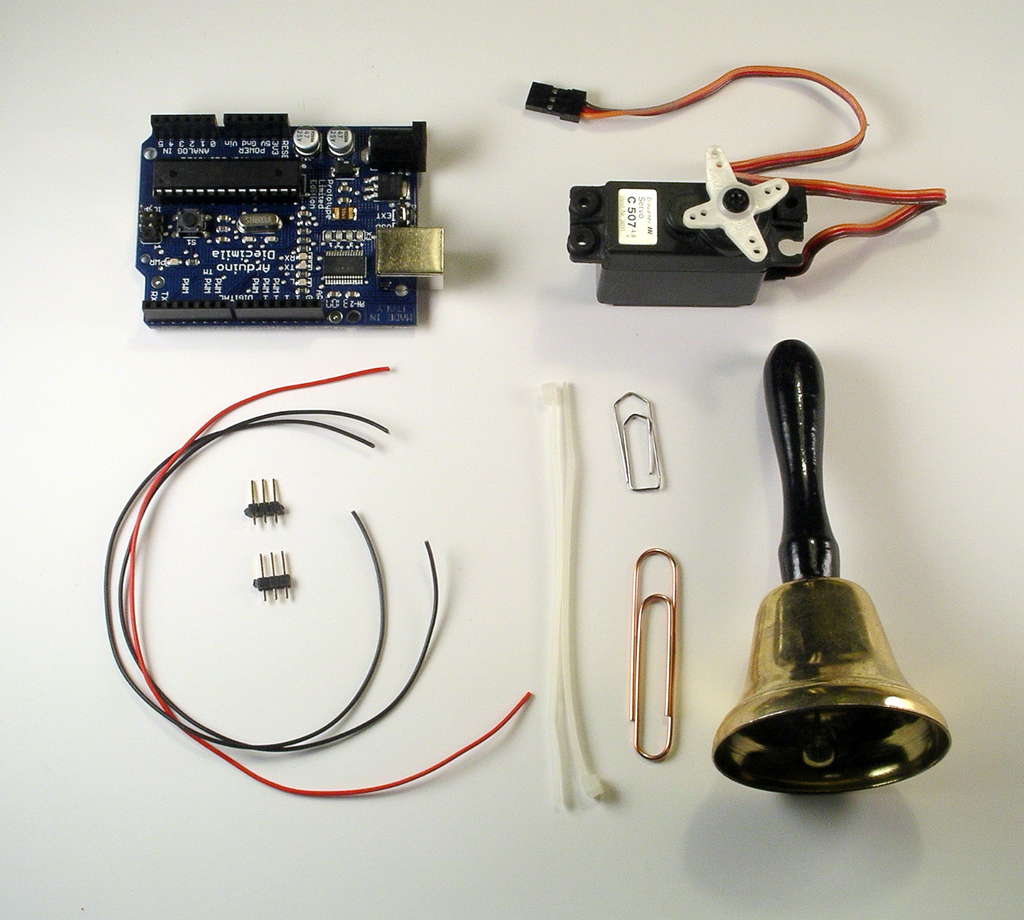
It consists of an Arduino board, a bell, a servo and a couple of lines of code in c, python and php. Most parts are fairly common and should be easy to get.
Step 1: Tools and Materials
So what is needed?
- Arduino Board. I got an Arduino Diecimila from Adafruits. In the meantime there are really cheap and handy clones out there, e.g. the really bare bone board from Modern Devices, especially if you want to use them on a breadboard.
- A servo motor. Any servo will do. I took an old one that was used in my former hobby.
- A bell. Preferably one that is small enough to shake it with the servo.
- Two paperclips. A large one to hold the bell and a small one to build the actuator to ring the bell.
- Wires to connect the servo with the Arduino.
- A website. In fact it has not to be a website or a blog. Actually everything that can be counted, will work.
- A PC or a Mac to connect the Arduino board with the blog or website.
You may need an soldering iron, if the wires can not be connected directly to the Arduino.
Step 2: Hardware Assembly
Step 3: Schematics
There is no real schematic. Just attach the servo motor to the Arduino. The servo has three wires:
- yellow or orange: signal
- red: VCC
- brown: GND
The red and the brown one are attached to the according pins on the Arduino (5V and GND). The orange one is wired to pin 2. It will signal the servo in which direction to turn.
You may want to solder small connectors to the wires if the wires do not fit directly into the Arduino or the servo.
For more detail: Arduino XMAS hitcounter using AVR microcontroller


