Summary of AVR-GCC
This article details the author's transition from Arduino IDE to the AVR-GCC toolchain for Week 4 board programming. The primary goal was mastering I2C communication using Atmel libraries on two Arduino Uno boards acting as ATMega 328P targets. Despite initial library compatibility issues requiring code modifications, the author successfully established byte transmission between a master and slave device after debugging with a logic analyzer.
Parts used in the AVR-GCC I2C Experiment:
- Arduino Unos
- Breadboard
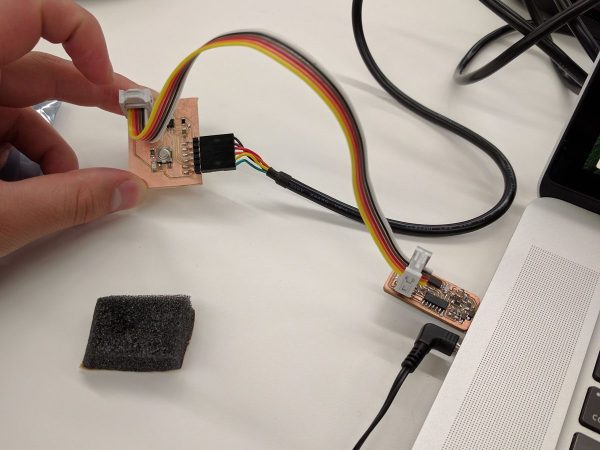
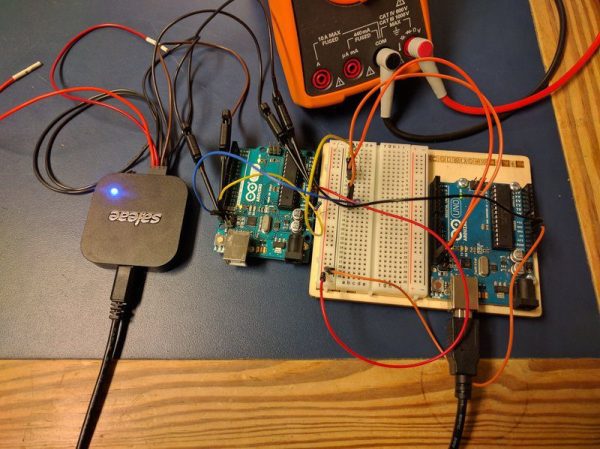
- Saleae logic analyzer
- ATMega 328P microcontroller
- LED
Background
I’ve written dozens of programs using the Arduino IDE and using other tools like the ARM mBed toolchain. My priority for this week was to familiarize myself with avr-gcc and the Atmel libraries.
Week 4 Board Programming
I had already programmed my Week 4 board with the provided serial echoing program so I was pretty comfortable with the flashing workflow. I wrote a very simple AVR GCC program to get the board to blink its LED. This was a good hello world for the libraries and IO structure that the Arduino Bootloader abstracts away (specifically all the registers).
I2c Fun?
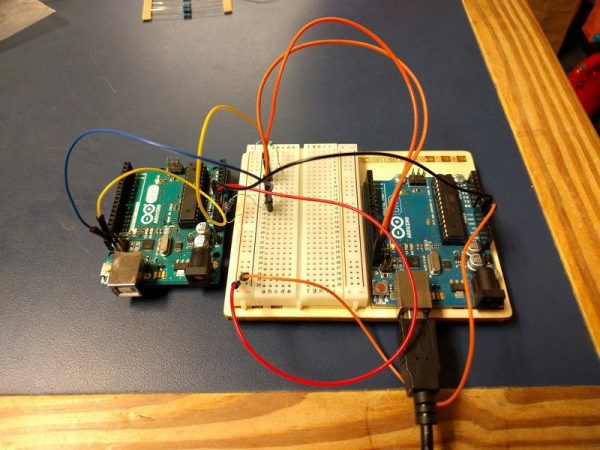
Arduino Unos
My final project is relying heavily on using busses like I2c to communicate between microcontrollers. I’ve written several I2c programs using the Arduino toolchain and Wire.h so moving to avr-gcc seemed like the logical next step. I decided to spend the majority of the week getting I2c working between two boards. I’ve already started working on the controller board for the final project, but it wasn’t done and I didn’t have time to mill and stuff a new board.
Luckily, I had a couple Arduino Unos lying around. While complete overkill, they break out the IO nicely and one of them was even attached to a breadboard. I decided to use them for figuring out I2c with avr-gcc since they can be used as a generic ATMega 328P target. Example flashing code for Uno target:
$ avr-gcc -mmcu=atmega328p main.o TWI_Master.o -o main
$ avr-objcopy -O ihex -R .eeprom main main.hex
$ avrdude -F -V -c arduino -p ATMEGA328P -P /dev/ttyACM0 -b 115200 -U flash:w:main.hexavrdude: AVR device initialized and ready to accept instructionsReading | ################################################## | 100% 0.00savrdude: Device signature = 0x1e950f (probably m328p)
avrdude: NOTE: “flash” memory has been specified, an erase cycle will be performed
To disable this feature, specify the -D option.
avrdude: erasing chip
avrdude: reading input file “main.hex”
avrdude: input file main.hex auto detected as Intel Hex
avrdude: writing flash (774 bytes):Writing | ################################################## | 100% 0.14savrdude: 774 bytes of flash writtenavrdude: safemode: Fuses OK (E:00, H:00, L:00)
avrdude done. Thank you.
Atmel’s Libraries
One of the goals was to get used to the new workflow that comes with using the avr-gcc toolchain. While I could have modified an Arduino library or downloaded a drop in “Arduino-like” library, I wanted to use the Atmel application note library (Master, Slave).
However, this caused several immediate problems. These libraries were designed for Atmel Studio which meant several libraries had to be exchanged (ioavr.h –> avr/io.h, inavr.h –> avr/interrupt.h). These avr-libc libraries are not drop-in replacements so I had to rewrite the interrupt service routine (ISR) function declarations and switch out various low-level function (sei () enables interrupts, _NOP() is the no operation instruction, _delay (unit ms) needs to be imported).
After this has been completed, the modified example code compiled. It sent a byte over I2c to the specified slave address, the slave then added one to the data byte, and then asked for the data back from the slave. My modifications mostly served to test the different addresses and learn about Atmel’s library (e.g. turning the LED on for a success).
Debugging
For better or worse, the week was mostly spent debugging the I2c code. After getting the code programmed and hooked up in the identical fashion to my Arduino IDE I2c demo, I wasn’t getting any obvious communication between the two (none of the LEDs lit). I pulled out my Saleae logic analyzer and sure enough there was no signal…
Source: AVR-GCC
- Why did the author switch to avr-gcc?
The author wanted to familiarize themselves with avr-gcc and Atmel libraries to move away from the Arduino Bootloader abstraction. - What hardware was used for the I2c experiment?
Two Arduino Uno boards were used because they break out IO nicely and act as generic ATMega 328P targets. - Which specific libraries were utilized instead of Arduino Wire.h?
The author used Atmel application note libraries labeled Master and Slave. - How were header files adapted for the new toolchain?
The ioavr.h file was exchanged for avr/io.h and inavr.h was exchanged for avr/interrupt.h. - What low-level functions required modification during the port?
The ISR function declarations needed rewriting, along with switching out sei(), _NOP(), and _delay() functions. - What command was used to flash the hex file to the device?
The author used avrdude with the -U flash:w option to write the main.hex file. - What issue prevented communication initially?
No signal was detected on the bus, causing neither LED to light up despite identical wiring to an Arduino IDE demo. - What tool helped identify the lack of signal?
A Saleae logic analyzer was pulled out to verify that no communication signals existed.