What is Intel® Quark™ microcontroller D2000?
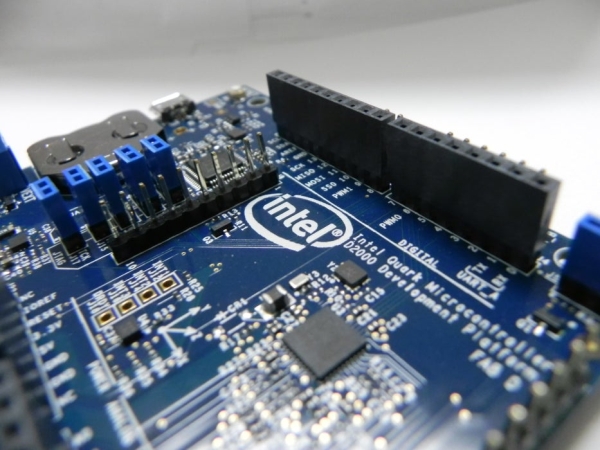
The Intel® Quark™ microcontroller D2000, is a low power, battery-operated, 32-bit microcontroller with a more robust instruction set than other entry-level microcontrollers. The first x86-based Intel® Quark™ microcontroller, Intel® Quark™ microcontroller D2000 also increases input/output options over other entry-level microcontrollers. Within its small footprint, the Intel® Quark™ microcontroller D2000 includes an Intel® Quark™ ultra-low-power core running at 32 MHz, with 32 KB integrated flash and 8 KB SRAM.
What we are going to do with it?
If you are from engineering background (or you are a tech geek) in programming when we start learning a new programming language we always start with “Hello World” program. Same as programming when we start hands on microcontrollers or development boards we test “Blink LED” test at the very first. So in this tutorial I am going to explain how to setup the environment.
So lets get started…
Step 1: What You Need?
Hardware
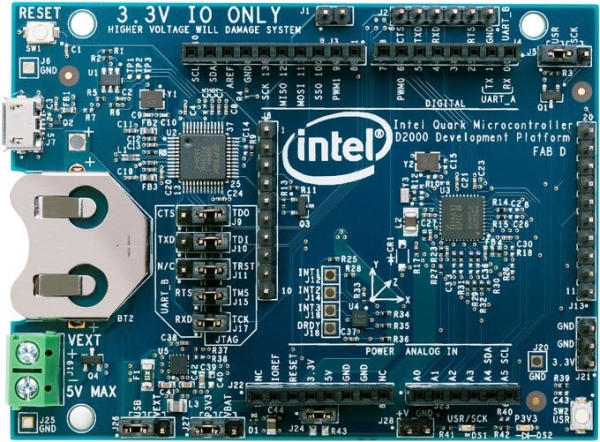
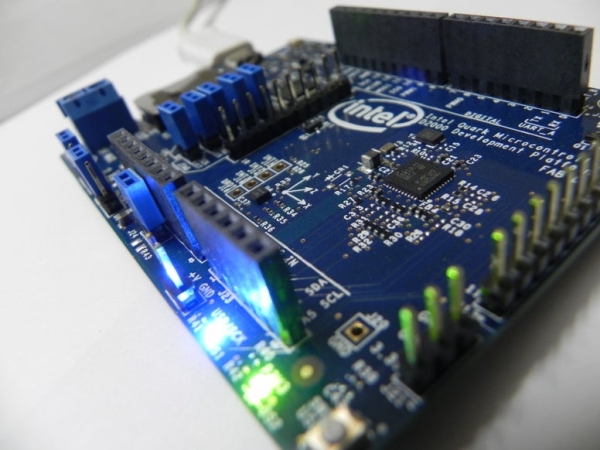
1. Intel® Quark™ D2000 Microcontroller Development Board – Buy Link
2. Micro USB Cable (although it included in package)
Software (IDE)
1. Intel® System Studio for Microcontrollers – Download Link
Step 2: How to Connect D2000 With Computer?
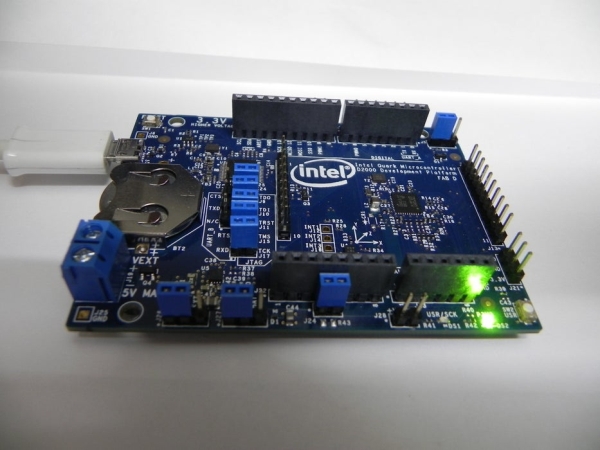
It is very simple just plug the micro USB port in the D2000 board and the other side in the computer’s USB port. The green LED confirms connection. Make sure you have correct drivers.
Step 3: How to Install Intel System Studio for Microcontrollers?
As we have just done with all the installations and connections. Its time to install ROM on the board. Every board comes with empty ROM and you have to install ROM at very first.
1. From the menu toolbar select Project > Update Microcontroller ROM
2. Select Board “Intel Quark D2000 Developer Board”
3. Project type “QMSI 1.1”
4. Leave “Custom configuration” unselect
5. Press “Update” button
You can see this process in attached video for more convenience.
Step 5: Let’s Play With LED
First you need a Project so create a new project from “File” menu. And then select “Intel Project for Microcontrollers”. New window will appear select our development board from the select screen, press “Next >”. It will ask you for “Project Type”, as we installed QMSI 1.1 in previous step. So select “QMSI 1.1”, press “Next >”. Then connction type as “USB-Onboard”.
On next screen you will have to give a name to your new project. Give a nice and relevant (because lots of newbies user names like “TEST”, “TEST 1” etc… lol) name to your project.
The cool part is Intel has already embedded some of the example projects. So select “LED_Blink” from the examples and press finish. Trust me this program is absolutely complete you not even have to change any variable for test run.
So you just have to run you project from the Run menu and press Run the select configuration as “flashing”.
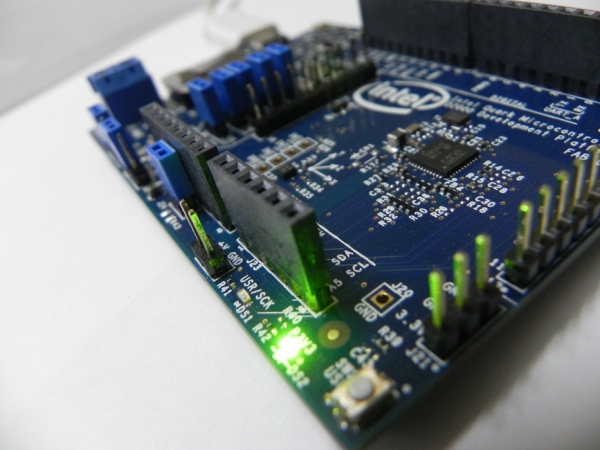
voilà! If all goes good you will see Flashing blue LED on the board itself. How ever some times this process fails with “device not found error” but don’t worry it just driver issue. Just follow the link.
Please do watch the video add in this tutorial as I have covered all the steps for better visualisation.
Source: Blink LED Test on Intel Quark D2000 Development Board