Summary of Classic Atmel ATtiny85-20PU Stop Light
This project is a quick, fun DIY stop light using an ATtiny85 microcontroller, ideal for parent-child bonding. It teaches basic electronics skills and features a signal light that changes from green to red, mimicking real traffic lights. The build requires minimal parts and can be completed in minutes.
Parts used in the Classic ATtin85-20PU Stop Light:
- 1 Red LED 10mm
- 1 Yellow LED 10mm
- 1 Green LED 10mm
- 1 150 ohm resistor
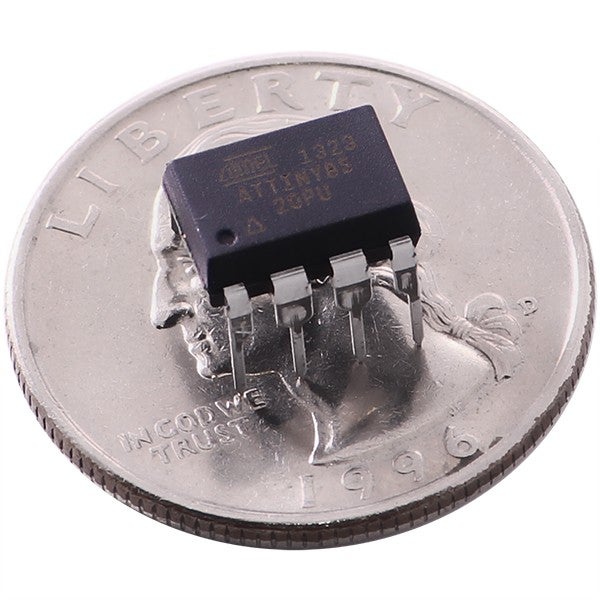
- 1 ATtiny85-20PU
- Breadboard or protoboard
- Two terminal power block
- Wiring
- Soldering iron and solder
- Arduino IDE Version 1.6.4 or newer
- Programmer (optional but recommended)
- 18650 Li-On rechargeable battery or AA batteries
The Classic ATtin85-20PU is a very simple project that is also very fun to make. It really is perfect for a parent/child combo because it’s quick! Builds in minutes. But it does teach several electronic hobbyist skills.
There is a story behind my decision to become infatuated with signal lights. My friend invited me to his son’s birthday party, and on the table with the cake and the presents was a novelty lamp that was a working stop light. And I saw how much fun the children were having with it. When they were going to the table for a piece of cake the light would change from green to red and the children would stop and laugh until the light turned green. It was so much fun.
The best resulting build uses 3 large 10mm LEDs. It looks so much better than 3 5mm LED but that’s IMHO. Anyway, if you’re ready to get started let’s go to step 1.
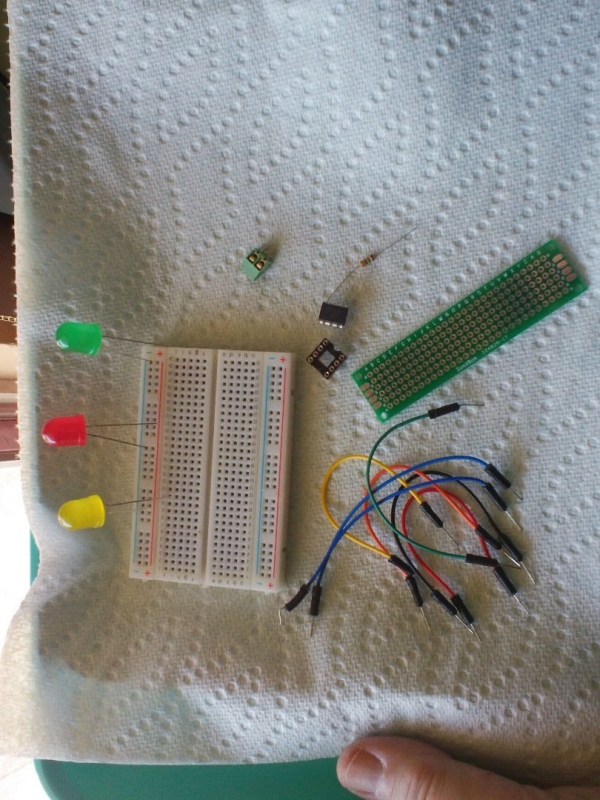
Step 1: Parts
Gosh this list will be so short it could give me one of those complexes that were all the rage back in the 70s, ha ha.
BOM:
- 1 Red LED 10mm works best
- 1 Yellow LED 10mm
- 1 Green LED 10mm
- 1 150 ohm resistor
- 1 ATtiny85-20PU
- Breadboard or if you want to make something that’ll last use a protoboard
- 1 Two terminal power block
- Wiring
Software
- Arduino IDE Version 1.6.4 or newer. The board manager was evolved to the point were adding 3rd party board to the IDE was the most simple process to date. Check out Adafruit for more info:adding third party boards
- Soldering iron and solder
- The sketch to upload to the ATtiny85-20-PU
- A programmer which has been covered quite thoroughly by so many other I’ll just provide a link to a good one for those who do not have one.This is a good one: Program an ATtiny with Arduino
Step 2: Sketch
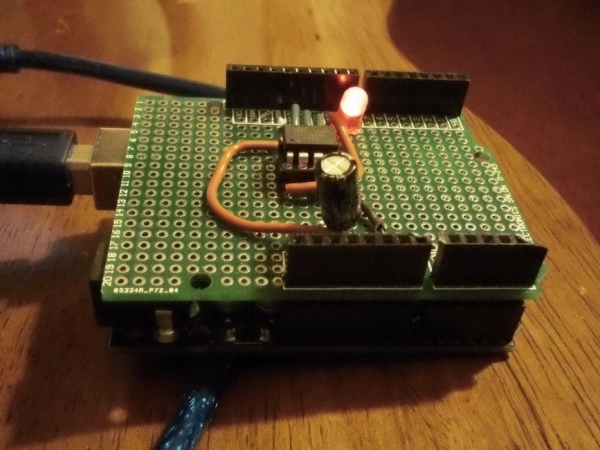
Now you know how to burn a bootloader and upload a sketch to an ATtiny85. Congratulations that is a pretty nice piece of work. In the future when a project call for very minimal microcontroller involvement you can make a choice for a very low cost substitute: The ATtiny85! or other members of the family. And I hope you decided to go ahead and build a permanent programming shield. Just for fun I have added a picture of the one I made. It has been used many times.
Well we have reached the point of no return, time to upload our sketch via the Arduino programming setup.
Step 3: Let’s Get Wired!
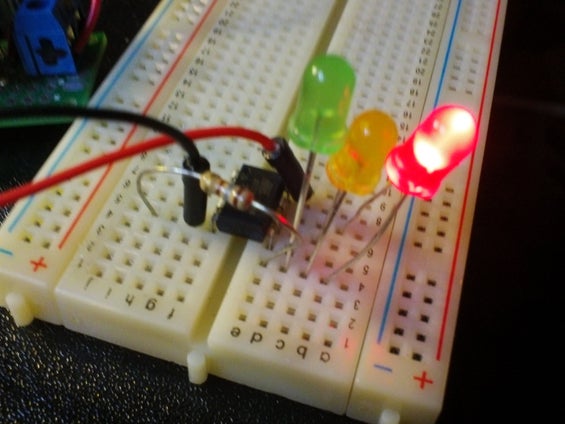
Hey good you’re back. How’d the programming go? That heart beat thing is pretty cool huh? And you learned the long lead on an LED is the positive lead. That’s going to be important because we’re wiring up three of ’em in this project. Okay putting this project together is quick and easy, so let’s do it.
I guess now would be a good time to mention that an 18650 Li-On rechargeable battery is a great choice for powering for a few days. Or a couple of good AA batteries. The only problem with rechargeable AAs is they are 1.2V. The voltage range for the Stop Light is 2.7 – 5.5V, But I find you get the best performance with an 18650 Li-On rechargeable battery. I have ran the circuit with 5V and the LEDs were very bright.
I know some folks think it is bad form to sell here on Instructables, but I think if a hobbyist can make a few dollars to reinvest into more projects I don’t think anything is wrong with that. So if you would like your ATtiny85 pre-programmed, a PCB, and the parts, click here
Source: Classic Atmel ATtiny85-20PU Stop Light
- What makes this project suitable for parents and children?
The project builds in minutes while teaching several electronic hobbyist skills. - Which LED size works best for the build?
Three large 10mm LEDs work best and look better than 5mm LEDs. - How do I identify the positive lead on an LED?
The long lead on an LED is the positive lead. - What is the best battery choice for powering this circuit?
An 18650 Li-On rechargeable battery provides the best performance. - What voltage range does the Stop Light require?
The voltage range for the Stop Light is 2.7 to 5.5 volts. - Can I use rechargeable AA batteries for this project?
Yes, though standard AAs are preferred because rechargeable ones are only 1.2V. - Which software version is required for the Arduino IDE?
Arduino IDE Version 1.6.4 or newer is required. - Is it possible to buy pre-programmed parts for this project?
Yes, some sellers offer pre-programmed ATtiny85 chips, PCBs, and parts.