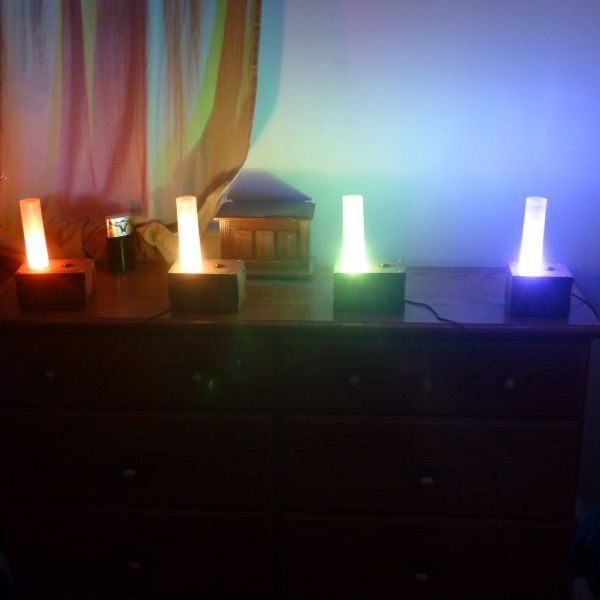
Get in the mood with some fairly simple ATTiny85 based DIY color shifting lamps!
Step 1: Materials
- Saw
- Drill
- Sheet of wood
- Wood screws
- Various hole cutter bits
- 6″ Acrylic Cupcake / CAKE / Centerpiece Tube Extension (for diffusing the light)
- Sandpaper
- 2 Watt 10 Ohm Metal Film Resistor (qty 3)
- Protoboard
- Your preference for on off switch (I used the rocker switches in the attached picture)
- ULN2003AN (High-Voltage High-Current Darlington Transistor Array)
- 3W RGB Color High Power LED Light Common Anode with 20mm Star Heatsink
- ATTiny85 (and some means of transferring a sketch to it)
- 5v 2W power supply
- Wire
- Basic soldering equipment (solder, solder iron, wire cutters\strippers, etc)
- Hot glue gun
- 4 rubber feet
Step 2: Step 2: Build Your Box
You can build or buy your box as you desire. If you build your box I recommend the following dimensions.
Top and Bottom of the box should be 8×5 inches
Front and Back of the box should be 8×3 inches (Box will be 3 + 2*X inches tall where X is the width of your wood)
The two end pieces should be (5 – 2*X)x3 inches where X is the width of your wood. (the end pieces will be as wide as your bottom piece minus the width of the front and back pieces)
Sand all edges
Assemble bottom, front, back and both edge pieces and hold them together with wood screws.
Align and drill your pilot holes for the top piece to be secured later.
For more detail: Color Changing Mood Lamp

