Hi, in this Instructable I want to show you how to create your own diffusor for a LED Matrix. To do this we will use a 3D printer and OpenSCAD. In this tutorial I will use a LOL-Shield by Jimmie ( http://jimmieprodgers.com/kits/lolshield/ ) also I will explain, how to design a diffusor for different matrix sizes and shapes.
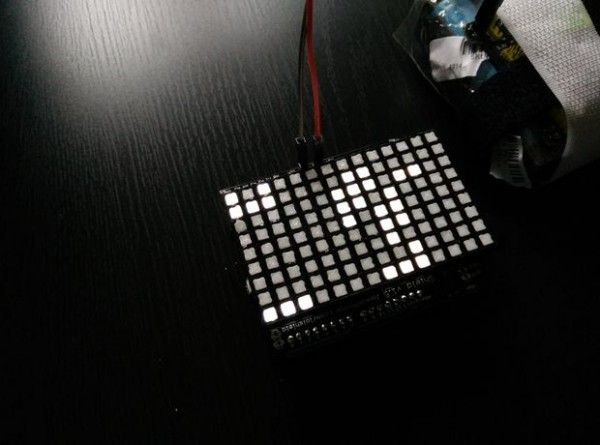
As I recently was at the 31C3 in Hamburg i got a LOL-Shield from Jimmie. This shield is holding 126 LED´s which are Charlieplexed. After coding some animations and a game on it I thought that the LED´s where too bright. Because I wanted to keep the greyscale ( dimming ) of the matrix I decided to design and build a diffusor.
Step 1: Requirements
Material:
A LED Matrix
Black Filament
White Filament ( or in the color your LED Matrix is )
Tools:
A 3D Printer ( Single Extruder )
A working bench
Computer
caliper
Additional: A mallet or a rubber mallet
Software:
OpenSCAD
A LED Matrix
Black Filament
White Filament ( or in the color your LED Matrix is )
Tools:
A 3D Printer ( Single Extruder )
A working bench
Computer
caliper
Additional: A mallet or a rubber mallet
Software:
OpenSCAD
Step 2: Measure the matrix
Our first step is to measure the matrix.
What we need:
Total lengh ( with planned border )
Total width ( with planned border )
Total height ( optional LED height + 3 – 4 mm )
Led size ( normally 3 or 5 mm sometimes 8 or 1 mm )
Spacing between Led`s
Optional you can measure the PCB to add holders / screws / a housing
I didnt do it, I only added spacers ( you will see later )
So the measurements of my board where:
Lengh: 70mm ( boarder 1 mm each )
Width: 42 ( boarder 1 mm each )
Height: 6.5 mm
Led size: 3 mm
Spacing: x = 1.6 y = 2 (i got not a square matrix)
For more detail: How to make a diffusor for your LED Matrix