
Summary of Make Your Own Homemade Arduino Board with ATmega328 Chip
Arduino is an open-source platform combining a programmable board (often AVR-based) and an IDE. This DIY explains burning a bootloader onto a fresh ATmega328 and building a homemade Arduino on PCB. Using an existing Arduino UNO as an ISP programmer, you replace the original IC with a new ATmega328, load the ArduinoISP sketch, wire the new chip on a breadboard with a 16 MHz crystal and 10K resistor, and burn the bootloader via the IDE to make the fresh chip Arduino-ready.
Parts used in the How to Burn a Boot Loader in a Fresh ATmega328 Chip and Build a Homemade Arduino on PCB:
- Arduino UNO Board with IC and cable
- ATmega328 IC
- Breadboard
- Connecting wires
- 16 MHz crystal oscillator
- 10 K resistor
Arduino is an open-source development platform for engineers and hobbyists to develop electronics projects in an easy way. It consists of both a physical programmable development board (based on AVR series of microcontrollers) and a piece of software or IDE which runs on your computer and used to write and upload the code to the microcontroller board.
Arduino uses a boot loader. Boot loader is a piece of software that allows the new software to be burned on it. So in this DIY, I am going to discuss “How to Burn a Boot Loader in a Fresh ATmega328 Chip and Build a Homemade Arduino on PCB”. In Arduino UNO we use ATmega328 IC so that I select this one to demonstrate this project.
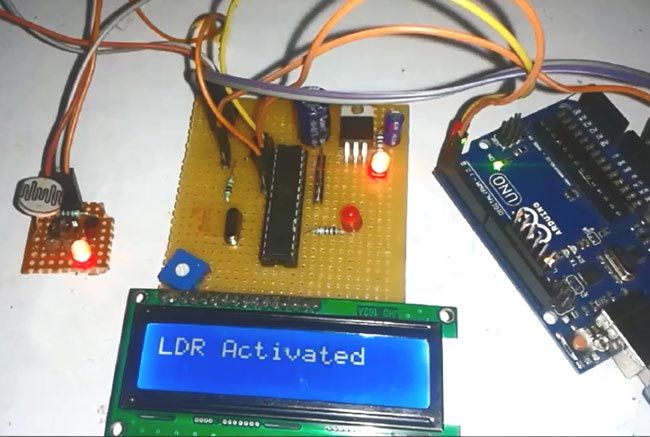
Components Required:
- Arduino UNO Board with IC and cable
- Atmega328 IC
- Breadboard
- Connecting wires
- 16 MHz crystal oscillator
- 10 K resistor
Steps for Building your own Arduino Board:
To burn a boot loader in new fresh Atmega328 IC, we need a Arduino board (we can use any Arduino board to burn boot loader). And then we need to follow below steps. We have also demonstrated the whole process in the Video at the end of the tutorial.
Step 1. In first step, arrange all the required things given in components list above
Step 2: Now remove “Arduino Original IC” from Arduino board with the help of Screw Driver. And insert “New Atmega328 IC” into the Arduino board.
Step 3: Now open Arduino IDE and go to File -> example -> ArduinoISP and open it.
Step 4: Now remove this New IC from the Arduino Board and insert the Arduino pre booted or Original Arduino IC into Arduino board and upload the same ArduinoISP sketch in it, like we have done in Step 3.
Step 5: Build the below given Circuit on the bread board with New IC on Breadbaord and Original IC on Original Arduino Board.
For more detail: Make Your Own Homemade Arduino Board with ATmega328 Chip
- What is the purpose of burning a boot loader in a fresh ATmega328?
To install the boot loader software that allows new code to be uploaded to the microcontroller. - Can I use any Arduino board to burn the boot loader?
Yes, you can use any Arduino board to burn the boot loader. - What sketch do I upload to the Arduino used as the programmer?
Upload the ArduinoISP sketch from File -> Examples -> ArduinoISP. - Do I need to remove the original IC from the Arduino when preparing the new IC?
Yes, remove the original IC to insert the new ATmega328 when initially placing it, then replace the new IC with the original to upload ArduinoISP. - What components are required to build the circuit on the breadboard?
ATmega328 IC, breadboard, 16 MHz crystal oscillator, 10 K resistor, and connecting wires. - When do I insert the new ATmega328 into the Arduino board?
Insert the new ATmega328 into the Arduino board initially to set it up, then remove it so you can upload ArduinoISP to the original IC. - Where is the ArduinoISP sketch found in the IDE?
In the Arduino IDE under File -> Examples -> ArduinoISP. - Is a screwdriver required in the process described?
Yes, a screwdriver is used to remove the original Arduino IC from the board.
