In this instructible, I will guide you through the use of the WF32 as an HTTP server that hosts a website that can be used to control servos and a stepper motor. The purpose of this was to create an iPad mount that allowed users to log in from a remote location and point the iPad around the room to look around.
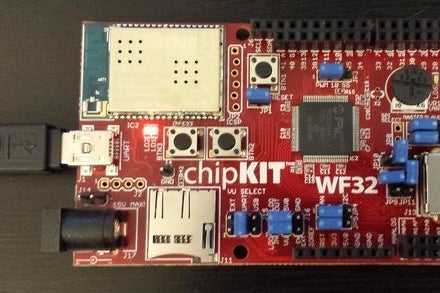
After following these instructions, you will have a WF32 that hosts a website that can be accessed locally.
Parts needed:
- WF32
- USB cable to connect WF32 to computer (USB to mini-USB)
- Micro SD card
- Internet access
- 12V power supply with barrel connector (optional as can use USB power, but must have computer connected to WF32, taking away the ‘remote’ aspect)
Note: This project is based off of Josh’s instructible (Controlling a WF32 from a Computer: https://www.instructables.com/id/Controlling-a-WF32…). Feel free to reference that for additional clarifications.
Step 1: Download Test Version of MPIDE
The latest version, necessary for the code to be loaded on the WF32 to function as desired, is required.
The download for this version is given below:
http://chipkit.s3.amazonaws.com/builds/mpide-0150-…
This version of MPIDE is for windows. If you are a non-windows user, feel free to visit the chipkit website for the latest version in your operating system. (http://chipkit.net/wpcproduct/mpide/)
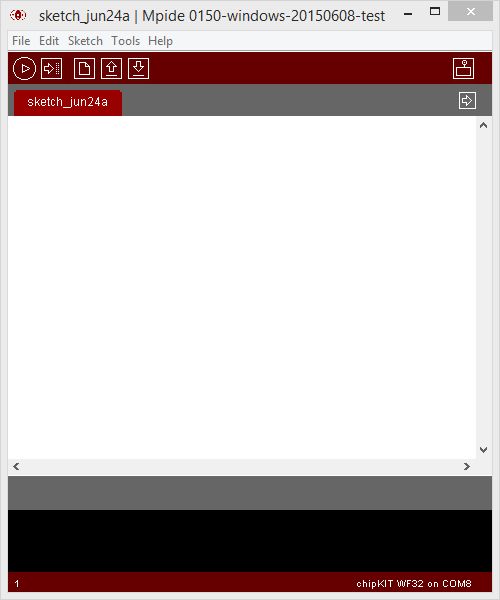
Once installed, the software should open and look as pictured in the image above. You may have to extract the files from the folder following the download. You can then open the program by opening the filed named MPIDE.exe.
Step 2: Place Content on SD Card
Download .zip file attached on this page. This will be the content that needs to go on your microSD card. After unzipping the file, open it and place all the files contained within directly onto the microSD card. It is important that the file Homepage.htm is at the root of the SD card otherwise the WF32 will not have success finding it (i.e don’t copy the ‘SD Card Content’ folder on the SD card, copy its contents).
After the files are on the SD card, insert it into the SD slot on the WF32.
Step 3: Download Code for WF32
Download and unzip the files provided. After unzipping you should have a file that contains another folder called “deWebIOServer” and a word document called “Coding Reference Guide.” If you open the deWebIOServer you can click on the file called deWebIOServer.pde. This will open in MPIDE. If this is your first time opening this type of file, you may need to right click on the file and click Open With and then find MPIDE. Another way of doing this is first opening MPIDE and then click File->Open then find where you downloaded the file attached here.
Step 4: Open MPIDE Files
Open the file called deWebIOServer.pde in MPIDE, by either clicking on it (if you’ve used MPIDE before) or first opening MPIDE and then clicking File->Open and find the downloaded file.
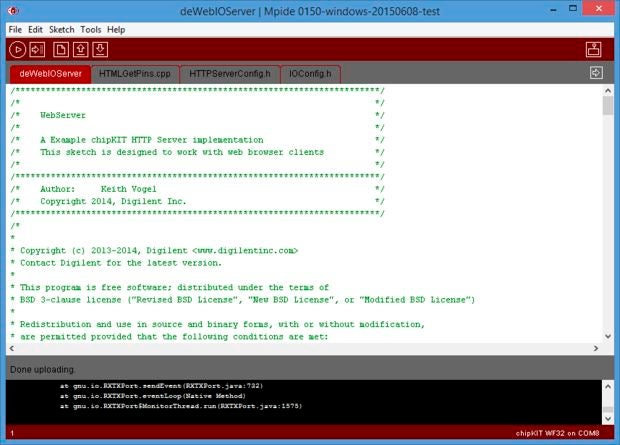
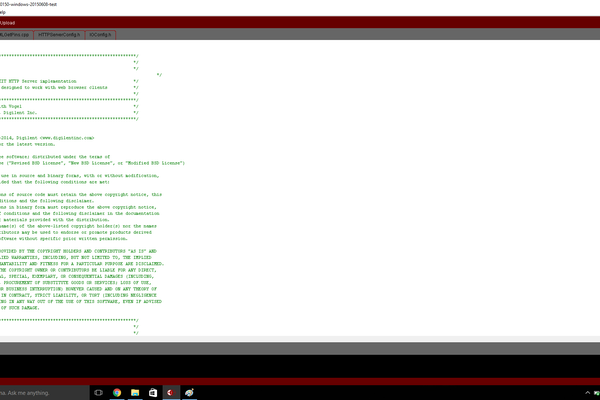
When opened, a new sketch should open that contains four separate tabs within it. It should look like the photo above.
Step 5: Add Your Personal Wifi SSID and Password
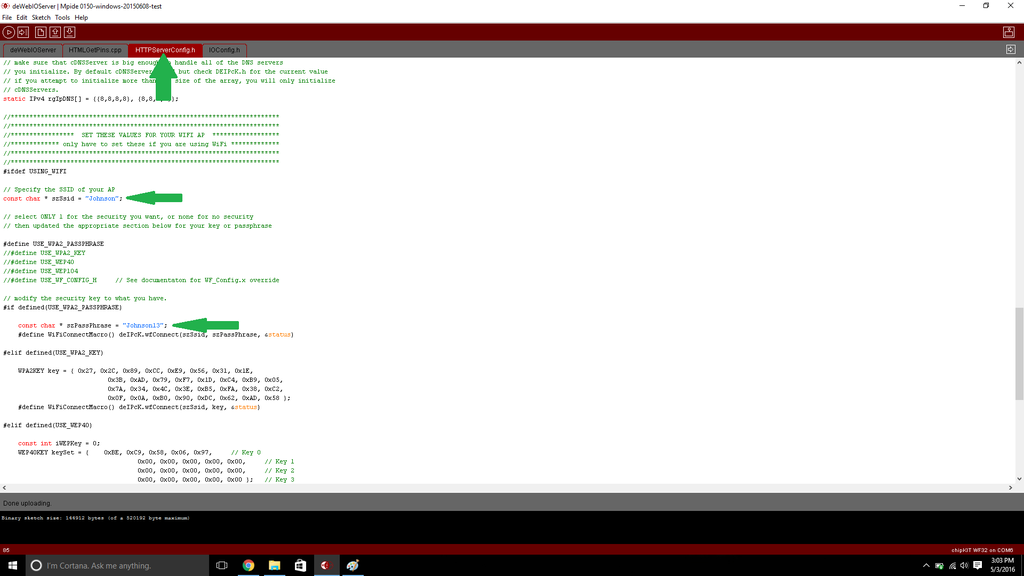
- Click on the tab called HTTPServerConfig.h within the MPIDE sketch.
- Scroll down until you find on the page where it says “specify the SSID of your AP”
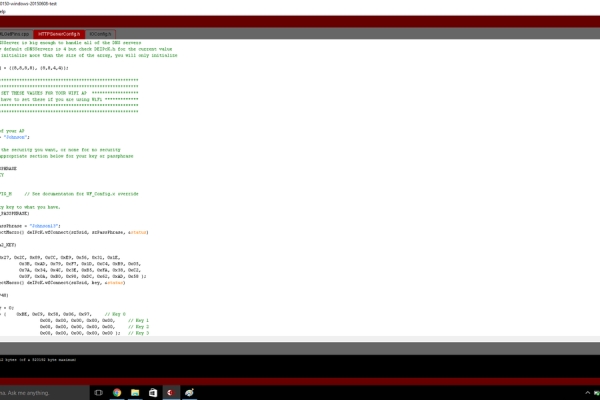
- In the blue string text below, where Johnson is currently written, put in the name of your wireless network (Replace Johnson). Capitalizations do matter with this. This must be written exactly as your wireless name is.
- Find down a bit in the code where it says in blue again, “Johnson13”. Replace this with your password to the network that you already specified
- Save the file (ctrl + s)
Step 6: Connect Board to Computer
- Connect your WF32 to your computer with the USB cable.
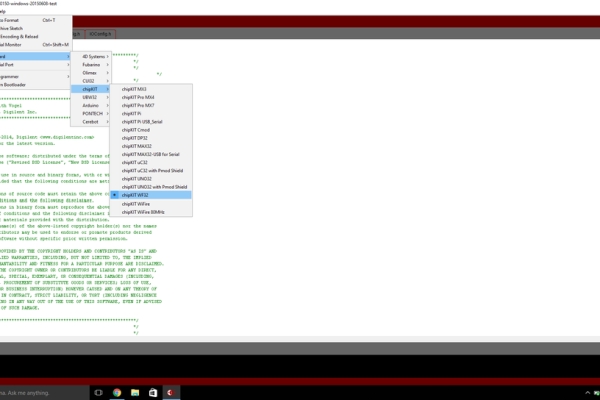
- Ensure the correct board is set in MPIDE as seen in the picture
- Click tool->Serial Port-> Comm #
- If a comm does not show up, check your boards connection to the computer
- Also check that the VU select jumper is on UART, not EXT or USB
- If you want to plug in external power (not the USB power from the computer), you can plug that into the barrel connector input and then switch the VU jumper to EXT.
Step 7: Upload Code to the Board
- Once the board is securely connected (using a USB to mini-USB cable, which is plugged into the UART port on the WF32) and the correct comm port is selected (whichever one shows up), upload the code to the WF32 by hitting the upload button in the top left corner (directly below Edit)
- In the bottom of the screen the status bar should say something like Uploading to IO Board
- This takes a long time… (like 5 minutes)
- When finished, the status at the bottom of the screen will say “done uploading”
Step 8: Find the WF32s IP
- After the code is uploaded, click on the serial monitor on the upper right hand corner of the screen (below the X to close the program)
- This should open the monitor which will display all sorts of connection information
- Wait until the monitor says “is linked to physical network” and says “5 sockets listening on IP: ….” The IP is the address of your WF 32. Copy and paste this into a browser window on a computer connected to the same network. Note, do not copy the number after the colon “:80.” This just says that the WF32 is on port 80, which it will be by default as this is a commonly used port. Just copy what is drawn around in the picture, and past directly into a browser. I used Google Chrome for this, so I can guarantee the layout will look good on that. I tried others when creating this, but Chrome was the best.
- If you get the message “Unable to connect” in the serial monitor print out, there are a couple options to try:
- First, are your SSID and password typed exactly as they should be in the code? Spaces and capitalization DO matter.
- If this information has been double checked, then try re-uploading the code and trying again. Sometimes it takes a reset to establish a connection.
- Try hitting reset on the board (pictured)
- After you copy the IP address, press enter so the browser goes out and tries to find this page.
- You should now be able to see the login page!!
Step 9: Update IP Address in Home Page, Change Username and Password
- In this step, you should have the WF32 up and running and the login page showing up on your browser.
- The next step is to customize your username and password
- I use the free notepad++ editor, which will allow all sorts of different code languages to be written.
- The link for the free download is here: https://notepad-plus-plus.org/download/v6.9.1.html
- If you have another HTML editor, feel free to use that instead!
- Now, remove the microSD card from the WF32 and insert it into your computer.
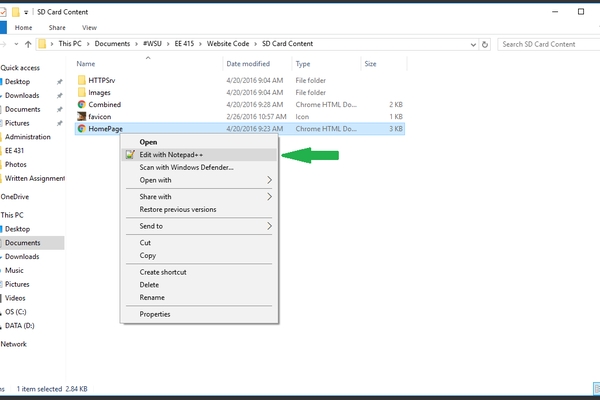
- Open the file called HomePage.htm with your favorite HTML editor
- As can be seen, the page is written in HTML, with a little bit of JavaScript thrown in
- To change your username, replace where it says “rostrum” with your desired username
- To change the password, replace where it says “rostrum1” with your desired password
- This script says that when the username and password typed in on the login page match what you type in here, then you will be taken to a page called Combined.htm. If the username and password do not match, then the browser will display an alert saying this.
- It is now necessary to ensure that the link, when the username and password match, will take you to the desired place.
- Go back to your browser and find your IP address again in the search bar, copy this.
- Go to your HTML file that is still open. Find where it says window.location = ….
- Paste your IP address in the underlined place. It should now look exactly like the picture except instead of 192.168.0.8, your IP address should replace that spot.
- Save this file and close it.
Note: All contents on the SD card must use the 8.3 format. Which says that filenames can be a maximum of 8 characters long, and extensions can be a maximum of 3 characters long. In this case, the name is HomePage.htm. See how the typical .html extension is shortened to .htm. Also note that this method of a login is in no way secure. Someone with minimal knowledge could get through this… I was not able to place the JavaScript file on the SD card and have it read for some reason, so it is all embedded in here… Not the best practice for sure, but it serves as a login page that looks cool and has minimal security.
Step 10: Update IP Address in Combined.htm
- While you are getting used to editing HTML code, there is one more thing that needs to be changed.
- Open Combined.htm with Notepad++
- Scroll down until you find where the top green arrow is pointing. Look familiar?
- Yep you guessed it, you need to copy and paste your IP address here.
- This needs to be done for both IP addresses with green boxes around them
- Save page and close.
Note: It is necessary that the “http://” is part of link. Also having to change the IP addresses manually really is not best practice either… but it works in this situation.
Step 11: Check Out Your Work

- At this point re-insert the microSD card into the WF32.
- Hit the reset button on the WF32 and allow for the micro-controller to reboot and re-connect to the Wifi. A simple way of checking to see if this is done or not is by looking for if LD3 is flashing on and off every second or so. You can also see by opening up the serial monitor as done previously and ensuring the device is “linked to the physical network.”
- Paste your WF32’s IP address into the browser address bar again. You should now be back at the login page.
- Type in the username and password you previously specified. You should now be taken to a page that looks like the given picture.
- For this project, the embeddable chat-room appear.in was used to provide video and audio feed from this website to the iPad or whatever device this mount control is used for.
- Currently the the embedded appear.in page is setup to connect you to a room called “rostrum.”
- This can easily be changed though by editing the files on the SD card on the WF32.
- To do this, insert the micro SD card into your computer and open the file with Notepad++ called Combined.htm. (as was done earlier).
- Now look at what the bottom green arrow is pointing at. It has the source of the iFrame (the embedded content). Where it says rostrum, replace with any name you desire. This will make the appear.in page open in the chatroom name you type here.
- After you are done with your changes, save and place the SD card back in the WF32.
- Your page should now look as pictured when the chatroom is entered.
Source: Remote IPad Mount Control Using WF32