Step 1: Why?
Step 2: Preparation
If you are operating on an office computer (i.e. in your place of work) you need to get permission to install software on your machine. It would also be prudent to check that the corporate firewall does not block http://Eclipse.org and http://sourceforge.net (just type these addresses into the address bar or click the links, if you get a warning from your firewall then you don’t have access to these sites).
If you are working from a home computer with an internet connection and your computer has USB ports your good to go.
To program AVR devices you will either need a programmer and your AVR (two separate units) or an AVR with a programmer on board, like the Arduino. If you don’t have either yet, I would advise looking into the Arduino or similar to get started. If you are at the beginner stage I would point you towards googling “getting started with Arduino” and taking it from there. Moving on to Eclipse is very much for when you are more sure footed about AVR development.
Brew up a cup (or glass) of your favourite beverage and hopefully we will be done installing before it gets cold, warm or whatever temperature it shouldn’t be…well, we should be done at least before it sprouts mould.
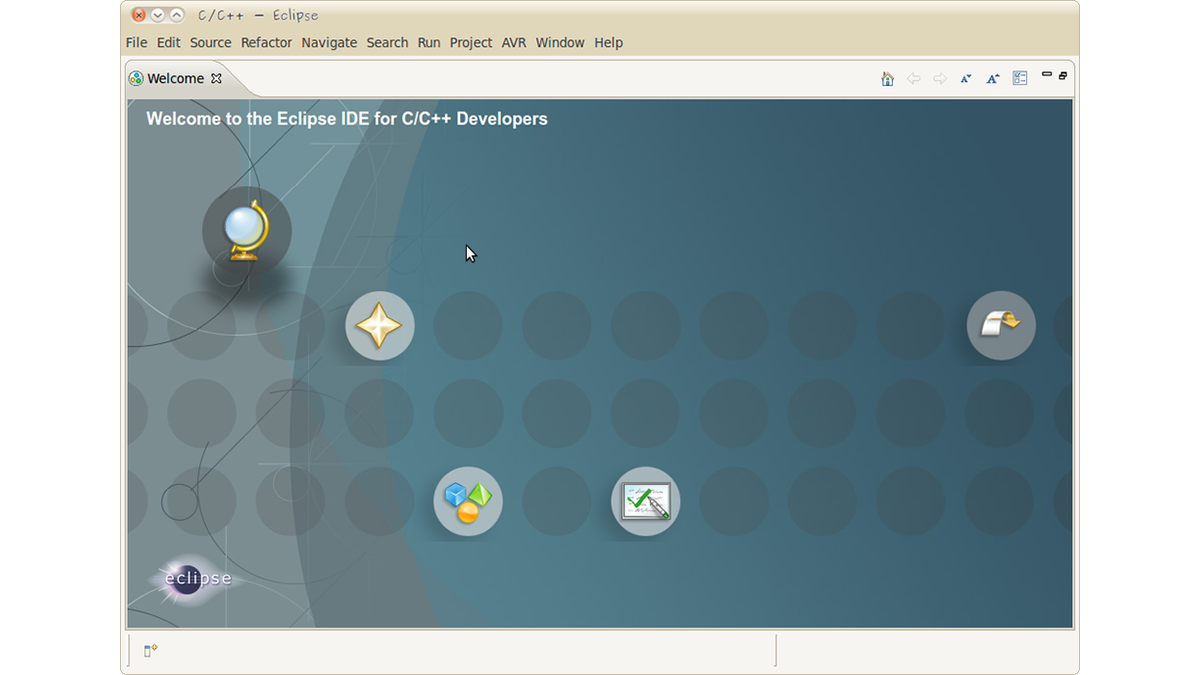
Once downloaded, you need to extract the Eclipse program from the compressed file you downloaded. This step differs depending on operating system, but broadly, if you double click on the download an extractor program will open. Extract the program to an appropriate place, for Windows users the Programs folder is acceptable. Open the eclipse folder that you just extracted and double click the eclipse executable. Eclipse will now start.
Note: It is a good idea to make a desktop short cut that runs the executable, to save time and effort later.
The start up screen will ask you where to find a workspace. If you do not know what this is leave this as it is and press OK. For the more experienced programmers, a word to the wise; Back-up your workspace either with version control or even just a local copy and avoid using an existing work space.
Step 4: Install AVR-GCC and AVR Dude
On a Windows machine simply go to the WinAVR site and follow the installation instructions. WinAVR(Help page here and download page here) has both of the above and a few extra bits to make things like debugging easier. Now go to the next step (the stuff below is for Linux users)!Linux
On Linux it is necessary to install the packages required manually, however the effort involved is no that much different. Go to your Package Manager and install the following;
– gcc-avr
– binutils-avr
– gdb-avr
– avr-libc
– avrdude
Step 5: Note about the CDT Plugin
Some instructions you find online indicate that at this point you should install the C\C++ Development Tools (CDT) plug in. This is not necessary in this case because we have downloaded the C\C++ version of Eclipse, which already has it installed. So… no instructions here, go to the next step…Stop hanging round here…we have installing to do!
The AVR plug in allows us to easily deal with AVR‘s from within Eclipse. Once installed it will allow you to build and deploy a C project to an AVR device. There are also neat features such as being able to pull up data on chips without having to refer to the data sheet.
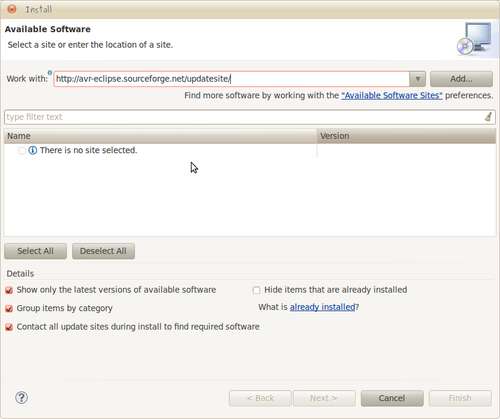
To install the AVR plugin go to top menu in Eclipse, select Help>Install New Software. A new window titled Install will open. Near the top is a drop down box with “work with:” to it’s left. Click the box and type http://avr-eclipse.sourceforge.net/updatesite/ then click add. In the pop up box that appears type AVR Eclipse Plugin into the “name” box.
In the box below an entry (CDT Optional Features) should appear after a short while. Select the check box directly to the left of this entry and click Next . The next screen asks if the selected new packages are correct. Press Next. The next page asks you to agree to the terms and conditions. Check the radio button next to ‘I agree’ and click Finish .
A progress bar will slowly fill up, indicating that eclipse is installing the plug-ins specified. If there are any security warnings just click OK or Continue. The security warnings just relate to the fact that the plugin is not authenticated, it’s no big deal.
A pop up informing you that you need to restart eclipse will appear when the installation is complete. Select Restart Now. Eclipse will shut itself down and restart. When eclipse restarts it will ask you to select a workspace (either select your workspace if you want a different one to that suggested or if you don’t know what this is just press OK). The AVR Plug in is now installed.
Now Eclipse has what it needs to talk to AVR‘s. Perhaps it’s time for a celebratory post installation biscuit (or snack) to go with that beverage?
For more details, click: How to get started with Eclipse and AVR


