This post presents a way for testing and learning the FAT32 system on microSD/ SDHC cards without building the hardware with microcontroller, thanks to Henry Yiu.
This project uses the FAT32 library available in my previous post, but does away with the microcontroller part. So, you can use this code with a PC and USB card reader and get insight of the FAT32 data structure by accessing data from the card in raw as well as in FAT format.
This code can be used as a confidence building step for those who are not comfortable with directly building the hardware part. Once the FAT is understood, one can go ahead with development of hardware and customization of the software.
This may look like hardcore software thing, but it’s not so. It can be tested by anybody with little knowledge of programming and determination to understand the FAT / sd card formats.
Step by step procedure for testing of the code is explained later.
Here are the Henry’s words for the project:
———————————————————————–
When trying to build a microcontroller to access an SD card, I came across this web site which details the hardware and software of how to use an Atmel AVR microcontroller to access an SD card. But I wanted to test out the FAT32 file system code before actually building the hardware. Therefore, I wrote this code to run on Visual C++ to enable me to test the FAT32 code without actually building the hardware.
Tracing the code can reveal many compatibility problems between how the official FAT32 documentation and how Microsoft Windows actually implement the FAT32 system. There are a few interesting things I found for Windows XP. Maybe you can find more using various trace methods and many different brands of SD cards.
The things I found are, for example:
1. After adding or deleting files in Windows XP, the FSinfo next free cluster upper 16-bit is always zero.
2. Adding new files in Windows XP updates the directory structure, but does not set the next entry to empty.
3. Deleting files in Windows XP does not set the FSinfo structure next free cluster to a lower numbered cluster of the deleted file.
Recommended softwares (All the three are available for free):
———————————————————————————
Microsoft Visual C++ Express
HxD Hex Editor and Disk Editor
The DevCon command-line utility functions
How to use: Only five files:
MAIN.CC, SDCARD.CC, FAT32.CC, FAT32.H, GLOBAL.H.
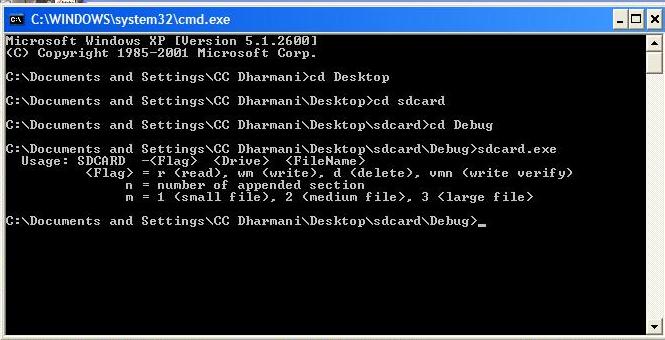
Use Microsoft Visual C++ Express to build these files with the default built option. Then you can step through the program to learn the boot record structure, the FAT table, and how clusters are linked together. You can also use HxD Hex Editor (Extras -> Open Physical Disk) to study the SD card content. Since data is cached in Windows, you need to unplug and plug the USB card reader for write or delete command to be visible in Windows. The DevCon utility allows you to do so without the need to actually do a hardware plug and unplug. Then you can test the FAT32 system using a batch file.
Enjoy
BR – Henry Yiu
You can download the complete project folder from here:
microSD-FAT32 with Visual C++
Many thanks to Henry for allowing to share his work
Here is the step-by-step procedure of how to use the code:
—————————————————————————————-
(well, this assumes that you have already done some basic background study on FAT32 and microSD cards, may be by reading a few articles on them, since some theoretical knowledge would really help in making sense of the results you get)
(the folder which you download already contains the .exe file, but we’ll assume that it is not there, to make the procedure complete)
1. Install and open VC++ express
2. Create a new project (select ’empty project’ when asked). Enter the location and project-name. Here we’ll select project-name as ‘sdcard‘, and location as desktop
3. Project window will open. Now, go back to desktop and copy the 5 files (MAIN.CC, SDCARD.CC, FAT32.CC, FAT32.H, GLOBAL.H) from the downloaded folder, into the folder created by the VC++
4. Go back to VC++ window and add the header files and source files into respective categories displayed at left side window panel. The panel will now look like this (here main file is open):
For more details click : microSD FAT32 testing using Visual C++

