Now everybody knows it’s way smarter to just pay someone to host your website. But what not everybody knows is that it’s way more punk rock to Do it Yourself. So what follows are some tips / pointers / instructions for setting up your own home webserver (which will burn a scant 2 watts) using all free, open source software, a Raspberry Pi, and your home internet connection.
The emphasis here is on lightweight, which fits well with the Raspberry Pi. Sure, you can setup a blog with wordpress or Django, and they will run (I’ve tried it, at least with Django). But they probably will run rather slowly. Why? The rPi doesn’t have a lot of memory or processing power, and a database / front end model requires a decent amount of that. If your site / blog ever gets much traffic, it’ll likely buckle under the load. The answer? Just serve up plain old static HTML pages. It’s fast, secure, simple, and easy on the rPi’s limited resources. But rather than painstakingly handcodeing each new blog entry, you can use a static html generator like Pelican to make it easy.
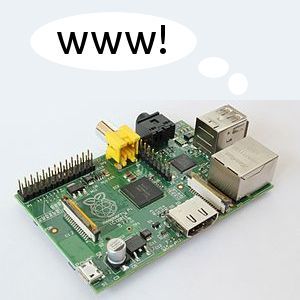
Here are the hardware ingredients:
1) A Raspberry Pi (with power supply and SD card)
2) A computer with an SD card reader (or a USB stick SD card reader)
3) A simple home network, shared by your computer and the rPI. If you have a router and an internet connection, you’re golden. The rPi will need to be connected via ethernet, so you might need a cable.
Now everybody knows it’s way smarter to just pay someone to host your website. But what not everybody knows is that it’s way more punk rock to Do it Yourself. So what follows are some tips / pointers / instructions for setting up your own home webserver (which will burn a scant 2 watts) using all free, open source software, a Raspberry Pi, and your home internet connection.
The emphasis here is on lightweight, which fits well with the Raspberry Pi. Sure, you can setup a blog with wordpress or Django, and they will run (I’ve tried it, at least with Django). But they probably will run rather slowly. Why? The rPi doesn’t have a lot of memory or processing power, and a database / front end model requires a decent amount of that. If your site / blog ever gets much traffic, it’ll likely buckle under the load. The answer? Just serve up plain old static HTML pages. It’s fast, secure, simple, and easy on the rPi’s limited resources. But rather than painstakingly handcodeing each new blog entry, you can use a static html generator like Pelican to make it easy.
Here are the hardware ingredients:
1) A Raspberry Pi (with power supply and SD card)
2) A computer with an SD card reader (or a USB stick SD card reader)
3) A simple home network, shared by your computer and the rPI. If you have a router and an internet connection, you’re golden. The rPi will need to be connected via ethernet, so you might need a cable.
For more detail: Host your own blog from a $25 Raspberry Pi computer
About The Author
Ibrar Ayyub
I am an experienced technical writer holding a Master's degree in computer science from BZU Multan, Pakistan University. With a background spanning various industries, particularly in home automation and engineering, I have honed my skills in crafting clear and concise content. Proficient in leveraging infographics and diagrams, I strive to simplify complex concepts for readers. My strength lies in thorough research and presenting information in a structured and logical format.
Follow Us:LinkedinTwitter