
Summary of How To Make A Pulse Counter With Littlebits
This article demonstrates building a pulse counter using littleBits modules, suitable for tracking events like door openings. The process involves connecting a 9V battery to a power module, then linking it to a button and a count module. Finally, the circuit is mounted on a board, with the counter's switch set to either count up from 0 to 99 or down from 99 to 0.
Parts used in the Pulse Counter:
- 9v battery
- Board
- Power module
- Count Module
- Button module
Today I am going to show you how to make a pulse counter quickly with littlebits modules.
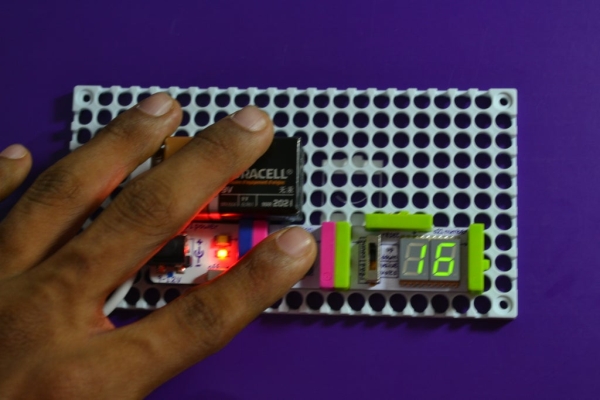
This is a very fun and easy project to do and you can, for example, count the times a door opens, as was the case with our makerspace that we made a counter of these to count the number of times the main door would open.
Step 1: Materials
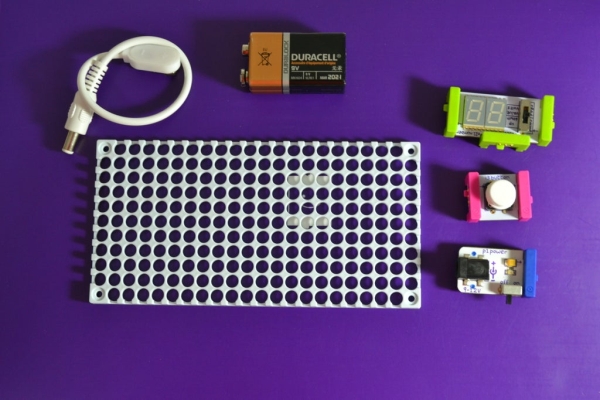
To carry out this pulse counter we need:
-9v battery.
-Board.
-Power module.
-Count Module.
-Button module.
Step 2: Join the Modules
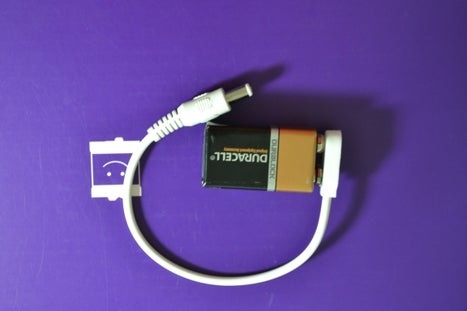
In this step we must connect the battery to the 9v battery adapter to the Power module, then we must connect the Power with the Button module, then we must connect the counter module.
Step 3: Mount The Circuit On The Board
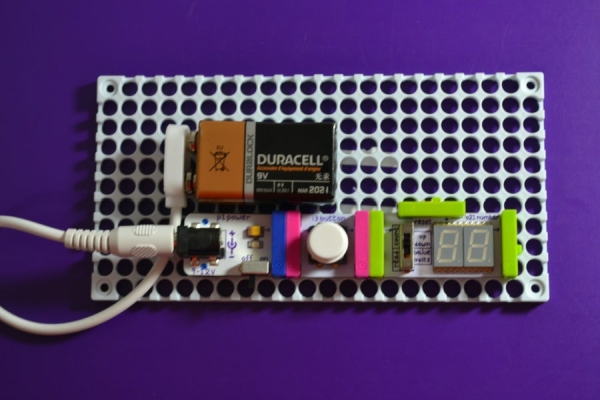
In this step we must put the previously United modules on the Board.
Then we must move the switch of the Counter module to the second position so that it counts from 0 to 99.
or in the first position from 99 to 0.
Source: How To Make A Pulse Counter With Littlebits
- What can this pulse counter be used for?
It can count events such as the number of times a main door opens. - How do you connect the battery to the system?
You must connect the 9v battery to the 9v battery adapter, which then connects to the Power module. - Which modules need to be connected together?
The Power module connects to the Button module, and the Button module connects to the Count module. - Can the counter count downwards?
Yes, moving the switch to the first position allows counting from 99 to 0. - How do you make the counter count upwards?
Move the switch of the Counter module to the second position to count from 0 to 99. - Is this project considered difficult?
No, the article describes it as a very fun and easy project to do. - Where should the assembled modules be placed?
The previously united modules must be put on the Board. - What is the maximum value the counter can display?
The counter displays values ranging from 0 to 99.
