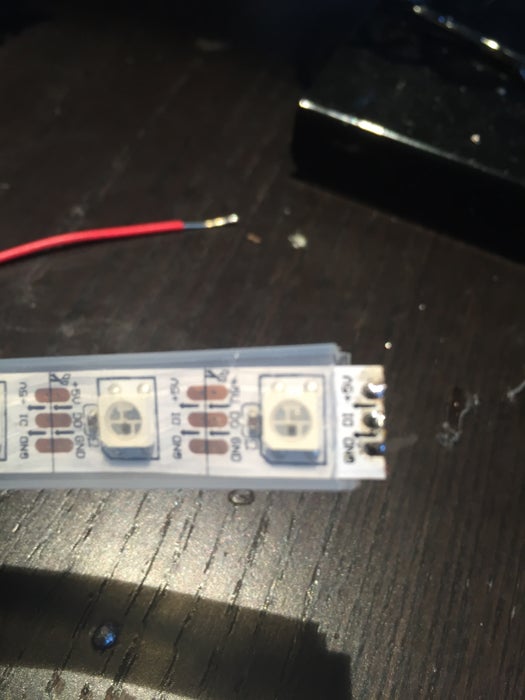
First, you need to know that a lightstrip is a bunch of LEDs daisychained together. The three contacts are +5v, GND and DI (data in, AKA DIN). If you are using the same lightstrip, you can solder just 3 wires… Now on to building
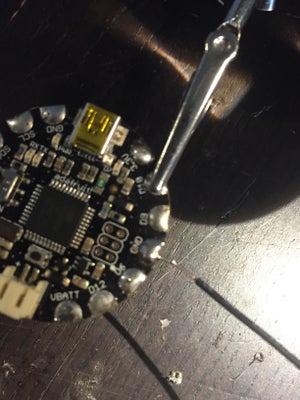
Step 1: Tinning Your Contacts
Before soldering anything, you need to tin, or cover the contacts on solder. In order to do this you need to hold down the iron on the contact and slowly push solder at it.
Time required: 10 mins, dependent on skill
Tools: Soldering Iron, Solder
Materials: lightstrip, Adafruit Flora
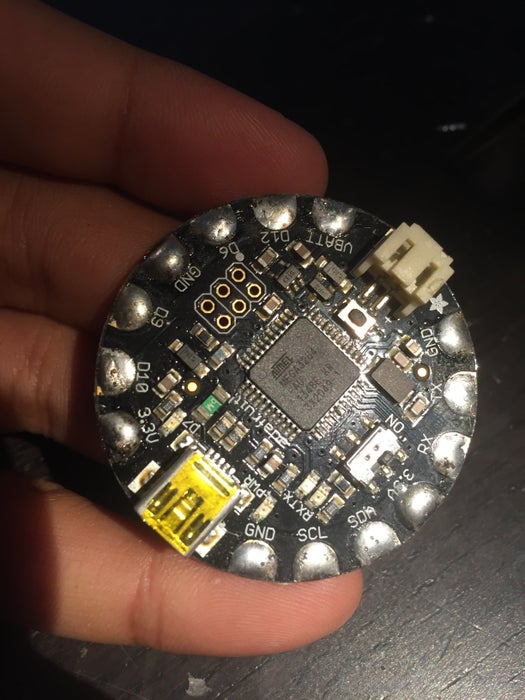
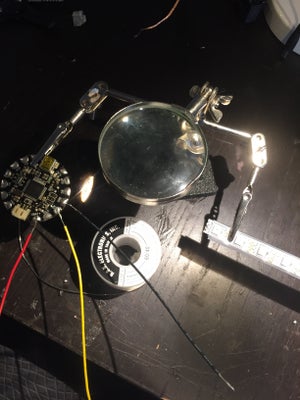
Step 2: Soldering Wires to and From Your Flora
This is simple. Use a soldering iron and some cut lengths of wire in order to connect the 2. Solder black wires to GND, red to VBATT, and yellow to D6.
Time: 5-10 mins
Tools: Soldering iron, solder
Materials: Lightstrip,
Flora
Step 3: Soldering to the Lightstrip
Same process as the flora. Solder black to GND, red +5v and yellow to DI Time: 5-10 mins
Tools: Soldering iron, solder
Materials: Lightstrip,
Flora
Step 4: Selecting a Power Supply
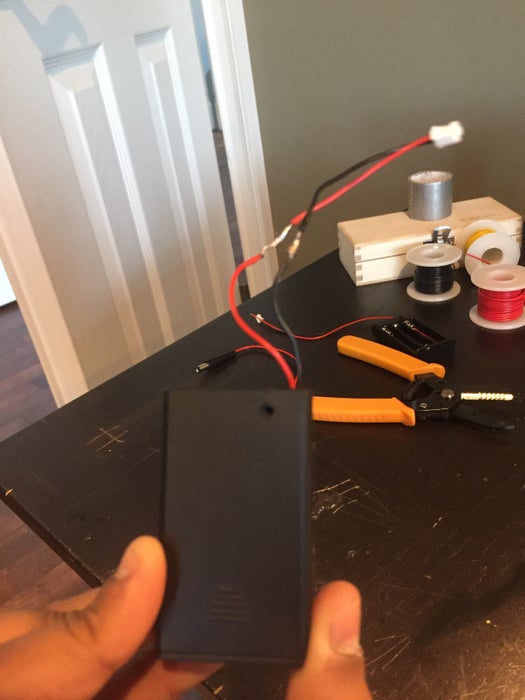
Anything that supplies 5v and has a JST connector will work.
Step 5: WATCH IT WORK!!
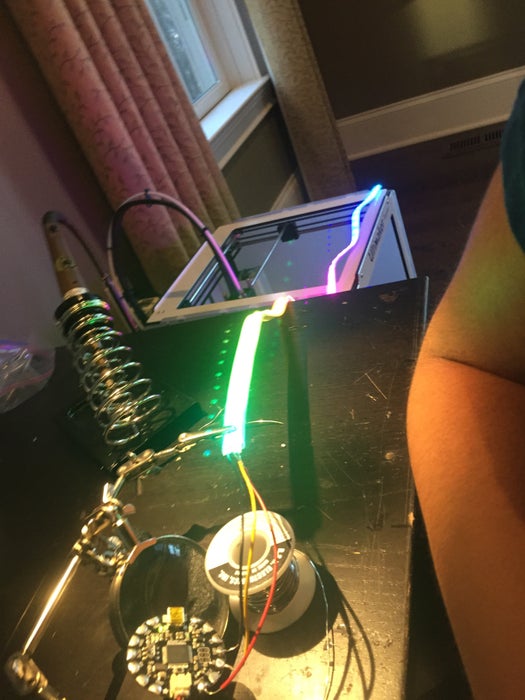
This is the fun part. Plug in you batteries, and make sure the switch on the flora is on!
Step 6: Uses
I plan to use this on a longboard. But hey, anything that needs lights, this is it.. Thanks for reading!
Source: Adafruit Lightstrips