Ok first of all this was a final project for my microprocessor course in my University, and its intended to clarify and guide to someone has a similar project or just want to do it and learn , since when i was doing this project it wasn’t so easy to find the information and examples to do it i think this could be helpful to someones out there.First i will explained how is the system going to work, this embedded system has three main components which satisfy three main functions or services, the first part is the communication part.

Step 1: Communication With the ECU (Engine Control Unit)

Since 1996 every car has a diagnostic system or On Board diagnostics (OBD) whic means that every car since then has an ECU and therefore has a communication protocol running on it, this is to communicate all the sensors that the car has.So our goal for this part is to be able to communicate or system whit the ECU of the car to obtained the desire information.When i did the research i found out that there are several embedded systems that can fulfill this requirement so first you need to know which protoclo is actually on your car as i was working on a Mazda 3 2005 the protocol was ISO 15765-4 (CAN 11bits/500kbps) , you can check the protocol by cheking the present pins on the OBD connector of your car.
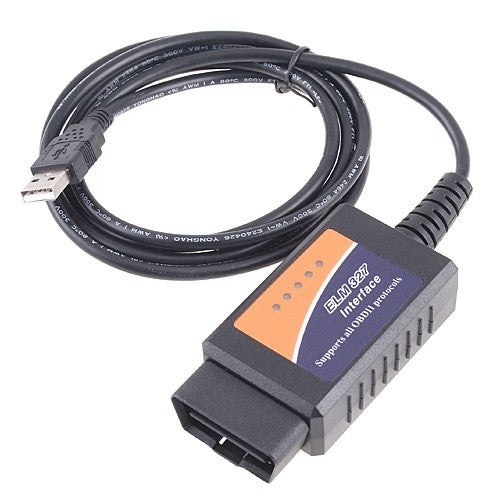
So after this i decided to use a ELM327 cable which totally support this protocol
this cable provides communication from usb to the ECU this is actually a PIC microcontroller whit a lot of protocol transceivers for each supported protocol, you should download the datasheet in this link , there you can get detailed info about the ELM327 , the good thing is that as the ELM327 is a microcontroller it provides direct TTL or Uart communication this means that you can easily communicate your embedded system to the ELM327 through a Uart communication , the only problem was that the cable that i bought and probably the same cable you will find, it provides USB communication so i had to do a “hack” to bypass the usb interpreter and get only TTL communication .
The “hack” is to solder wire directly to the Rx and Tx pins of the PIC controller so i dolder the data cables of the usb cable directly to the Rx and Tx pins (worth to mention that once you do this you can not use it in the PC via usb).
So once this is done we have our communication hardware ready , so we can connect now the data cables of the usb directly to our atmega 2560 Tx and Rx pins.
I used an arduino MEGA but all the programming its done in C in atmel studio so is not arduino dependent i upload the program into the arduino using ICSP . So im not going to dig into details about the code , i just started a uart communication by wrtiting some registers and i used a 38400 baud rate which is the one present in this ELM327 .
If you read the ELM327 datasheet you will find that we can send some PIDS (Parameters IDs) to it to obtained a desire parameter ad for example if we want to know the actual speed of the card we should send trough Uart communication the next PID ‘010D’ once we send this sequence to the ELM327 it will answer to us whit the actual speed of the car.
Here you can find all the PIDs avaliable keep in mind we will use mode 01.
Step 2: Proccesing Unit (Atmega 2560 Programming)

To send , receive and analyze the data we have a state machine that first send the corresponding PID and then save the answer received in the Rx port into a variable and then from this extract or decode the actual values that we are looking for whit each PID. (You can see this in the code in not going to go into very detail since is quite a long code to explain)
Once we have the values of the desired data in my case RPM Speed and Odometry we can display this into a LCD 16×2 using a standard lcd library.
The odometry was taken not directly , since i couldnt find a PID to obtain such value, did it by measuring the speed every second using an interruption and from the speed i can measure the distance traveled in a second and add it to a dist variable which contain the total distance traveled since the power on.
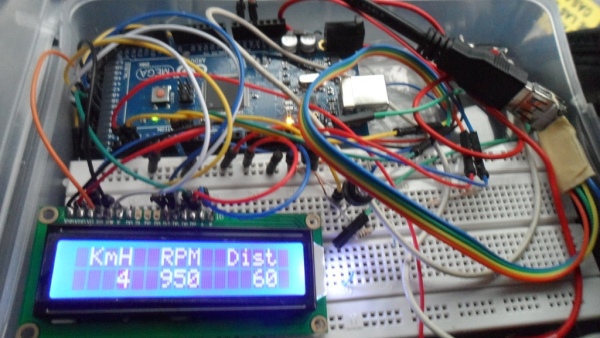
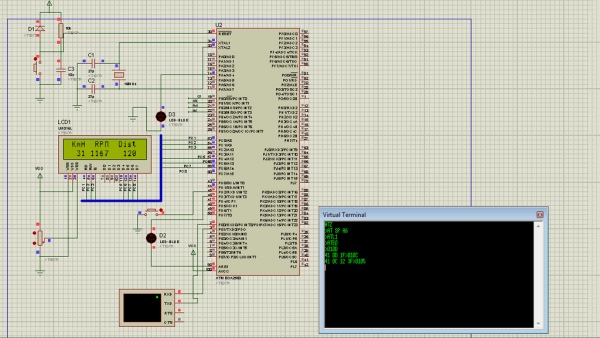
This far we have the system working as can be seen from the picture above. (find all source code and simulation at the end of the post)
Step 3: SD CARD RECORDING

This was by far the most difficult part, since i wanted to store the data into the sd in a format that could be accessed from a computer this means that i had to be a fat 16 or fat 32 format , and this seems to be quite complicated , after searching a lot and reading on infinite forums I found this library called Petit Fat fs that supports fat 16 format and can be implemented on avr chips, so i used this library to created a .txt file in the sd card and record there the values of speed rpms and odometry this values separated by comma.
I still dont understand the library itself since is very complex to my knowledge all i know is that they provide some macros that we can call and used as they explain in their website , it was very difficult to make this part work since is necessary to modify some files so especify the miso , mosi and clk pins for the device we are using.
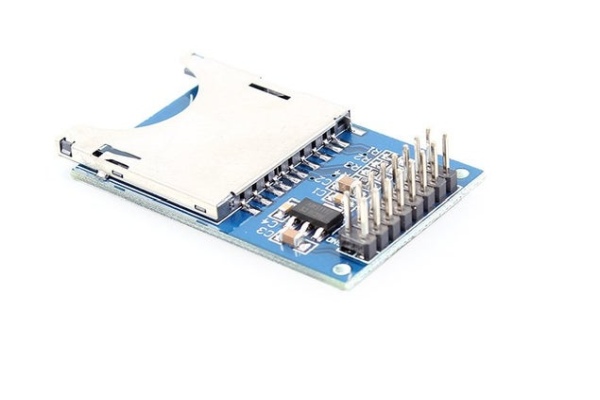
Anyway so i put a pushbutton in the system , when this pushbutton is press it on a led and start recording he files into the SD card so the user can choose whether to record or no the data .So i used a SD breakboard and i connected it to the atmega in the MOSI , MISO , CLK pins and also to 5v and GND .
Source: Car Datta Logger Using OBD II Protocol (atmega 2560+ SD Card + Lcd 16×2)
