Summary of How to work with the ADC unit of an AVR Micro-controller
This article explains how to use the Successive Approximation Register (SAR) Analog-to-Digital Converter (ADC) unit in AVR microcontrollers. It details the necessary prerequisites like stable power and reference voltages, control signals such as ADEN and ADSC, and channel selection via the ADMUX register. The text provides specific bit configurations for voltage references and input channels to facilitate accurate signal measurement applications.
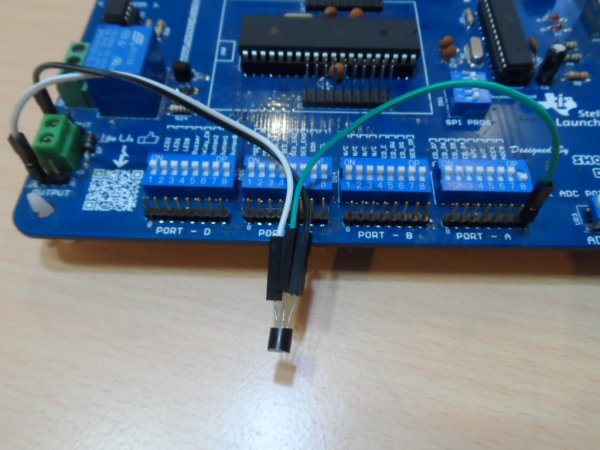
Parts used in theAVR Microcontroller ADC Project:
- AVR Microcontroller with built-in ADC unit
- Analog to Digital Converter (SAR type)
- Stable low internal impedance DC Supply
- Reference Voltage source
- Clock signal generator
- Multiplexer for channel selection
Introduction
The first step to digital signal processing is to convert a signal into digital data, and here the Analog to Digital Converter devices comes into action. Some of the AVR micro controllers include ADC unit in their features. This is a very useful unit for measurement related applications. The ADC used in AVR micro controllers are of successive approximation converter type. Read the Wikipedia article on SAR type ADC here. And you can read the Circuitstoday article too.
Using the ADC Unit
SAR type ADC needs these following things to run properly:
- A very stable, low internal impedance, very low noise DC Supply
- A Reference voltage
- A clock signal for the digital circuitry
And few input signals necessary for the control of operation these are
- ADEN, ADC Enable signal
- ADSC, ADC Start Conversion
- & Channel number to Multiplexer. This helps to select the ADC channel to perform a conversion operation.
Register Description & Minimum Configurations Required
|
ADC Multiplexer Selection Register – ADMUX |
||||||||
| Bit |
7 |
6 |
5 |
4 |
3 |
2 |
1 |
0 |
| Bit Name |
REFS1 |
REFS0 |
ADLAR |
– |
MUX3 |
MUX2 |
MUX1 |
MUX0 |
| Read/Write |
RW |
RW |
RW |
R |
RW |
RW |
RW |
RW |
| Initial value |
0 |
0 |
0 |
0 |
0 |
0 |
0 |
0 |
Bit 7:6 – REFS1:0: Reference Selection Bits
These bits select the voltage reference for the ADC, as shown in Table below. If these bits are changed during a conversion, the change will not go in effect until this conversion is complete (ADIF in ADCSRA is set). The internal voltage reference options may not be used if an external reference voltage is being applied to the AREF pin.
|
Interrupt Sense Control |
||
|
REFS1 |
REFS0 |
Voltage Reference Selection |
|
0 |
0 |
AREF, Internal VREF turned off |
|
0 |
1 |
AVcc with External capacitor at AREF pin |
|
1 |
0 |
Reserved |
|
1 |
1 |
Internal 2.56V Voltage Reference with external capacitor at AREF pin |
Bit 5 – ADLAR: ADC Left Adjust Result
Bits 3:0 – MUX3:0: Analog Channel Selection Bits
The value of these bits selects which analog inputs are connected to the ADC. See table below for details. If these bits are changed during a conversion, the change will not go in effect until this conversion is complete (ADIF in ADCSRA is set).
| Input Channel Selections | ||||
|
MUX3 |
MUX2 |
MUX1 |
MUX0 |
Selected ADC Channel |
|
0 |
0 |
0 |
0 |
ADC0 |
|
0 |
0 |
0 |
1 |
ADC1 |
|
0 |
0 |
1 |
0 |
ADC2 |
|
0 |
0 |
1 |
1 |
ADC3 |
|
0 |
1 |
0 |
0 |
ADC4 |
|
0 |
1 |
0 |
1 |
ADC5 |
|
0 |
1 |
1 |
0 |
ADC6 (Only for SMT Package) |
|
0 |
1 |
1 |
1 |
ADC7 (Only for SMT Package) |
|
1 |
0 |
0 |
0 |
|
|
1 |
0 |
0 |
1 |
|
|
1 |
0 |
1 |
0 |
|
|
1 |
0 |
1 |
1 |
|
|
1 |
1 |
0 |
0 |
|
|
1 |
1 |
0 |
1 |
|
|
1 |
1 |
1 |
0 |
1.30V (VBG) |
|
1 |
1 |
1 |
1 |
0V (GND) |
Bit 7 – ADEN: ADC Enable
Writing this bit to one enables the ADC. By writing it to zero, the ADC is turned off. Turning the ADC off while a conversion is in progress, will terminate this conversion.

Bit 6 – ADSC: ADC Start Conversion
In Single Conversion mode, write this bit to one to start each conversion. This first conversion performs initialization of the ADC. ADSC will read as one as long as a conversion is in progress. When the conversion is complete, it returns to zero. Writing zero to this bit has no effect.
Read more: How to work with the ADC unit of an AVR Micro-controller
- What type of ADC is used in AVR microcontrollers?
The ADC used in AVR microcontrollers is of the successive approximation converter type. - How do you select the analog input channels?
You select the analog inputs by setting the MUX3:0 bits in the ADC Multiplexer Selection Register. - Can I change the reference voltage during a conversion?
If these bits are changed during a conversion, the change will not go in effect until the conversion is complete. - What happens if I write zero to the ADSC bit?
Writing zero to the ADSC bit has no effect on starting or stopping a conversion. - How do I enable the ADC unit?
Writing the ADEN bit to one enables the ADC, while writing it to zero turns it off. - What is required for a very stable operation of the SAR type ADC?
A very stable, low internal impedance, very low noise DC Supply is required. - Which internal voltage reference options are available?
The internal 2.56V Voltage Reference option is available when using REFS1 and REFS0 bits set to 1 and 1. - Does changing channel selection affect ongoing conversions?
No, changes to channel selection bits will not take effect until the current conversion is complete.