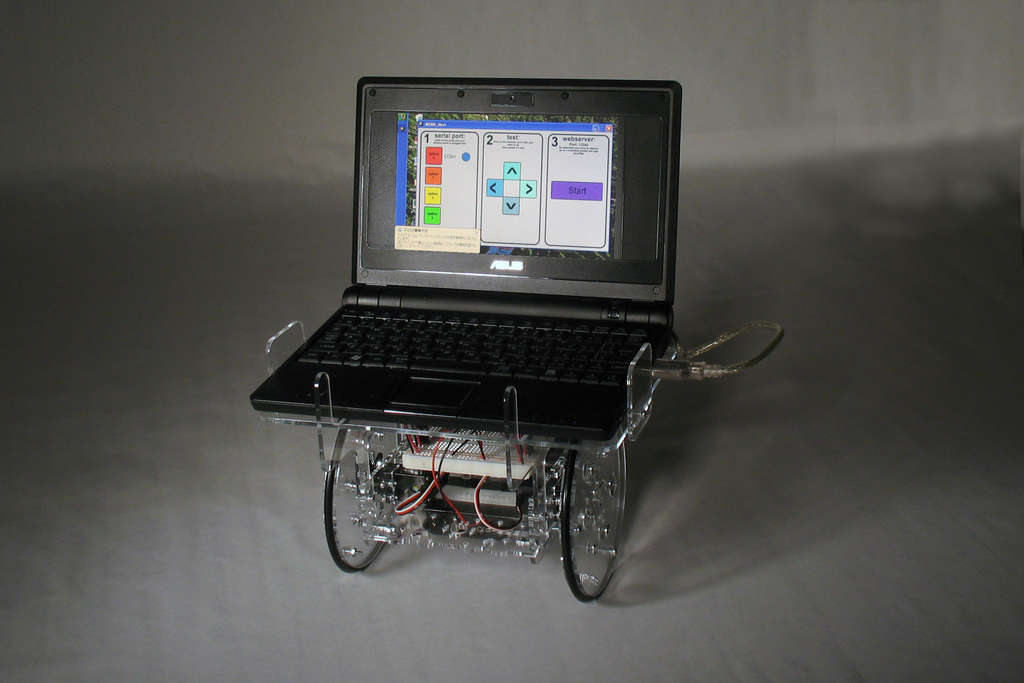
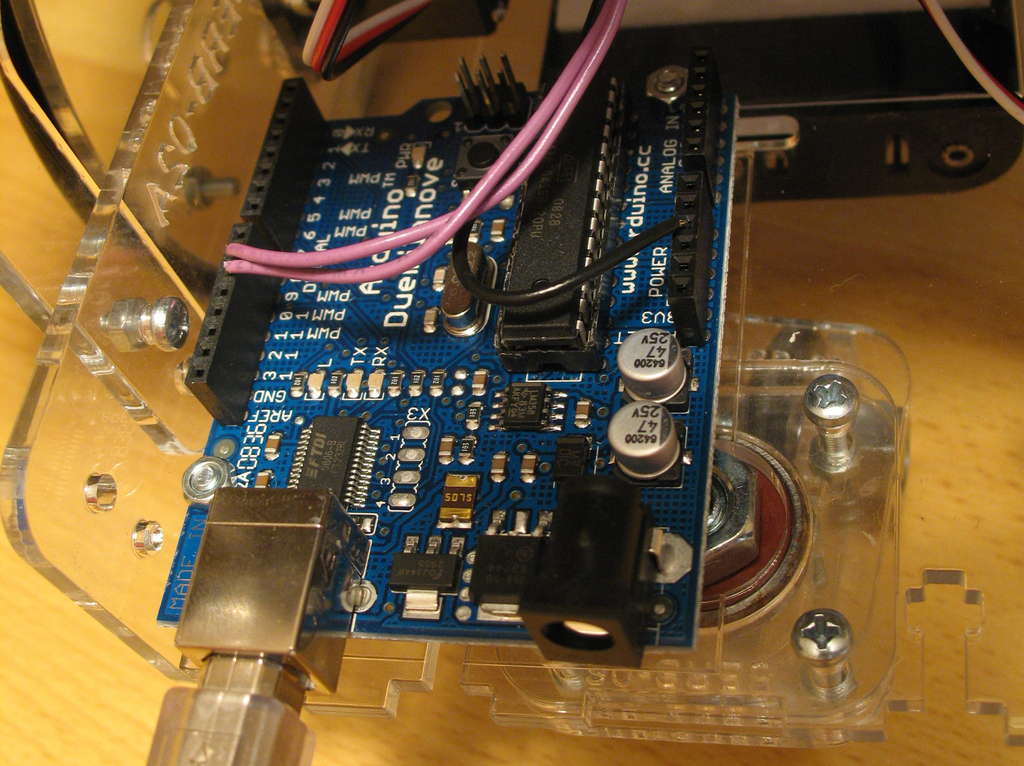
This Instructable will show you how to build your own Web Connected Robot (using an Arduino micro-controller and Asus eee pc).
Why would you want a Web Connected Robot? To play with of course. Drive your robot from across the room or across the country, using nothing more than Skype and a web browser (nothing to install on the controlling computer). After that? Dig into the software & adapt it however you like, add a GPS so you can watch where you’re driving on a map, add temperature sensors to map temperature gradients in your house, or sonar sensors to add controls on what you’re web drivers can and cannot run into.
Features:
- Inexpensive – (~$500 if you purchase all parts new and considerably cheaper if you dig around in your parts bin)
- Once up and running controlling the robot requires only a web browser – (and Skype if you want to see where you’re driving)
- Open Source and Easily Adaptable – (uses an Arduino micro-controller, Processing for the web server & all software can be run on Linux (all the code is also heavily commented to make jumping in and changing things easy))
- Modular Design (not a completely integrated system, if you want to use a different video conferencing service no worries, or if you have a Basic stamp rather than an Arduino just right a small piece of code and slot it in)
Here’s a quick video of my Web Connected Robot being driven out of the kitchen.
Step 1Parts & Tools
($175 @ oomlout.com ) or (make your own)
- An open source robot which uses an Arduino micro-controller as it’s brain.
(any dual servo robot platform with an arduino can be used (option 1) (please message me if you discover any other options)
Computer: Asus eee PC 4G
($280) (@Best Buy)
- A small inexpensive laptop that is perfect for this purpose.
(any laptop (or desktop if you want to run with a chord) capable of running Processing sketches can be used)
Laptop Desk: Laser Cut Acrylic
($25 (@ oomlout) ) or (build your own step 3)
- A few additional acrylic pieces which bolt onto a (SERB) to give it a desk for the laptop to sit on.
Nuts and Bols: (available at home depot)
- 3mm x 10mm bolt (x4)
- 3mm x 15mm bolt (x4)
- 3mm nut (x8)
Step 2Cutting Pieces & Assembly
There are three options for getting pieces for your laptop desk.
Cutting
Option 1: (Purchasing from oomlout.com)
- laser cut desk pieces and the neccesary hardware are available from oomlout for $25 (here)
Option 2: (Cutting on your own laser cutter or Ponoko.com)
- Download the file below (03-WEBB-Acrylic Parts.cdr or 03-WEBB-Acrylic Parts (Ponoko P2).eps)
- Cut them from 3mm (1/8″) Acrylic
Option 3: (Scroll Saw)
- Download the scroll saw pattern from below (03-WEBB-ScrollSaw Pattern (A4).pdf (for A4 size paper) or 03-WEBB-ScrollSaw Pattern (letter).pdf (for letter sized paper))
- Double check that it hasn’t been scaled when printing (by measuring the printed rulers)
- Glue to a piece of 3mm (1/8″) acrylic and cut the pieces out.
Step 3Software – (Arduino)
For those new to Arduino check out the great getting started guide at Arduino.cc
First off the software running on the Arduino. It is a very simple program, what the Arduino does is monitor its serial port for data.
What it is looking for is a conversation 5 bytes long.
- Byte 1-3 (Check bytes “AAA”)
- Byte 4 Command (Tells the arduino what to do) (Supported commands ‘F’ – Forward, ‘B’ – Backward, ‘L’ – Left, ‘R’ – Right, ‘S’ – Speed, ‘X’ – SetSpeedLeft, ‘Y’ – SetSpeedRight, ‘C’ – Stop)
- Byte 5 Parameter – For the move commands this is interpretted as a time interval (Parameter * 100 ms), and for the speed commands a percentage from 0-100
The code is commented thoroughly and given this framework adding additional commands should be easy.
To Download:
- Download the attached zip file. (05-WEBB-Arduino Code.zip)
- Unzip to your Arduino Sketch directory. (default: My Documents\Arduino\)
- Open your arduino development enviroment and upload to your Arduino.
To Copy and Paste
- Copy the code from below.
- Paste into the Arduino development environment.
- Upload to your Arduino.
Appendix: The Arduino Program
/* * Arduino Controlled Web Connected Robot (WEBB) - Serial Host * For more details visit: http://www.oomlout.com/serb  *
For more detail: Make a Web Connected Robot (for about $500) (using an Arduino and Netbook)


