I think that one day, all food cupboards & fridges/freezers will be smart. All products will have an RFID or video recognisable label which will update a list of product usage. Your local supermarket will gather this information & replenish your products as required – who knows ??
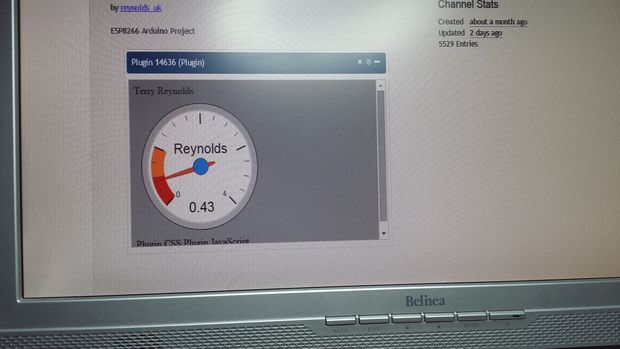
So, I came up with the idea of ‘How much milk is in my fridge’. Well, now I can go on the Internet and see ! -very handy when out shopping :-). I use a load cell to weigh the milk & an oled display for status.
There are 4 parts to this project.
1) Connecting to WiFi using the ESP8266
2) Establishing and making a link to Thingspeak
3) Connecting the load cell (strain gauge)
4) Connecting a .96 oled mono display.
In brief:
I have a reed switch and magnet on my fridge door. When the door is opened, an interrupt is triggered. The Load cell value is read & converted to ‘pints’ and displayed on the Oled screen. There are 8 attempts made to update Thingspeak. If 8 updates have not been successful, after a delay of 30 seconds, retry occurs! Each time the fridge door is opened, the counter is reset to zero, thus initiating another 8 attempts. Why 8 attempts? just to give the load cell time to settle – 5 may well be enough!
Step 1: Step 1: Set up & test the individual parts.
I set up an Arduino Uno to test each of the 4 sections separately, then, when each was working, I merged the code.
My program is about as tidy as an unmade bed, but it works and is fairly readable.
I used a breadboard power supply & fed it with an old 9v psu – this gave me 5v (for the load cell) & 3.3v for the ESP8266 (which can draw up to 300mA according to the spec sheet). I took the Oled 3.3v from the Arduino board.
Pin connections as follows
// oled SDA #A4
// oled SDC #A5 NOTE Supply is 3.3v
// HX711.DOUT – pin #A1 // HX711.PD_SCK – pin #A0 NOTE Supply is 5v
//ESP8266 TX/RX to arduino RX/TX
//Ext USB to serial monitor(10, 11); // RX, TX //DO NOT FORGET TO Common GND ALL devices, power supplies & comms
// int on D2 normally Gnd – goes high when fridge door opened
Note – I was going to use a light sensor to detect when the fridge door was opened, I needed it on interrupt and was too lazy to fathom out how to use an analogue signal to achieve this – hence in the code you will see a variable ‘stilldark’.
For more detail: Milk in Fridge – Internet of Things