Summary of Remote controlled switch using Atmega 328p
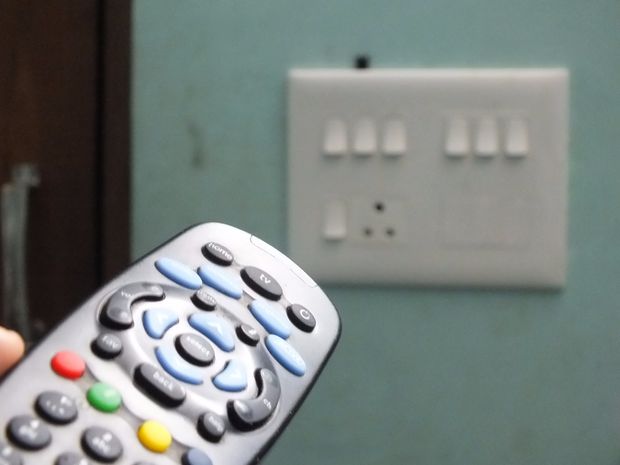
This instructable details a cost-effective project to control appliances like CFLs or fans using an existing IR remote and an Atmega-328 microcontroller. The system decodes IR signals from the remote to trigger relays, allowing users to switch connected devices without purchasing new remotes. It emphasizes using mobile chargers for power and optimizing costs by controlling multiple switches simultaneously.
Parts used in the Remote Controlled Switch:
- Existing IR remote (like TV remote)
- Atmega-328p Microcontroller
- IR Receiver Diode - TSOP38238
- 16 MHz crystal
- 10k ohm resistor
- 22Pf Capacitor (2)
- 7805 voltage regulator
- 5v power supply (mobile charger)
- 4-channel relay board
- Arduino Uno
- Wire for 220v supply
- Bread board
- Soldering gun
- Wire stripper
Ever dreamt of controlling an appliance like a CFL or a fan at your finger tips and thinking for a cheap solution?
Well, then you are looking at the right instructable!!
This instructable will provide you with a cheap and best possible solution to control your switch operated appliances through an existing IR remote using a simple electronic circuit which uses an Atmega-328 microcontroller.

Well, then you are looking at the right instructable!!
This instructable will provide you with a cheap and best possible solution to control your switch operated appliances through an existing IR remote using a simple electronic circuit which uses an Atmega-328 microcontroller.
Step 1: Things you need for this project.
Materials:
- An existing IR remote(like TV remote).
- Atmega-328p Microcontroller-1
- IR Receiver Diode – TSOP38238
- 16 MHz crystal,10k ohm resistor and 22Pf Capacitor(2)
- 7805 voltage regulator
- 5v power supply(use any mobile charger if available)
- 4-channel relay board(Number of channel depends on the number of switches to be controlled)
- Arduino uno for testing and programming
- Some wire to connect to 220v supply
Note:
- For this project to be economical make sure to use atleast four switches. An additional switch only adds to a relay in the circuit. Hence more the number of switches less will be the cost per switch.
- Use 7805 voltage regulator only if you are using a supply capable of providing a voltage of 7 volts or above. If your supply voltage is anything less than this, it is safe to work without a regulator. Normally a mobile charger will not require a regulator.
Tools:
- Bread board
- soldering gun
- wire strippper
Step 2: Selecting a remote!
Today due to the advancement in technology every home will have atleast one remote.
As mentioned earlier any IR-remote which is available can be used for this project.
To obtain the IR protocol in which the available remote is working we need to have the value of the IR pulses the remote is transmitting for various buttons. In order to obtain the protocol we use Arduino Uno and IR Receiver Diode – TSOP38238 to decode the pulses emitted by the remote.
Connect the circuit as per the diagram above for IR circuit.
Note down the pulse values emitted by the buttons which you wish to use.
The firmware required for the above process is shared as IR Receive.
For more information about IR Remote and its protocols visit this link.

Step 3: Connections and testing.
Once you are done with decoding of the pulses of the buttons of the remote its time to connect the actual circuit on a bread board.
For the purpose of testing rig up the same circuit which is used to decode the remote pulses and just include as many LEDs for the number of buttons you are planning to use.
The connections of LEDs to various pins depends on your choice, but make sure to change the pin numbers in the code according to your connections.
The code provided here is for 4 devices or LEDs. To add more just just replicate “cases” in the code.
For more information on the shared code visit this link.
Once done with the connections upload the code shared below.
After uploading the code you must be capable of controlling a particular LED from a particular button on your remote.
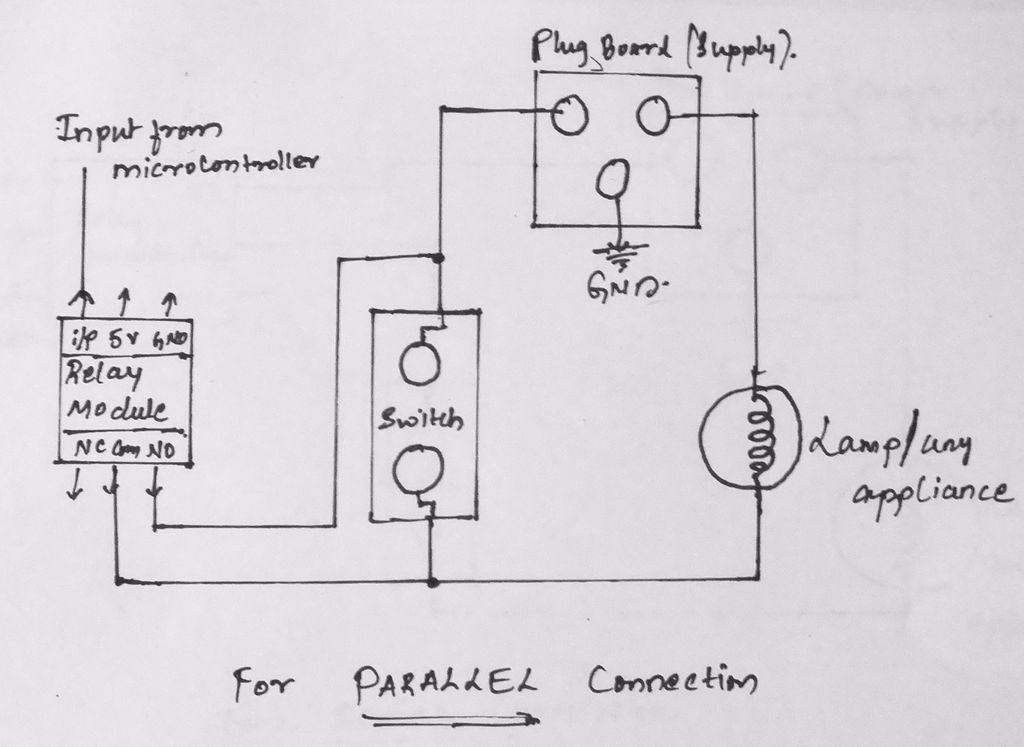
If you are familiar with the Relays then skip to step 5 to prepare your permanent board else follow the next step to learn how to connect a relay between a microcontroller and a switch of an appliance which you wish to control.
For the purpose of testing rig up the same circuit which is used to decode the remote pulses and just include as many LEDs for the number of buttons you are planning to use.
The connections of LEDs to various pins depends on your choice, but make sure to change the pin numbers in the code according to your connections.
The code provided here is for 4 devices or LEDs. To add more just just replicate “cases” in the code.
For more information on the shared code visit this link.
Once done with the connections upload the code shared below.
After uploading the code you must be capable of controlling a particular LED from a particular button on your remote.
If you are familiar with the Relays then skip to step 5 to prepare your permanent board else follow the next step to learn how to connect a relay between a microcontroller and a switch of an appliance which you wish to control.
For more detail: Remote controlled switch using Atmega 328p
- What is the primary goal of this project?
To provide a cheap solution for controlling switch-operated appliances through an existing IR remote. - How can I obtain the IR protocol from my remote?
Use an Arduino Uno and an IR Receiver Diode TSOP38238 to decode the pulses emitted by the buttons. - Can I use any IR remote for this project?
Yes, any available IR remote which is present in the home can be used. - When should I use the 7805 voltage regulator?
Only use it if your supply provides 7 volts or above; otherwise, it is safe to work without it. - Does a normal mobile charger require a voltage regulator?
No, normally a mobile charger will not require a regulator. - What is the best way to reduce the cost per switch?
Use at least four switches so that the additional cost of a relay is spread across more devices. - How do I add more devices to the circuit?
You must replicate cases in the code and include as many LEDs or relays as needed. - What tool is required to connect wires to the 220v supply?
A wire stripper is listed as a necessary tool for this connection.