
Summary of SPI ISOLATION BOARD
This article describes an isolated SPI module based on the Linear LTC6820, enabling long-distance data communication up to 100 meters. It features a two-layer PCB with a ground plane, galvanic isolation via a transformer, and adjustable settings for master/slave modes and clock speeds via jumpers. The board supports power inputs from 3.5V to 15V and uses screw terminals for twisted-pair cabling.
Parts used in the Isolated SPI Module:
- LTC6820 chip
- LTC1763 LDO regulator
- Standard transformer
- Pin header P1
- Jumper P2
- Jumper P3
- Screw terminal P4
- Bias resistors R1 and R2
- Twisted pair cable (CAT5)
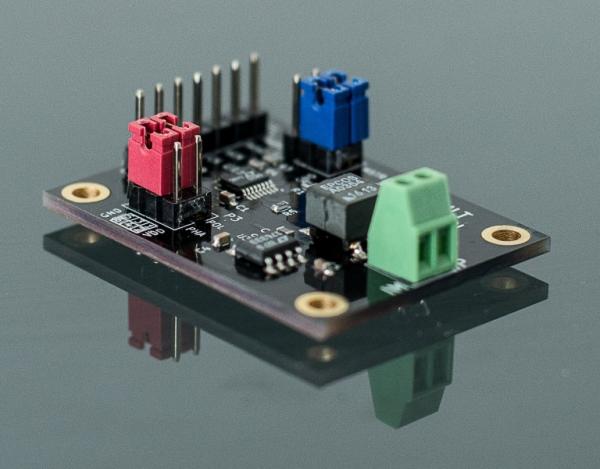
The isolated SPI module is designed for applications, where SPI signals need to be transferred over longer distances than usually. It is based on Linear’s LTC6820. The board is designed as two layer stack-up, with GND plane on the bottom layer and signal traces and components at the top layer. Signals and power are supplied over standard 100mil (2.54mm) pitch IDC header.
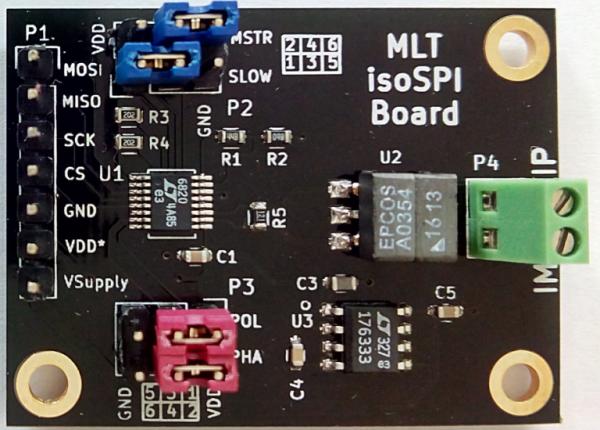
SPECIFICATION
- Dimension: 40.005 mm x 30.099 mm (1.575″ x 1.185″)
- 1 Mbps Isolated SPI Data Communication at 10m
- 500 kbps Isolated SPI Data Communication at 100m
- Galvanic Isolation Barrier using standard transformer (1500V)
- Requires no software changes in most SPI systems
- 3.5V to 15V power supply
- SPI mode can be adjust via on-board jumpers
- can act as Master or Slave (adjustable via jumper)
- screw terminal for twisted pair cable (i.e. as in CAT5 Ethernet cable)
For more details and description , please read the data sheet of the LTC 6820. Below is an possible application scenario of the module.
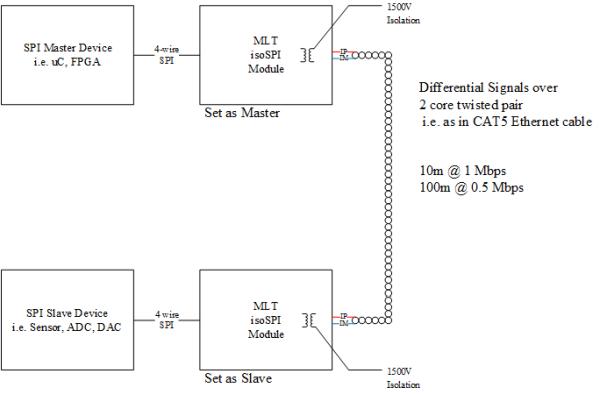
UMPER SETTINGS & PIN HEADER
Pin Header P1
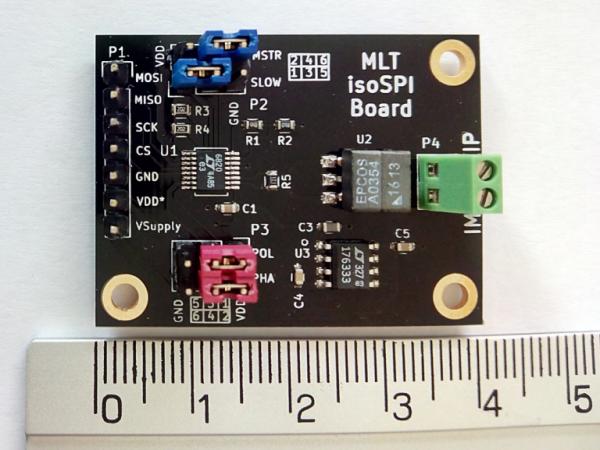
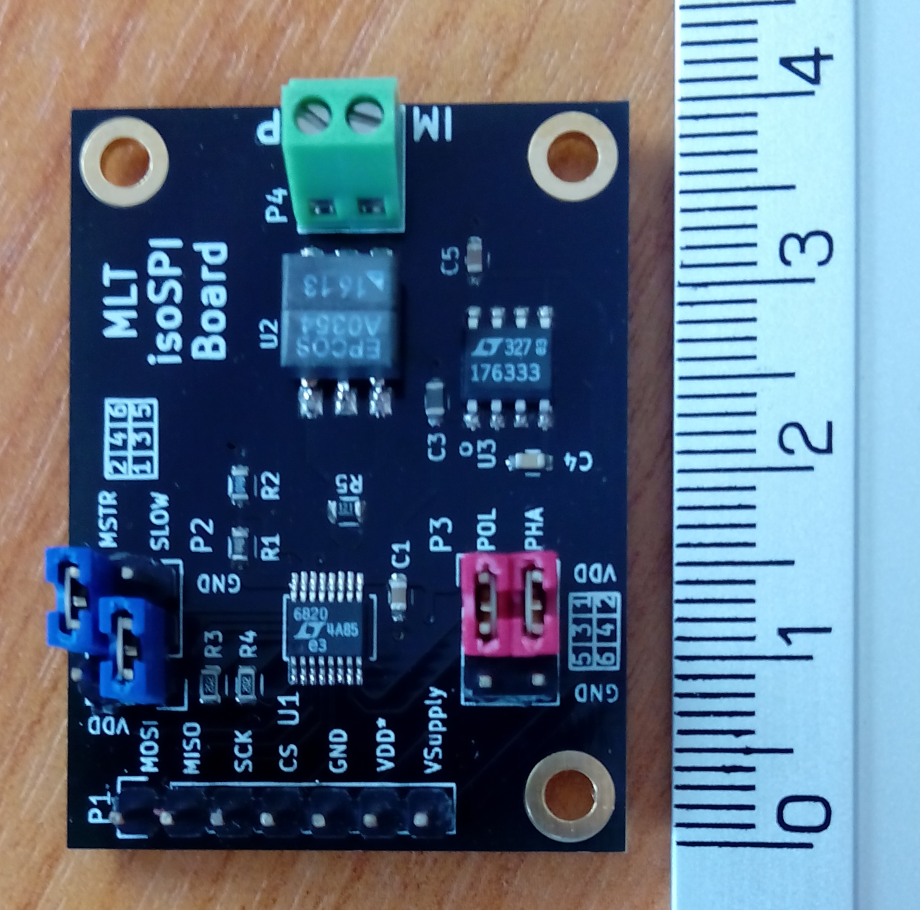
P1 is the pin header for the SPI signals and power supply. It has an standard pitch of 100 mils (2.45 mm).
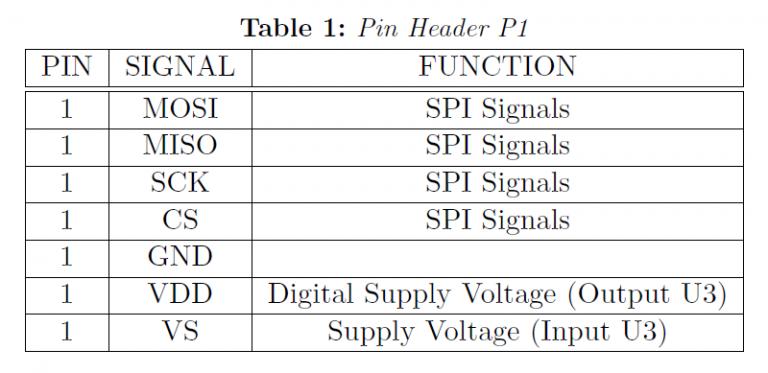
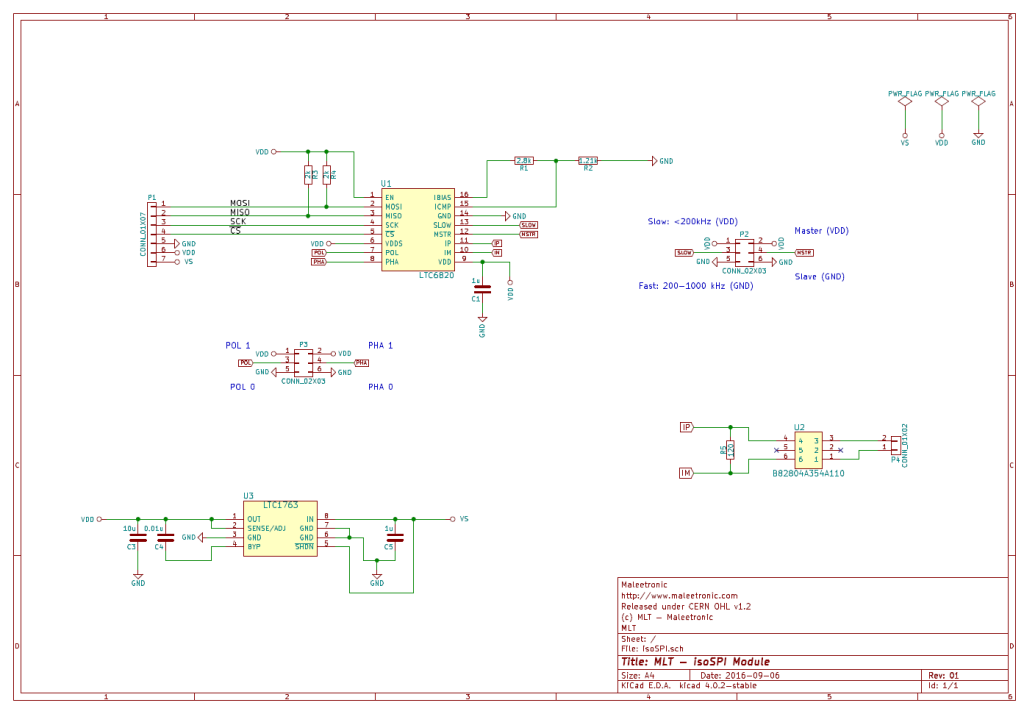
You can supply about 3.5V to 15V to the board. The on-board LDO LTC1763 will generate 3.3V for supply the LTC 6820. For more details, see the specication for the LTC 1763. In case you need dierent voltage levels for the SPI signals, you can supply 2.7V to 5.5V to the board via VDD pin(P1[6]). In this case you should remove U3 (LTC1763). It is also possible to use any other pin ompatible power supply with 8-SOIC footprint or ones from the same family. See the data sheet for the LTC1763 for more details. It is also possible to use the board with two different SPI signal levels(level
shifting).
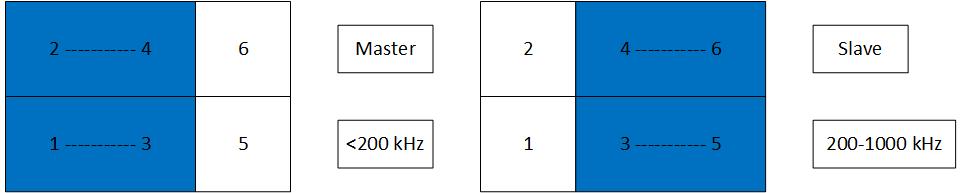
Jumper P2, Master & clock speed
With P2 you adjust the clock frequency and the Master=Slave mode.
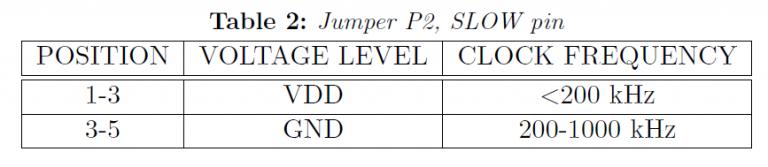
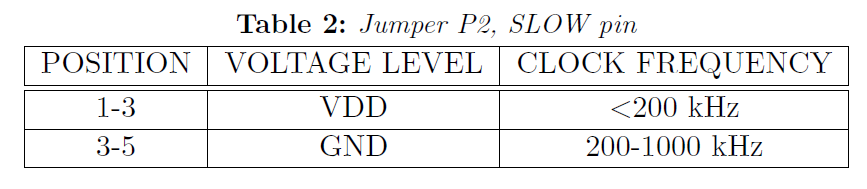
SLOW pin
For clock speeds below 200 kHz, the jumper must be in position 1-3(VDD). For clock frequencies 200-1000 kHz, the jumper must be in position 3-5(GND).
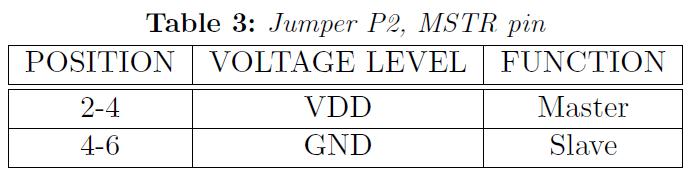
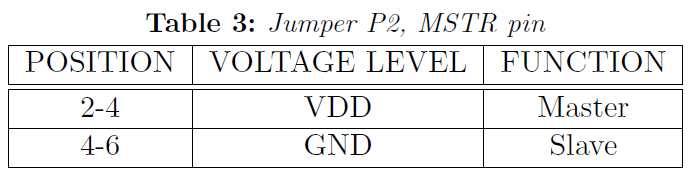
MSTR pin
For using this board as SPI Master, the jumper must be in position 2-4 (VDD). For using this board as SPI Slave, the jumper must be in position 4-6 (GND). The default position is 4-6 (Slave).
 Jumper P3, SPI MODE
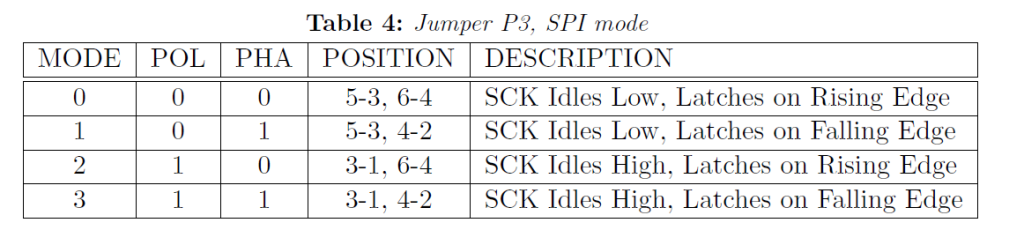
With P3 you adjust the SPI mode. Phase and Polarity.
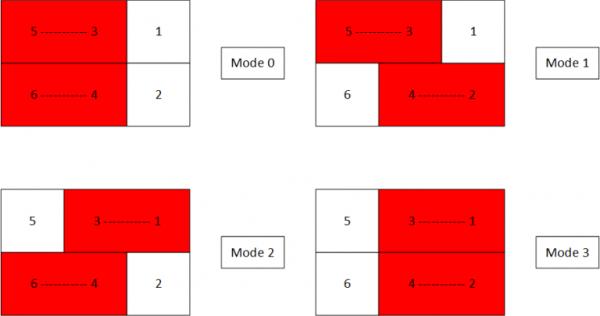
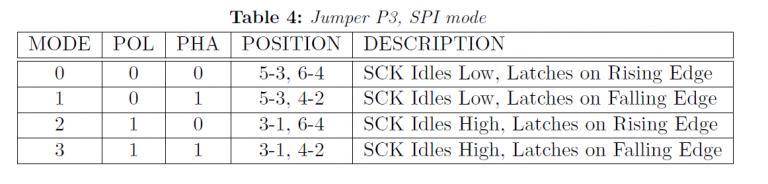
Figure 4: Jumper Settings SPI Mode
 Screw Terminal P4
The screw terminal P4 is the connector for the twisted pair cable. The diferential signal pulses are transferred or received over this connector on IP and IM. Connect IP with IP and IM with IM respectively.
Bias Resistors R1, R2
The bias resistors are selected for a good compromise between power consumption and noise immunity. Ib is set to 0.5mA, which is good for most application and allow for 50m cable length with a normal CAT5 twisted pair. If you need/want to change these resistors, read the data sheet the section “Application Information” for more details how to calculate these resistors.
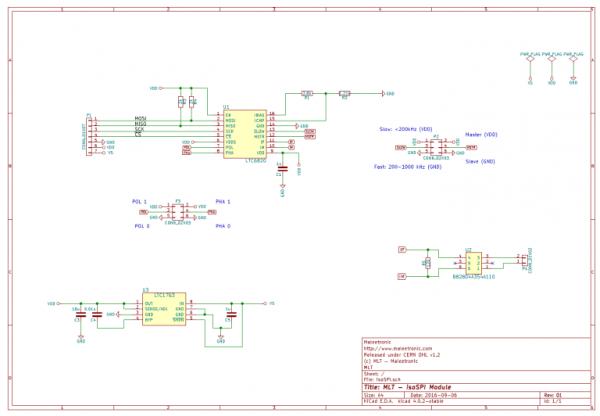
SCHEMATIC
PHOTOS
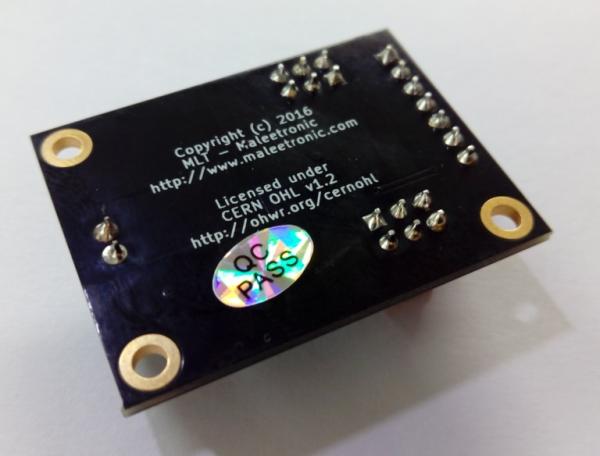
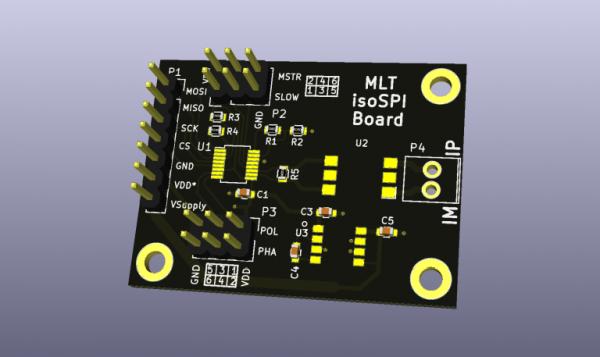
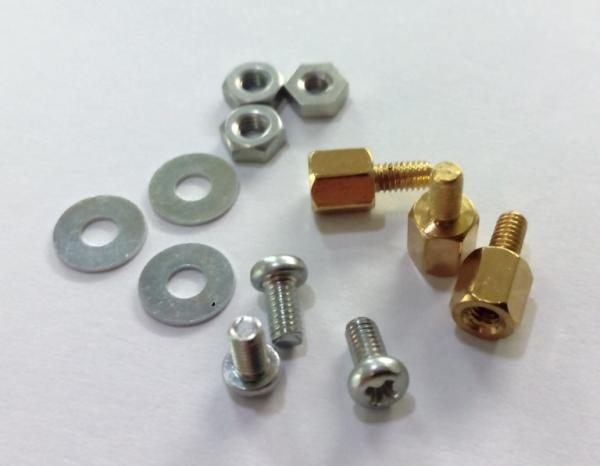
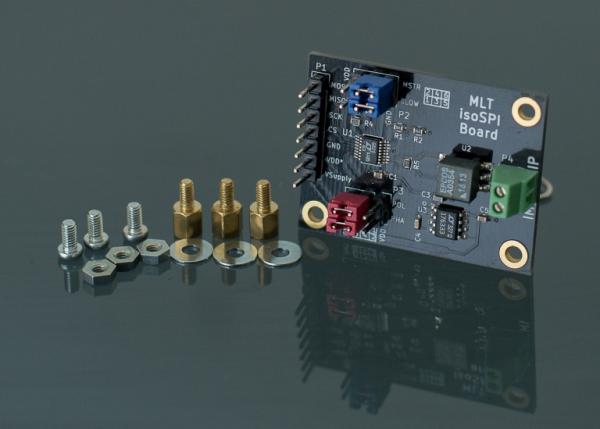
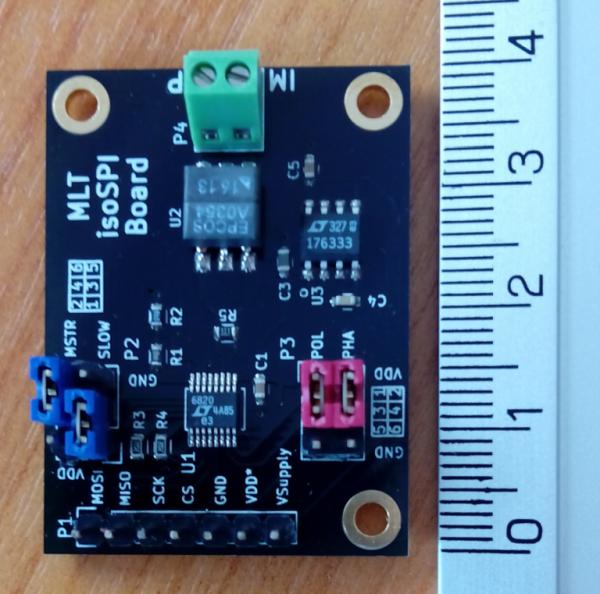
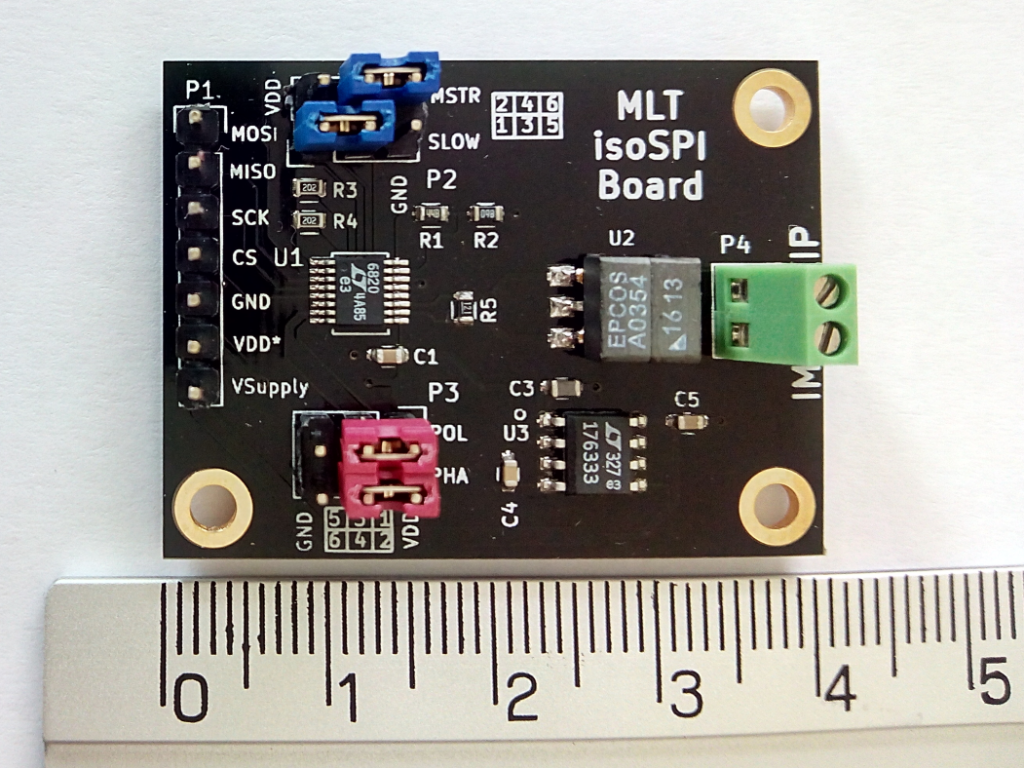
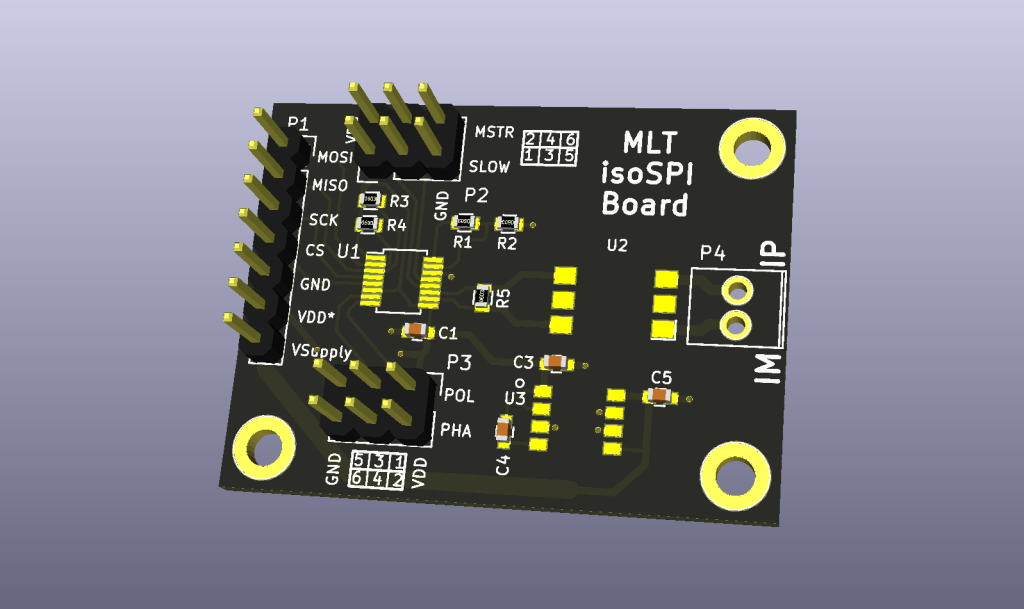
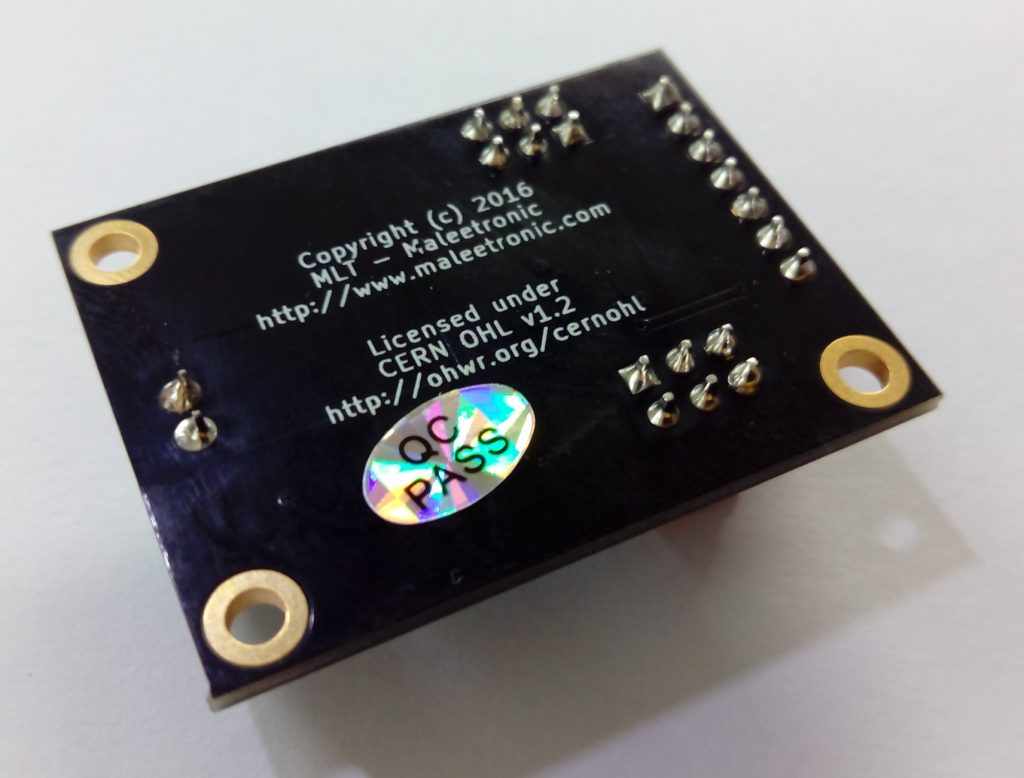
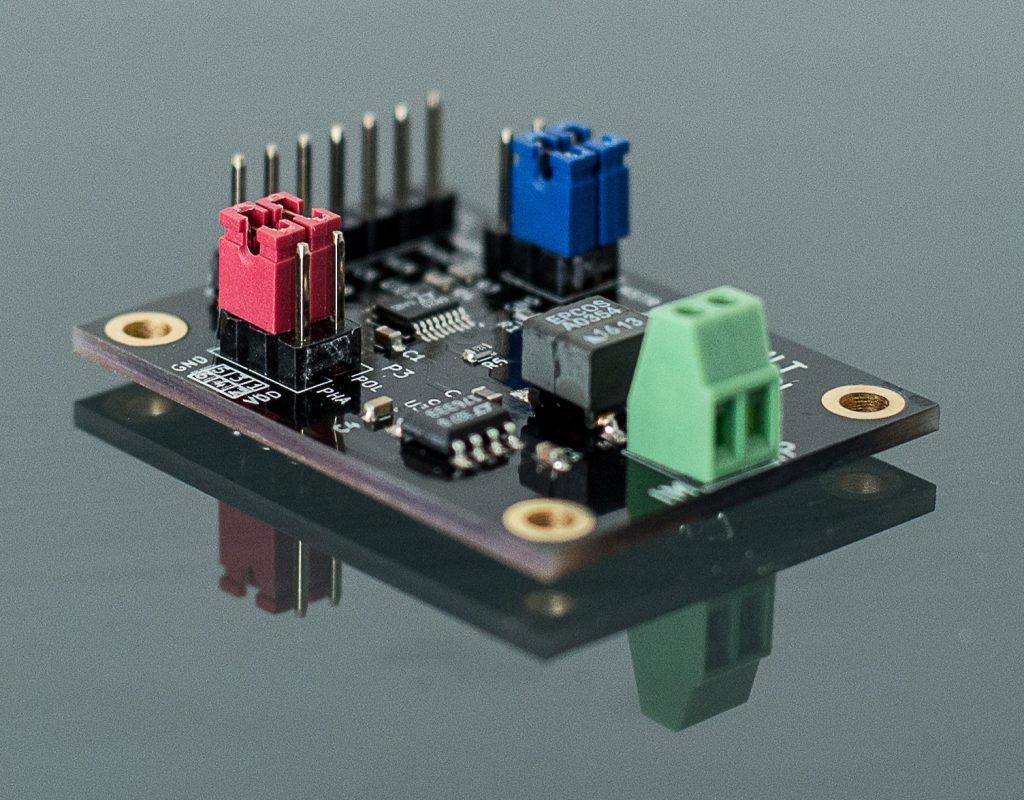

LICENSE
This board is licensed under the open hardware license CERN OHL v1.2. All documentation are available at www.maleetronic.com for download. The License is attatched at the end of this document as well as a Guide to the CERN OHL v.1.2. Please feel free to give your highly appreciated feedback, comments and suggestions. Or ask any questions about the board. We’ll be glad to answer or help you.
Source: SPI ISOLATION BOARD
-
What is the maximum distance for 1 Mbps communication?
The module supports 1 Mbps isolated SPI data communication at a distance of 10 meters. -
How can I configure the board as an SPI Master?
To use the board as an SPI Master, set jumper P2 MSTR pin to position 2-4 connected to VDD. -
What power supply voltage range does the board require?
The board requires a power supply between 3.5V and 15V. -
How do I adjust the SPI mode phase and polarity?
You adjust the SPI mode by using jumper P3 which controls Phase and Polarity. -
Can this board operate without software changes?
Yes, the module requires no software changes in most standard SPI systems. -
What type of connector is used for the twisted pair cable?
A screw terminal labeled P4 is used to connect the twisted pair cable for differential signal pulses. -
How do I change the default Slave setting to Master?
The default position is Slave at 4-6 GND; you must move the jumper to 2-4 VDD to act as a Master.
