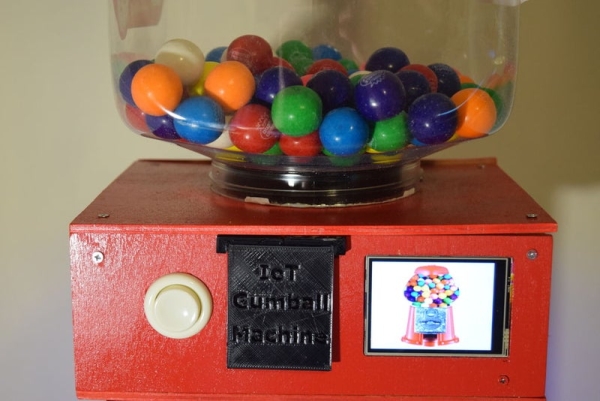
What is ultimate? Infinite RGB? How about a cool LCD touchscreen? Maybe even some completely unnecessary wifi capabilities? How about all of them- in a gumball machine. DFRobot reached out to me to create a project that uses their 2.8″ TFT screen, so I made the most amazing gumball machine ever (of course).
Step 1: Design
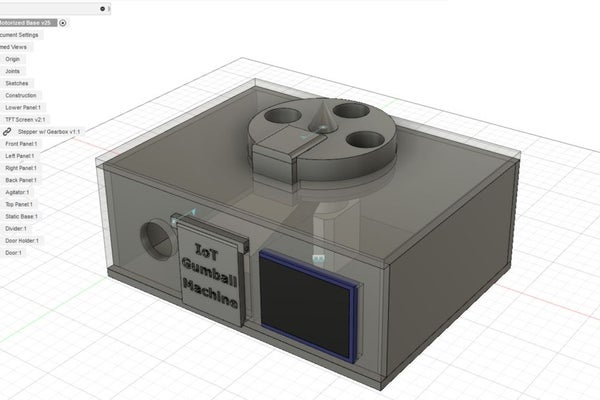
As usual, almost everything that’s more complex than making a few simple connections and a basic box needed a design in Fusion 360. I started out by sketching what I wanted the machine to look like. It needed to be tall, have enough room for all of the electronics, and also be able to support the weight of 12lbs of gumballs. So then I tried to make a simple and elegant dispensing mechanism. It had to only dispense one gumball at a time, not get jammed, and not let more than one gumball fall through what it turns. I came to the realization that all I needed was a simple wheel with 4 holes, and that the dispensing hole would have a cover on the top of it to stop excess gumballs from falling through. After my design was finished I exported all of the 3d-printable parts and generated toolpaths for CNC routing the housing. Thingiverse link
Step 2: Housing and Fabrication
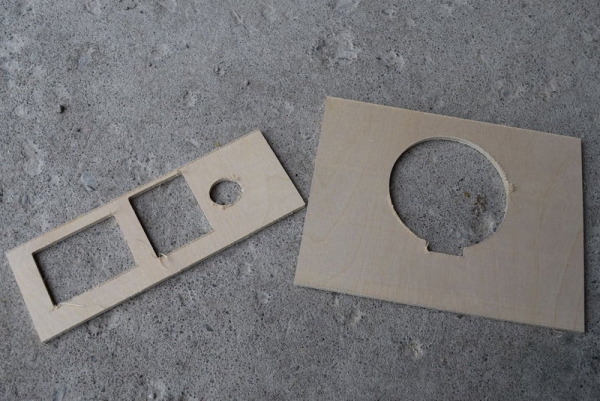
I started by gathering the dimensions for the gumball machine’s legs and then sketching them out on a huge sheet of plywood. Then I took a jigsaw and cut the four legs out. I also cut out the main housing from plywood with my CNC router. Then I drilled holes into everything and painted it red. The LED strip got glued onto the bottom plate so it could cast a nice glow onto the machine’s stand below.
Step 3: Webpage

In order for users to interact with the gumball machine there needs to be an easy interface. I chose to create a simple webpage that lets users dispense gumballs and change the LEDs’ color. After an action happens the webpage POSTs data to a custom Node.js webserver via AJAX.
Step 4: Webserver
I needed a webserver to act as an intermediary between users on the webpage and the gumball machine. Therefore, I decided to use Node.js to both send and receive data. Users send a POST request to control LED color and dispense. Then the ESP8266 sends a GET request to get the status of the machine. And what happens if someone keeps clicking “dispense”? The server keeps track of all the IPs that have clicked the dispense button and blocks them from dispensing twice.
Step 5: Electronics
A TFT screen takes a lot of processing power to drive, so I had to choose a fast and powerful board, leading me to use the Teensy 3.5. But now you might be thinking to yourself: “How does a Teensy use Wifi?” That was a very hard problem for me to solve. I needed to get the Teensy to listen to a local server for changes made by users. Then it dawned on me to just use an ESP8266 to check the server and then “talk” to the Teensy via Serial, which made it a lot easier.
Step 6: Software
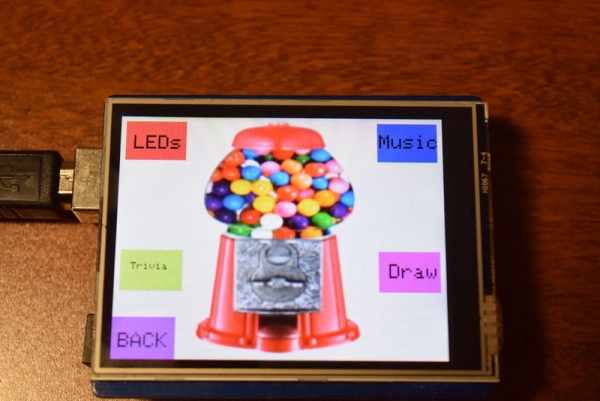
The Teensy runs a simple script that first loads the image from the SD card and displays it onscreen. Then it checks serial data to see if it needs to change the color of the LEDs or dispense.
Step 7: Usage

Using the gumball machine is pretty simple: just go to the webpage and click the “dispense” button. Or, better yet, just go up and push the button. Then just reach in and grab your rightful prize.
Source: The ULTIMATE Gumball Machine