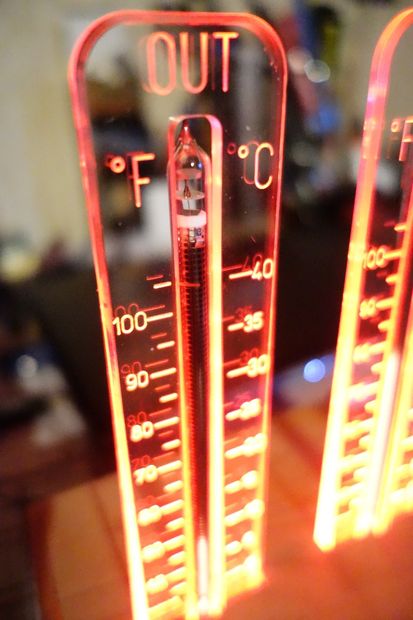
The Target of this Project was to learn how to use different functions of the atmega:
• Connecting two Atmegas with a wireless connection
• Each Atmega has a Thermometer (DS1621) to read the actual temperature
• Use the sleep Mode of an Atmega
• Controlling a Nixie bargraph In-13
And this all together is a nice looking self-made Thermometer. 🙂
There are simular Thermometers availible e.g. the thermNeon from SaltTechChips: https://www.facebook.com/SALTechips?fref=ts but this is only for one Temperature and I like to show the inside and outside temperature.
Step 1: The RFM12b
RFM12B is a low costing ISM band transceiver module. It works signal ranges from 433/868/915MHZ bands.
The SPI interface is used to communicate with microcontroller for parameter setting.
Important features of the Module:
• Automatic antenna tuning
• Low costing, high performance and price ratio
• 2.2V – 3.8V power supply
• Standby current less than 0.3uA
• 16 bit RX Data FIFO
• You can sent/receive with the same module
• It cost 4-5€ each module
https://www.pollin.de/shop/dt/NTg4OTgxOTk-/Bausaet…
At Pollin you can also download programming examples!
There are a lot of examples, how to use this module:
e.g:
http://www.mikrocontroller.net/articles/RFM12
The IN-13 Nixie Tube is a bargraph.
• Voltage: 150V
• Length: ca 120mm
Here you can find a very good test about the Nixie Tube:
http://www.smbaker.com/experimenting-with-in-13-ba…
Step 3: DS1621 Thermometer
Temperature settings and temperature readings are all communicated to/from the DS1621 over a simple 2-wire serial interface.
For more detail: Wireless Nixie Thermometer

