Summary of 2cm Height 7 Segments 6 Digits AVR Clock With 4 Digits Thermometer
This article details the construction of a 6-digit, 7-segment digital clock using an AVR microcontroller. It outlines the necessary hardware components, including specific transistors and resistors for driving the display, and explains the firmware logic for timekeeping using interrupts and timers. The guide also mentions compatible microcontrollers like the ATMEGA128 and provides a hex file for implementation.
Parts used in the 6 Digits 7 Segments AVR Clock:
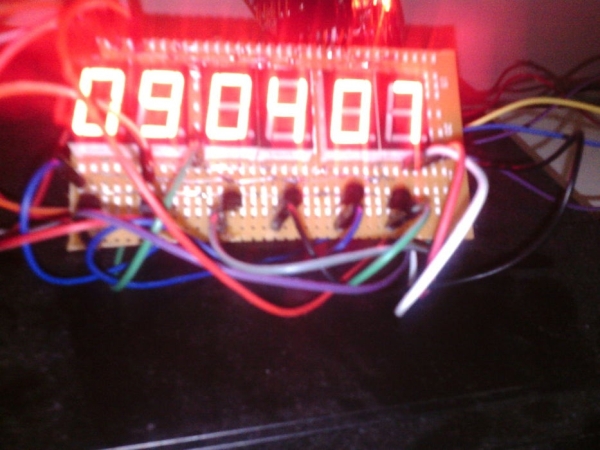
- 6x 7 Segments Common Anode
- 6x PNP transistors (2N3906)
- 6x 1K 1/4W resistors
- 1x Module ATMEGA128
- 1x NTC resistor 10K
- 1x 10K resistor 1/4W
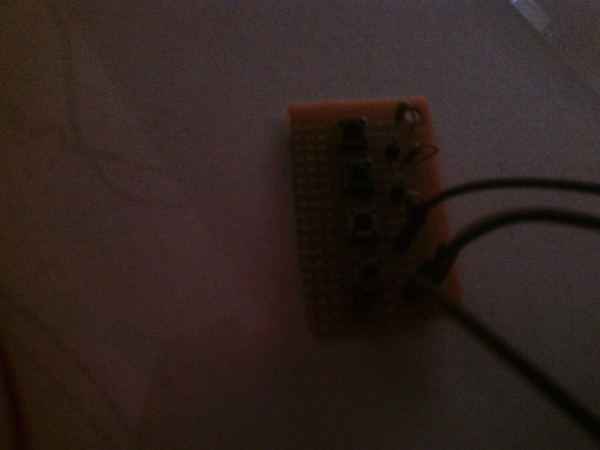
- 2x Push button
- 1x USB ASP
- Atmel Studio software
This project is explaining how to create yourself a 6 digits 7 segments clock with AVR microcontroller
Step 1: Prepare the Parts for This Project
We need to prepare a parts for this project,
6x 7 Segments Common Anode
6x PNP transistors for driver, I used 2N3906
6x 1K 1/WW resistors
1x Module ATMEGA128
1x NTC resistor 10K
1x 10K resistor 1/4W
2x Push button for adjusting the hour and minute
1x USB ASP
1x Atmel studio
Step 2: The Segment Code
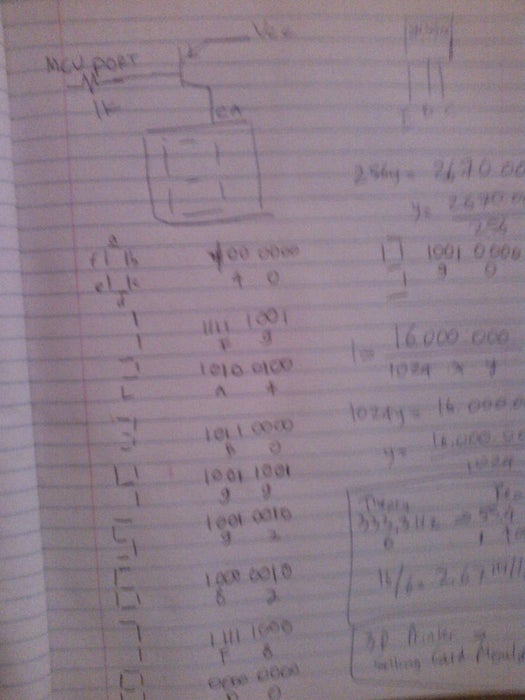
I have written the segment code for this project,
Please have a look on the picture in this step….
That’s how I drive each seven segment with PNP transistor, it’s cheap but more than enough for driving 8 segments
Step 3: The Firmware and MCU Selection
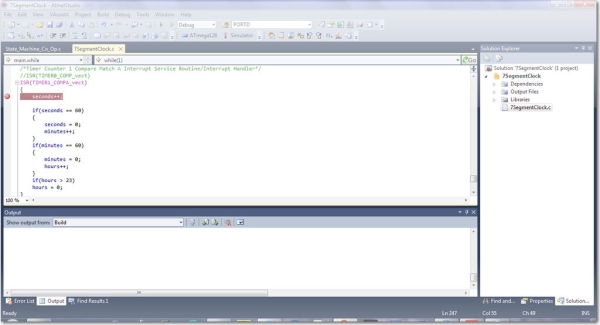
You’re going to need at least 15 I/O from your MCU for this project,
In my case I used ATMEGA128, but you can use ATTiny2313,ATMEGA8,ATMEGA16 and others family of AVR 8-bits
I’m using interrupt and timer to increase second, you can upgrade to a calendar as well if you one, quite simple and straight forward.
Hex file is included if you want to use ATMEGA128
Here’s the setup for my timer and ISR :
ISR(TIMER1_COMPA_vect)
{ seconds++;
if(seconds == 60) {
seconds = 0;
minutes++; }
if(minutes == 60)
{ minutes = 0; hours++; }
if(hours > 23) hours = 0; }
Step 4: The Demo in Video
Source: 2cm Height 7 Segments 6 Digits AVR Clock With 4 Digits Thermometer
- What microcontrollers can be used for this project?
You can use ATMEGA128, ATTiny2313, ATMEGA8, or ATMEGA16 as they belong to the AVR 8-bits family. - How many I/O pins are required from the MCU?
You need at least 15 I/O pins from your microcontroller for this project. - Which type of transistors are used to drive the segments?
The project uses 6x PNP transistors, specifically the 2N3906 model. - Does the code include a calendar feature?
The basic code tracks hours and minutes, but you can upgrade it to include a calendar if desired. - How does the firmware handle the minute rollover?
When minutes reach 60, the counter resets to 0 and increments the hour variable. - What happens when the hour exceeds 23?
If the hour is greater than 23, the system resets the hour value back to 0. - Is a hex file provided for the ATMEGA128?
Yes, a hex file is included if you want to use the ATMEGA128 microcontroller. - What method is used to increase the seconds?
The project uses interrupt and timer functions to increment the seconds.