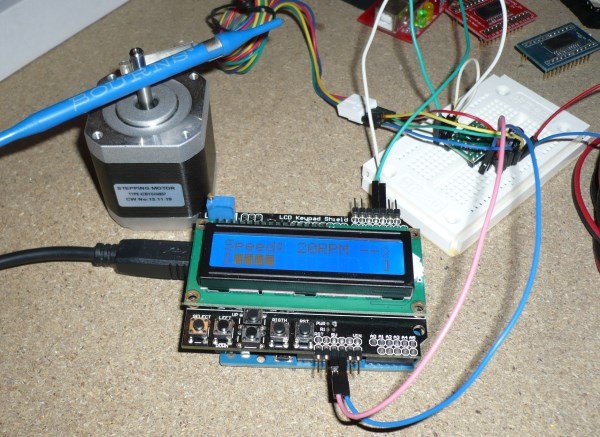
In the last part of my tutorial about the A4988 driver, I’m going to explain how to build a controller to adjust speed and rotation direction of a stepper motor.
Schematics
I used the same setup introduced in a previous post:
- an Arduino Uno;
- a LCD Keypad shield;
- a Pololu A4988 driver mounted on a breadboard;
- a NEMA17 stepper motor.
GUI
Using the controller, you can adjust the speed (from 0 to 70 RPM, revolutions per minute) and the rotation direction.
On the LCD are displayed the actual speed, direction and a progress bar:
The 5 available buttons are used to control the motor:
- UP and DOWN adjust the speed;
- LEFT and RIGHT adjust the direction;
- SELECT activates the emergency stop (speed = 0).
Continuous rotation
To achieve a continuous rotation, your sketch must send the step commands to the Pololu driver at constant frequency.
Let’s see an example: for a speed of 60RPM and for a motor with 200 steps / revolution, Arduino must send to the driver (60*200)/60 = 200 commands / sec or a command every 5ms.
To ensure an accurate timing, I’m going to use the interrupts generated by the Timer1 as explained in this article.
From the Playground you can download a convenient library to configure that Timer:
For more detail: Allegro A4988 and Arduino (3)

