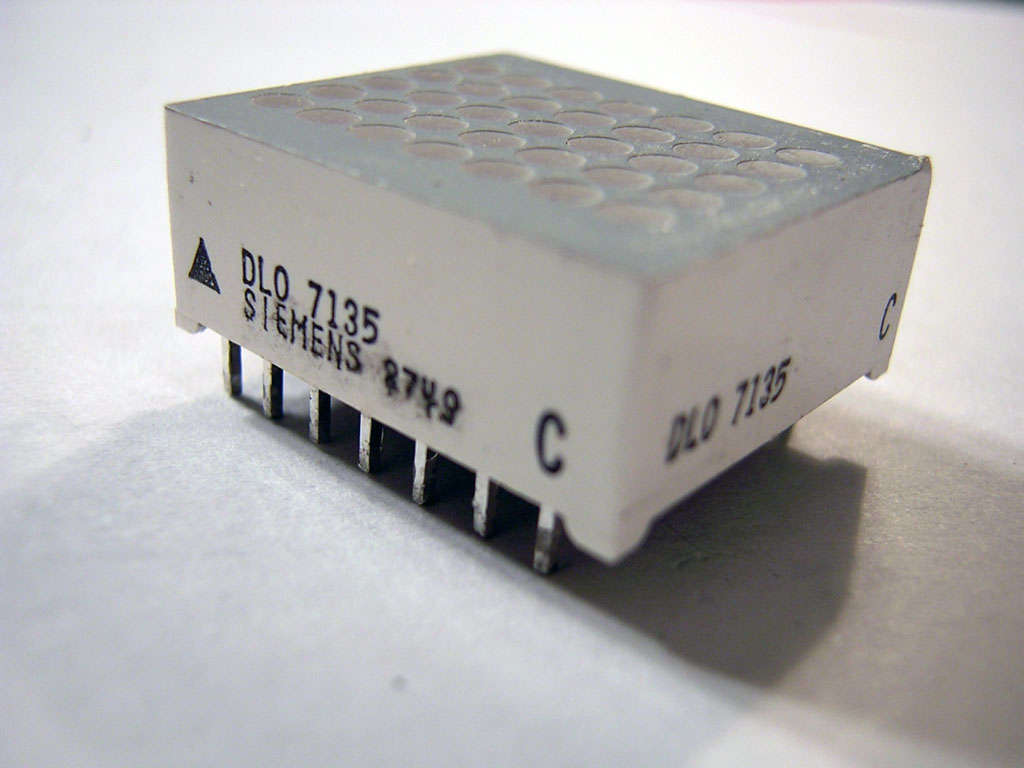
The Siemens DLO7135 Dot matrix LED is one amazing piece of optoelectronics. It’s billed as a 5×7 Dot Matrix Intelligent Display (r) with Memory/Decoder/Driver. Along with that memory, it’s got a 96-character ASCII display set with upper and lower case characters, a built-in character generator and multiplexer, four levels of light intensity, and it all runs on 5V.
That’s a lot to live up to, and at $16 a pop, it definitely should. While spending half the day at my favorite local electronics shop I found a bin full of these for $1.50 a piece. I left the store with several.
This instructable will show you how to connect to these dot matrix LED’s and display characters using an AVR-based Arduino. If you’ve read any of my previous guides, you may get the idea that I’m often in favor of the most parsimonious solution, and you wouldn’t be wrong, even if I do fall short of the goal from time to time. Therefore, I’ll also go another step in this instructable and show you how you can reduce the number of I/O ports needed to drive these big, honkin’ dot matrix LED’s.
Step 1: Get the Goods…
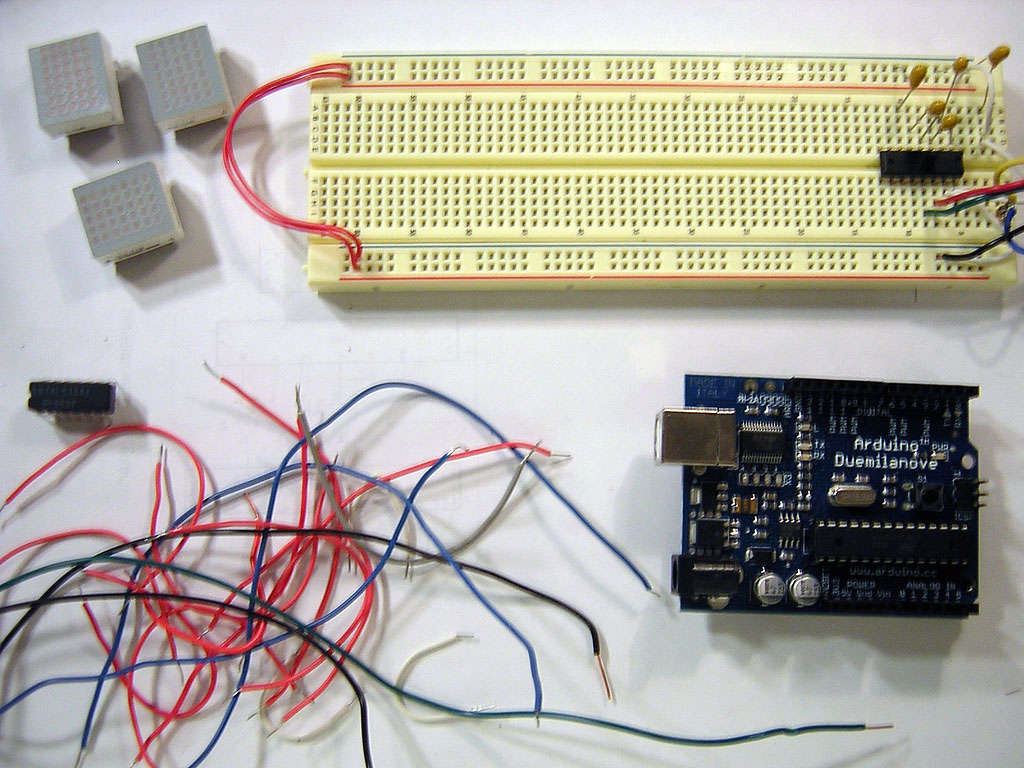
For this short little project, you will need:
- an AVR-based microcontroller like an Arduino or any of it’s ilk. These instructions could probably be adapted to your MCU of choice.
- a DLO7135 dot matrix LED or other in the same family
- an 8-bit shift register like the 74LS164, 74C299, or 74HC594
- a breadboard
- hookup wire, wire cutters, etc.
A soldering iron isn’t needed, although I use one later; you can get by without it.
Step 2: Directly Connect to the LED Display
Lay out your small list of parts and grab the LED. Place it on the breadboard centered somewhat, straddling the midline groove. The first part of connecting takes place all on the left side of the LED. Pin #1 is located at the top left as indicated by the triangle/arrow. I put the pin functions on a picture for your reference as you’re reading or connecting up your LED.
The Left Side
Positive and Negative
Starting at the top left, connect Vcc to 5V. It’s maybe a good idea to not have your board powered until you get the entire left side completed; the LED can be bright if you’re trying to see small holes to poke in wires. Connect the bottom left GND to ground.
Lamp Test, Chip Enable and Write
The 2nd and 3rd from the top on the left are Lamp Test and Chip Enable. These are both negative logic, meaning they are enabled when they are at a logical 0 instead of 1. My picture below should have bars over them, but I didn’t annotate that for any of them. The LT pin when enabled lights up every dot in the dot matrix at 1/7th brightness. It’s more of a pixel test, but the interesting thing about the LT pin is that it doesn’t overwrite any character that’s in the memory, so you if you have several of these strung together (they have a 20ft viewing distance), strobing LT can make it look like a cursor. To ensure it’s disabled, connect it to 5V.
The CE and WR pins are also negative logic and are required to be enabled for this smart device to be written to. You could micromanage these pins with spare I/O ports on your microcontroller, but we won’t bother here. Just connect them to ground to keep them enabled.
Brightness Levels
There are four programmable brightness levels on the DLO family of LEDs:
- Blank
- 1/7 Brightness
- 1/2 Brightness
- Full Brightness
BL1 HIGH and BL0 LOW is 1/2 brightness. Both HIGH is full brightness. Set it to whatever you like. Again, if you have I/O ports to spare and it’s important enough to you, this can also be controlled by your Arduino.
That wraps up the left side. If you bring power to your board you should see the LED light up. Play with the brightness controls and the lamp test to get familiar with it, if you’re curious.
The Right Side
The right side consists of entirely data ports. The bottom right, pin 8 or D0 to be precise, represents the Least Significant Bit in the 7-bit character. The top right, pin 14 or D6 represents the Most Significant Bit. This lets you know what order to shuffle your bits when writing to the LED.
When you have the data input ports wired up, find seven empty digital I/O ports on your Arduino or AVR and connect them. You’ll probably want to remember what data output port on your AVR goes to which data input port on the LED.
Now you’re ready to push some data onto that smart LED. Are you trembling with excitement yet? I know I am…
Step 3: Specifying a Character to be Displayed
The character set that’s used on this CMOS LED is your run-of-the-mill ASCII starting at 0x20 (decimal 32; a space) and ending at 0x7F (decimal 127; a delete, although represented on the LED as a cursor graphic). So, having the LED display a character entails nothing more than pushing the a logic 1 or 0 on your data output pins, usually followed by a WR pulse, but I’m foregoing that for this exercise.
So, you’ve written down or remembered what pins go to what ports, right? I chose PD[2..7] and PB0 (digital pins 2 through 8 in Arduino-speak). I don’t normally suggest using PD[0..1] because I dedicate it to my serial communication back to a FreeBSD box, and Arduino’s et al. map those pins to their FTDI USB communication channel, and although “they” SAY pins 0 and 1 will work if you don’t initialize serial communication, I have never been able to use those pins as normal digital I/O. In fact, I spent two days trying to debug a problem when I tried to use PD0 and PD1 and found that they were always HIGH. *shrug*
It would probably be good to have some sort of external input, like maybe a keypad, a pushwheel or thumbwheel switch, or maybe even input from a terminal (my ArduinoTerm isn’t ready for prime time just yet…). The choice is yours. For now, I’m just going to illustrate how to get the code to get the character you want onto the LED. There is a zipfile for download including the source code and Makefile and there’s also a short movie showing the LED printing out its character set. Sorry for the crappy quality of the video.
The code below prints the string “Welcome to my Instructable!” then cycles through the entire character set that the LED supports.
For more detail: Using a Dot Matrix LED with an Arduino and Shift Register


