
Summary of Using VL53L0X With Arduino to Measure Height
This article describes a home-based height measurement project using an Arduino Nano and sensors to improve accuracy over manual methods. The system utilizes a laser-ranging sensor for distance calculation and a motion tracking device to ensure horizontal alignment, displaying results on an LCD screen within a custom wooden and acrylic enclosure.
Parts used in the Arduino Height Measurement Project:
- Arduino Nano microcontroller
- MPU-6050 3-axis gyroscope with 3-axis accelerometer
- VL53L0X Distance Sensor
- RGB backlight LCD 16×2
- Wooden box and acrylic plate
Usually, when measuring a child’s height at home, a mark is drawn on the wall then the height is measured using a measuring tape. This process is not always easy and it may has low resolution. In an attempt to simplify this procedure, a new project was developed using an Arduino and a distance sensor.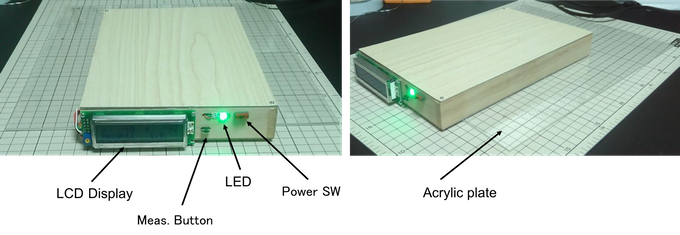
The main parts which were used in this project are:
- Arduino Nano, the microcontroller which will read sensor’s values and display the results on the screen.
- MPU-6050, 3 axis gyroscope with 3 axis accelerometer
- VL53L0X, Distance Sensor
- RGB backlight LCD 16×2
- Wooden box and acrylic plate.
VL53L0X is a laser-ranging sensor that uses Time Of Flight (ToF) measurements of infrared pulses for calculating the distance of the facing surface. It can measure distances up to 2 meters with a resolution of 1 mm. This sensor works over an input voltage range of 2.6V to 5.5 V, and the measured values can be read through an I²C interface.
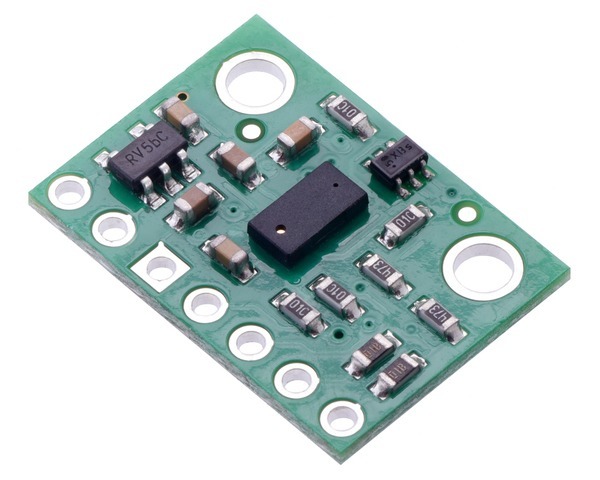
To get the best result, Vl53L0X must be attached on the bottom of the box as shown in this figure.
MPU-6050 is a low power, low cost, and high-performance motion tracking device, it contains 3-axis gyroscope and a 3-axis accelerometer with an onboard Digital Motion Processor (DMP™) which can be programmed with firmware and is able to do complex calculations with the sensor values and uses I²C interface. This sensor is used here for detecting the horizontal direction and for measuring X and Y axis acceleration.
For more detail: Using VL53L0X With Arduino to Measure Height
- How does the VL53L0X sensor calculate distance?
It uses Time Of Flight measurements of infrared pulses. - What is the maximum range of the VL53L0X sensor?
The sensor can measure distances up to 2 meters. - What resolution does the VL53L0X sensor offer?
It provides a resolution of 1 mm. - How should the VL53L0X be attached for best results?
It must be attached on the bottom of the box. - What interface does the VL53L0X use to read values?
Measured values are read through an I²C interface. - What voltage range does the VL53L0X work over?
It works over an input voltage range of 2.6V to 5.5 V. - What is the purpose of the MPU-6050 in this project?
It is used for detecting the horizontal direction and measuring X and Y axis acceleration. - Does the MPU-6050 contain a Digital Motion Processor?
Yes, it contains an onboard Digital Motion Processor capable of complex calculations.
