
Summary of Automotive Chip-On-Glass LCD Dot Matrix Driver
### Summary This article describes an automotive Chip-On-Glass (COG) LCD dot matrix driver featuring a 100x18 segment passive matrix display with integrated backlight and temperature compensation. The system supports USB-based firmware updates via ISP/IAP and offers flexible power options. It utilizes the PCA8539DUG driver, an LPCXpresso development platform for NXP microcontrollers, and includes configurable interface jumpers for I2C or SPI communication.
Parts used in the Automotive Chip-On-Glass LCD Dot Matrix Driver:
- PCA8539DUG 100 x 18 COG automotive LCD dot matrix driver
- NX1117CE low-dropout linear regulator
- LPCXpresso low-cost development platform
- Jumpers JP1 to JP6
- Jumper JP7
- Jumper JP9
- 0Ω resistor R2
- PMEG3005CT 500mA low VF dual MEGA Schottky barrier rectifier
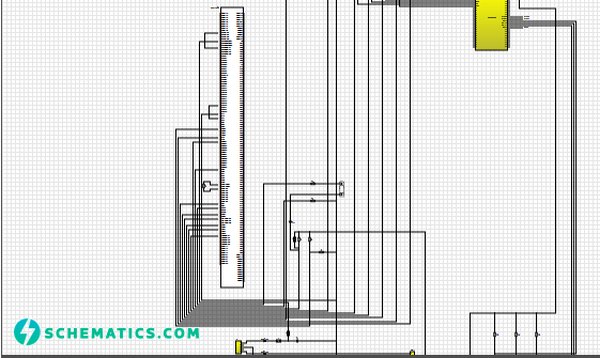
Summary
The automotive products are quite recognized nowadays. It brings high demand on automotive chip and other related electronic devices. These demands are diverse, which brings difficulties to automotive developers. In this design, users are provided a modifiable firmware using In-System/In-Application Programming (ISP/IAP) via USB. It features the Vertical Alignment (VA) Chip-On-Glass (COG) display module with integrated backlight. The power supply can be done either via USB or an external power supply. This can also be used for an external VLCD that also provide temperature compensation. Its 100 segment and 18 backplanes allow the system to drive up to 1800 elements for graphic display.
The design is comprised of PCA8539DUG 100 x 18 COG automotive LCD dot matrix driver that generates the drive signals for multiplexed LCD, which in this design it is a Passive Matrix Vertically Aligned (PMVA) negative display providing a very dark background with a very wide and symmetric viewing angle. The NX1117CE low-dropout linear regulator is used to provide 3.3V supply for the backlight and the microcontroller. The LPCXpresso low-cost development platform provides the variety of interfaces with respect to the customer designs or needs. It is a highly integrated software development environment for NXP’s LPC microcontrollers. The JP1 to JP6 are used to select either the I2C – bus interface, or the SPI interface. They need to be all in the same position. The silk screen indicates which position to use for a given interface. The JP7 is a jumper that connects the VLCDOUT and VLCDSENSE to the VLCDIN pin of the PCA8539. It must be placed if the internal voltage generation is used. The JP9 may not have been soldered into the board during manufacturing. Instead, a 0Ω resistor (R2) is mounted, in parallel with this jumper. Removing the 0Ω resistor and mounting the jumper makes it easy to insert a current meter and measure the current consumption to the VDD pins of the PCA8539. After measurements, a jumper header can be inserted. The PMEG3005CT 500mA low VF dual MEGA Schottky barrier rectifier is used for the polarity and stress protection.
For more detail: Automotive Chip-On-Glass LCD Dot Matrix Driver
- How is the firmware modified in this design?
Users can modify the firmware using In-System/In-Application Programming via USB. - What type of display module does the design feature?
The design features a Vertical Alignment Chip-On-Glass display module with an integrated backlight. - Can the system be powered by external sources?
Yes, the power supply can be done either via USB or an external power supply. - How many elements can the system drive for graphic display?
The 100 segment and 18 backplanes allow the system to drive up to 1800 elements. - Which interfaces are selectable using jumpers JP1 to JP6?
These jumpers select either the I2C bus interface or the SPI interface. - When must jumper JP7 be placed?
JP7 must be placed if the internal voltage generation is used to connect VLCDOUT and VLCDSENSE to VLCDIN. - What component provides polarity and stress protection?
The PMEG3005CT 500mA low VF dual MEGA Schottky barrier rectifier is used for this purpose. - How can current consumption to the VDD pins be measured?
Remove the 0Ω resistor and mount the jumper to easily insert a current meter.
