
Do you wish to earn your geek card – pronto? Lets get started! This guide will start you on the path to the dark side using the open source Arduino development and prototyping platform. It will introduce you to microcontrollers, get you started with a platform for physical computing and give you the confidence to create technological marvels. It is open source, inexpensive and a blast to learn.
Step 1 Get yourself an Arduino
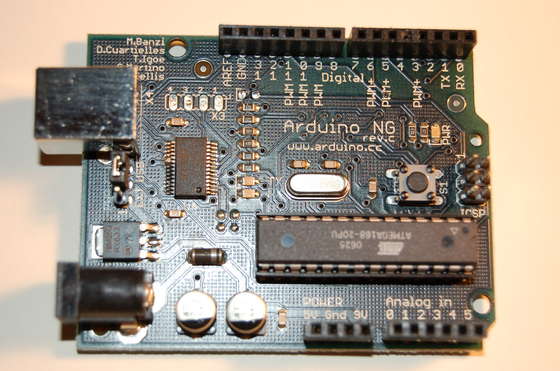 The first step is to acquire an Arduino board. I highly recommend the USB version. You will need the USB A-B cable as well.
Here is a link to the board: ArduinoBoard.
Here is a link to the cable: USB Cable.
Shopping online is fun, and it gets better when your toys come in the mail.
Step 2 Where does the cable go? Here is the A side and its home
This is the A side of the cable. You can plug it into any USB port.
Step 3 And here is the B side of the cable
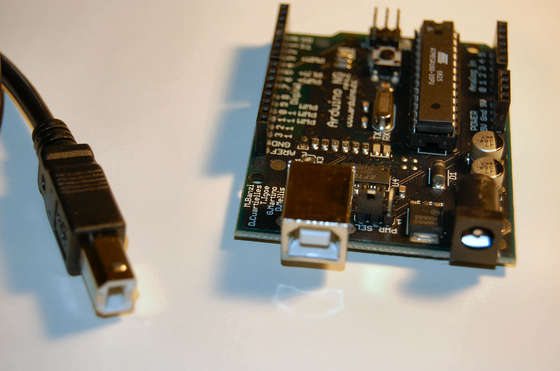 The B side of the cable connects to the Arduino. Isn’t this easy?
Step 4 Powering your board
There are 3 power pins with a jumper over two of them. The power jumper goes over the last two pins if you are using usb power (just like shown here). Lift off the jumper and push down over the first two if you are connecting 9 volts from a wall wart.
Step 5 External power using a wall wart
If you move the jumper pins to the EXT position you can use a 9 volt wall wart to power your board. Want one? Go here: Wall Wart.
For more Detail: How to have fun with Arduino (and become a Geek in the process)
